Recently, I shared an art for @TheRandomRewarder , and in this article, I will show how I made it.
First of all, I want to say that with determination and creativity, we can make something special, something good, and something that is worth the time and patience.


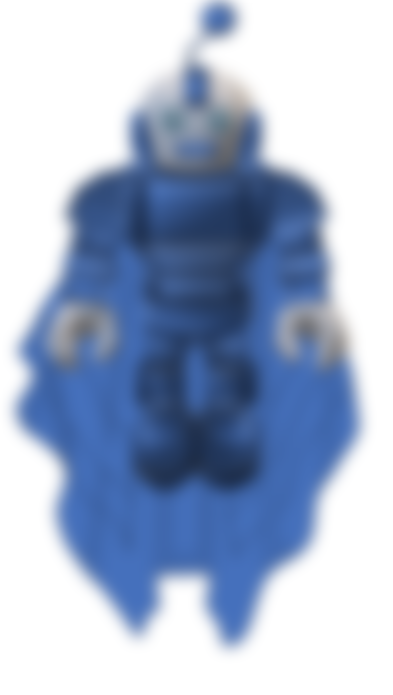
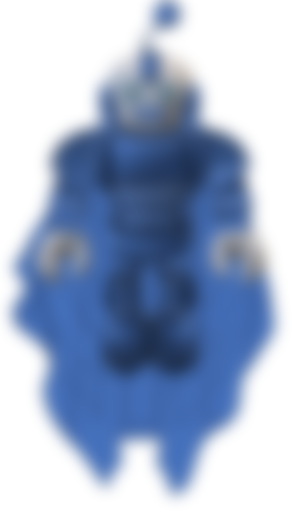
This is the .png version of the art with cape.
The base is a 3D robot that I found inside the app that I used.
Then, I dressed it up by applying shapes over it.
The shapes I used are rectangles, squares, circles, trapezoids, and triangles.
Then, I manually edited the points to match the body of the robot.
Color combination is somewhat hard, also. I made use of shape effect, and this is the bevel effect.
The colors I used are blue and dark blue. I made use of gradient to make look better.
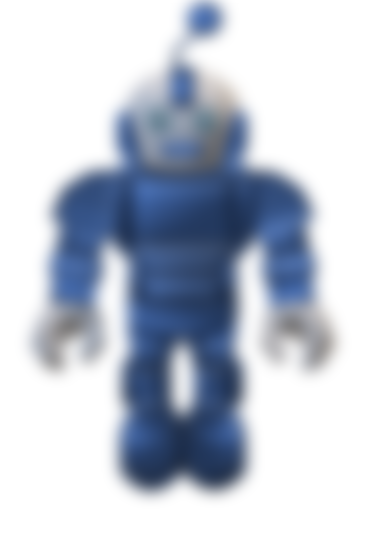
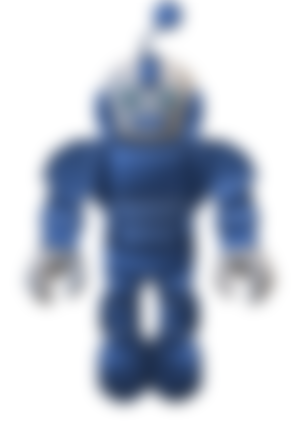
This is the .png version of the art without cape.
Just like from the given information above, same steps was used in making this one. The only difference is that, I removed the cape.
Moreover, I also made other variations.
The following are the colors I also applied:
Green
Orange
Red
Violet
Grey
The following are the results.


Which one do you prefer? Tell it in the comment section.
Now, let's proceed to the steps I have undertaken to make them.
First, I downloaded eyes and cape cliparts from Pixabay. The format I have chosen in saving them is .svg.
The links of the said cliparts:
Second, I opened the Microsoft PowerPoint


Third, I used a 3D object by searching the keyword "robot" in the search bar of the insert 3D object tab.
If you are figuring it out, here is what I am talking for:
Fourth, I organized the body of the robot and placed the cape behind the base and the eyes on its face.
Then I start adding shapes on the face.


Fifth, I applied shape effect, which is the bevel effect. Then I fill it by using gradient fill. The preset gradient's type is Linear. The direction is upward, the bottom part is darker and it goes lighter. The angle is 45 degrees.
The color combination in this example is Darker Green - Light Green - Darker Green.


Sixth, repeat the fifth step until you finished applying shapes all over the base. Since the shapes for the based are not listed in the add shapes option, I edited the points of the shapes to match the base.
You can simply click the edit shape button then manually move the points of the shapes.
The following are random screenshots I took while making the said digital art:


Another screenshot:


And here's another one:


I hope that you enjoyed viewing this article. The steps may seem difficult for some, but as time goes on and the more that you explore the app and use its tools, you will soon master using it.
Be creative and unique!
Amazing that you only did this on PowerPoint though. But i also make custom animations for presentation through there. It's the easiest to manage