Drawing a cute Wizard frog
Every week i post a simple art tutorial thats both easy to make and cute . You can definitely check my old blogs if you find this one helpful . The goal is to be able to make cute illustrations without worries .
This week im making a wizard frog and here is how .
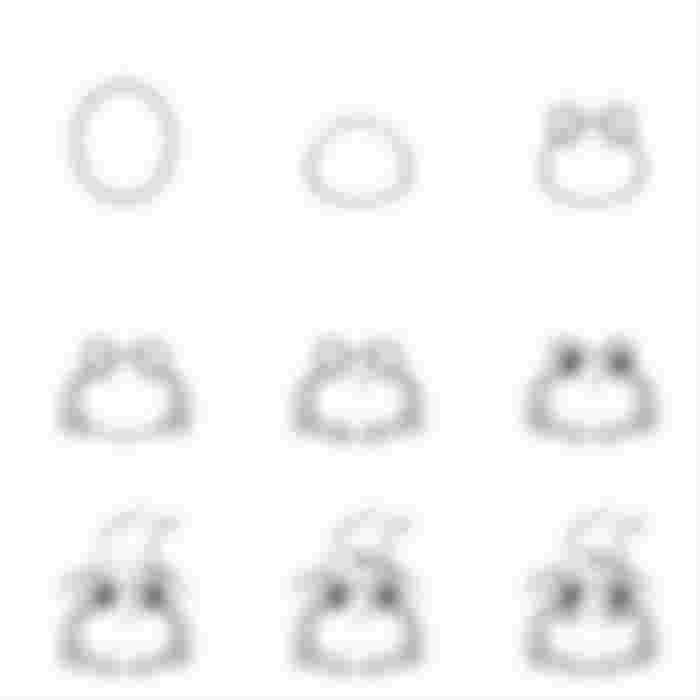
So first step i made an oval and shaped it with free transform tool like a rounded triangle this is our frog body base.
After this i made two more ovals to make his legs and an oval for the eye i duplicated the layer and flipped it to reflect the other side this automatically adds the same features also this makes the illustration look more symmetrical.
Now i added the hands the nose and mouth also pupils of the eyes our frog already looks cute but its a wizard frog so we must make his Wizard hat too
I made a bent top witch like hat and added a little belt on it also i added. Blush spots to my frog too .
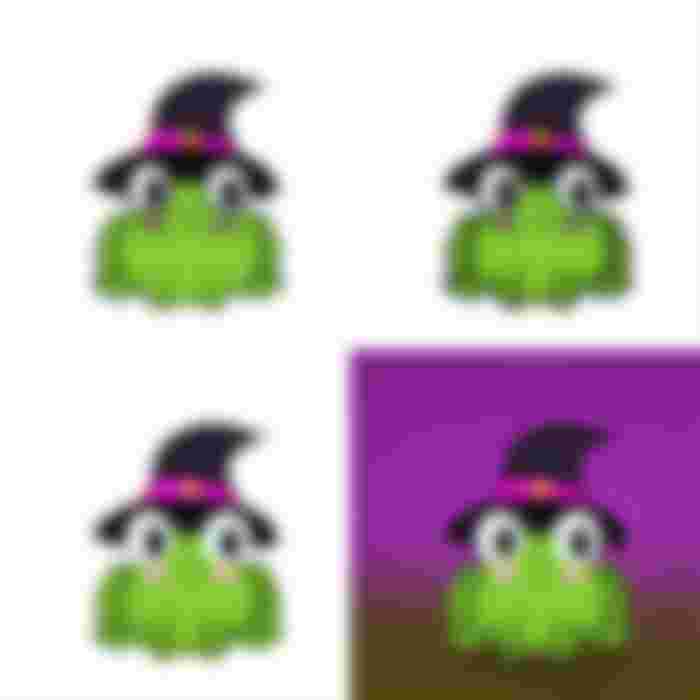
Now as our lineart is ready we added flat colors to our frog now the lineart being black gives it a cartoony look . Next shaded the frog by applying water color wet brush and shading every layer a bit darker and guassian blurred it . This look cool too but lets take it an step further .
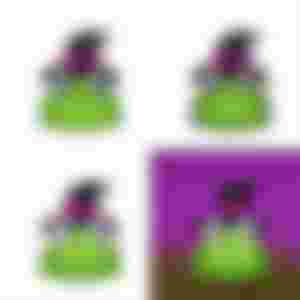
So i colored the lineart the same shade as the parts are this gives it more enhanced look . After this i made a background to the back which is like bottom is brown and the sky is purple its like a minimalistic way to add a little blurred background.
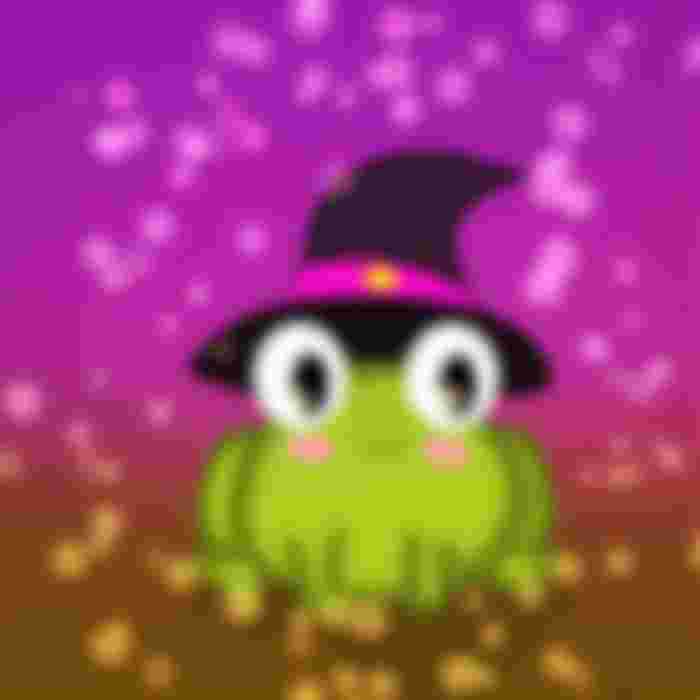
I then highlighted the frogs eyes and used my brokeh brush to add glowy brokeh effect and here is the Final result

I hope you liked it .
Thank you for your precious time and support ❤️
