Designing a Pakora Custom brush on Medibang paint pro
Well this tutorial is for people who struggle in making background details well i made this brush to add to a dinner table for a comic illustration and for that I don't need to make everything from scratch .
So here is how i made it

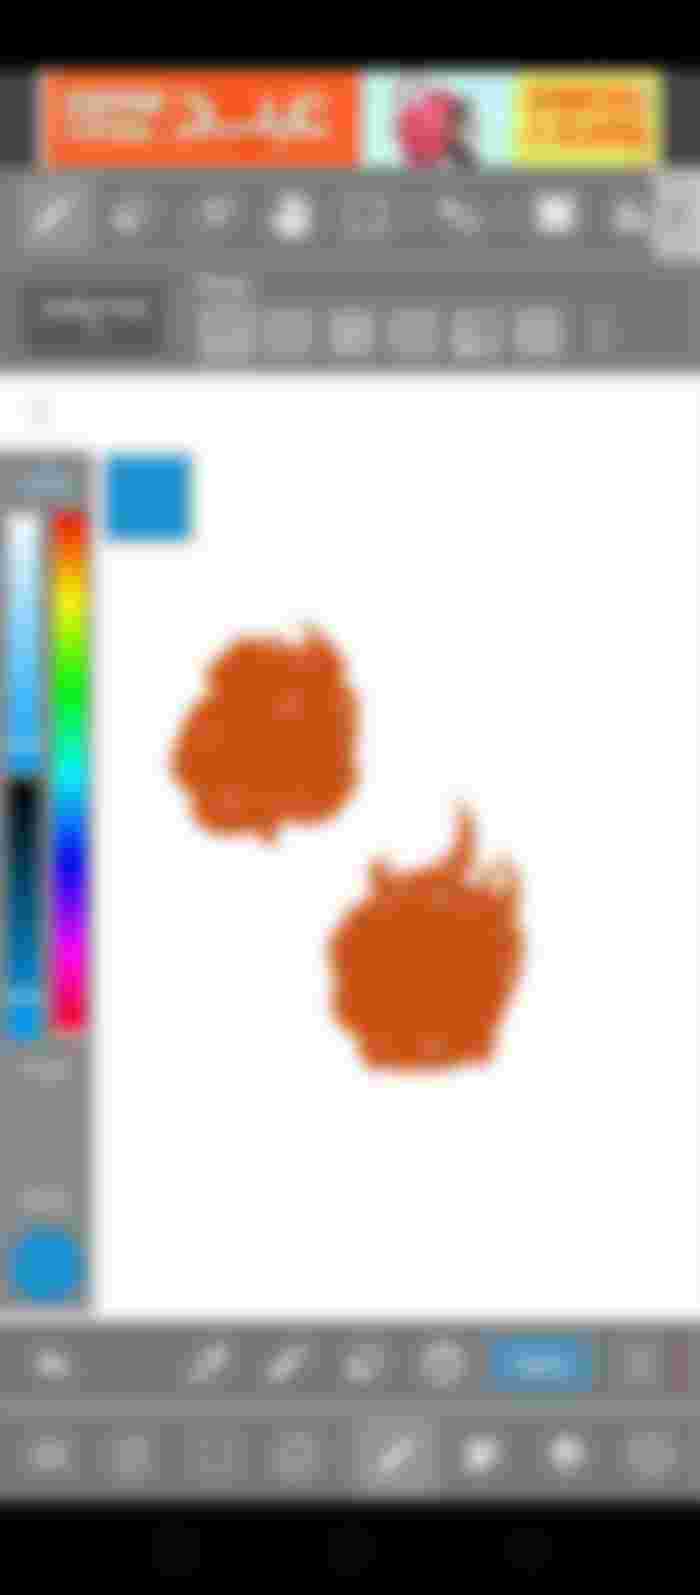
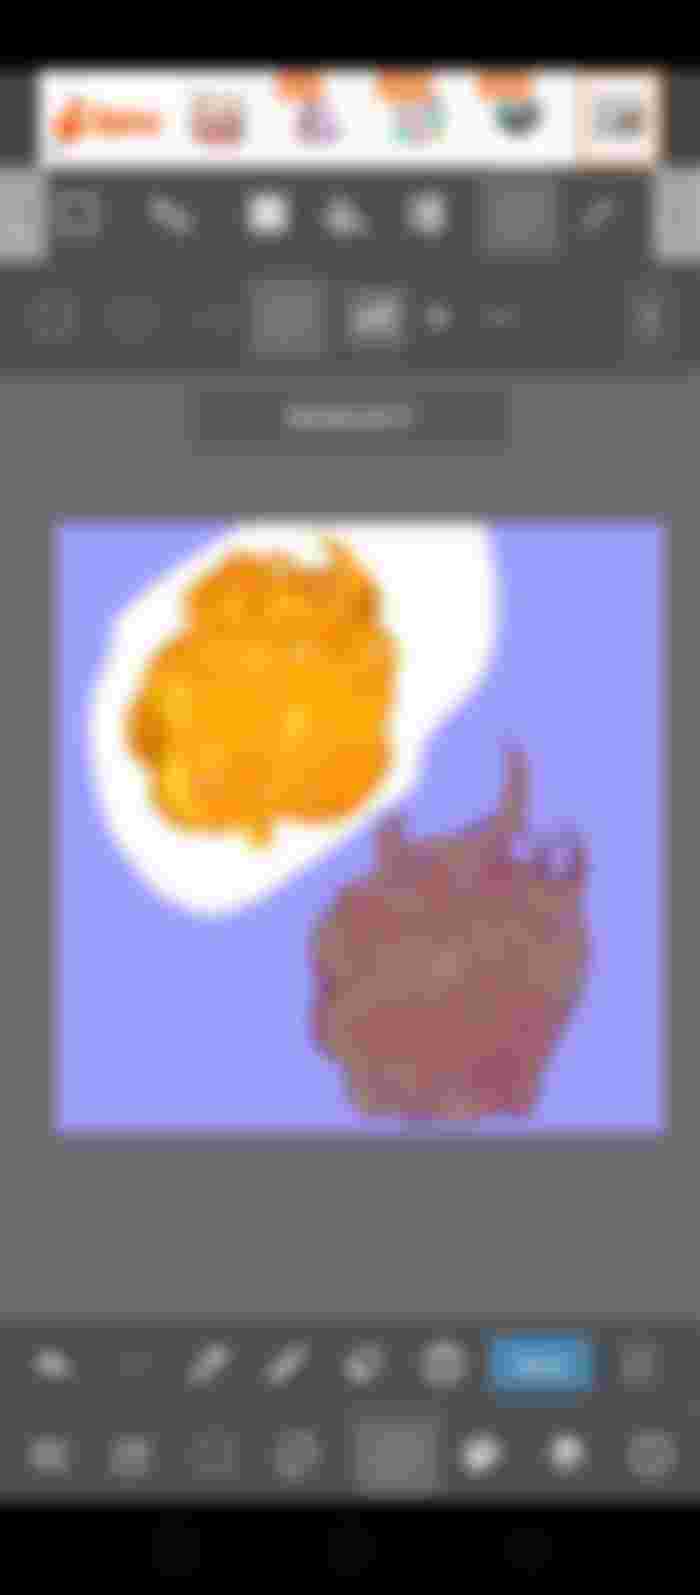
I made a 500 px canvas on Medibang paint pro
And drew two squiggly circles with edges coming out .It doesn't need to be filled all the way just do it randomly cause this will play a good role in next.

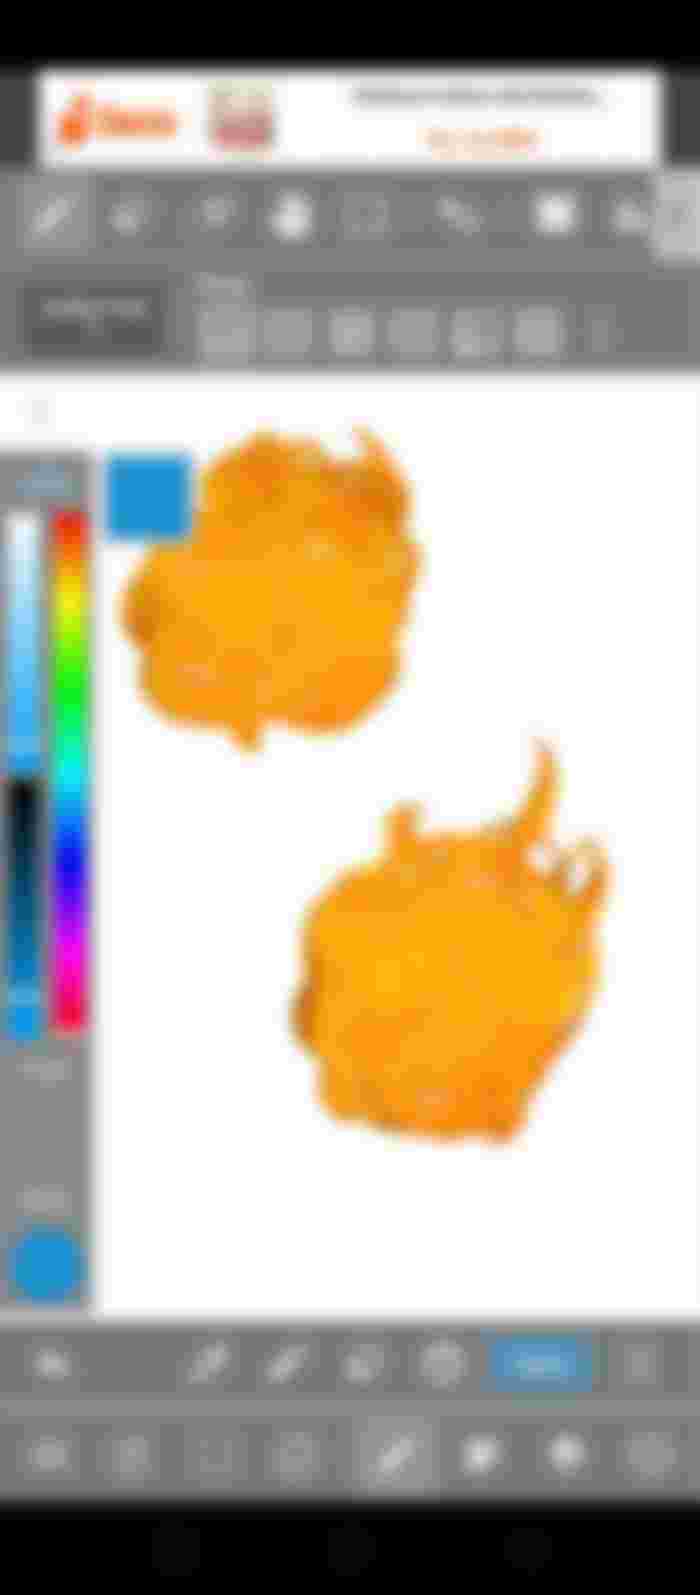
Next i clipped a layer on top and added yellow orange and brown to it randomly with a water color wet brush .this gives it a subtle shading effect


I also made all the adges a bit dark brown n the holes dark too so it looks like it was fried a bit more
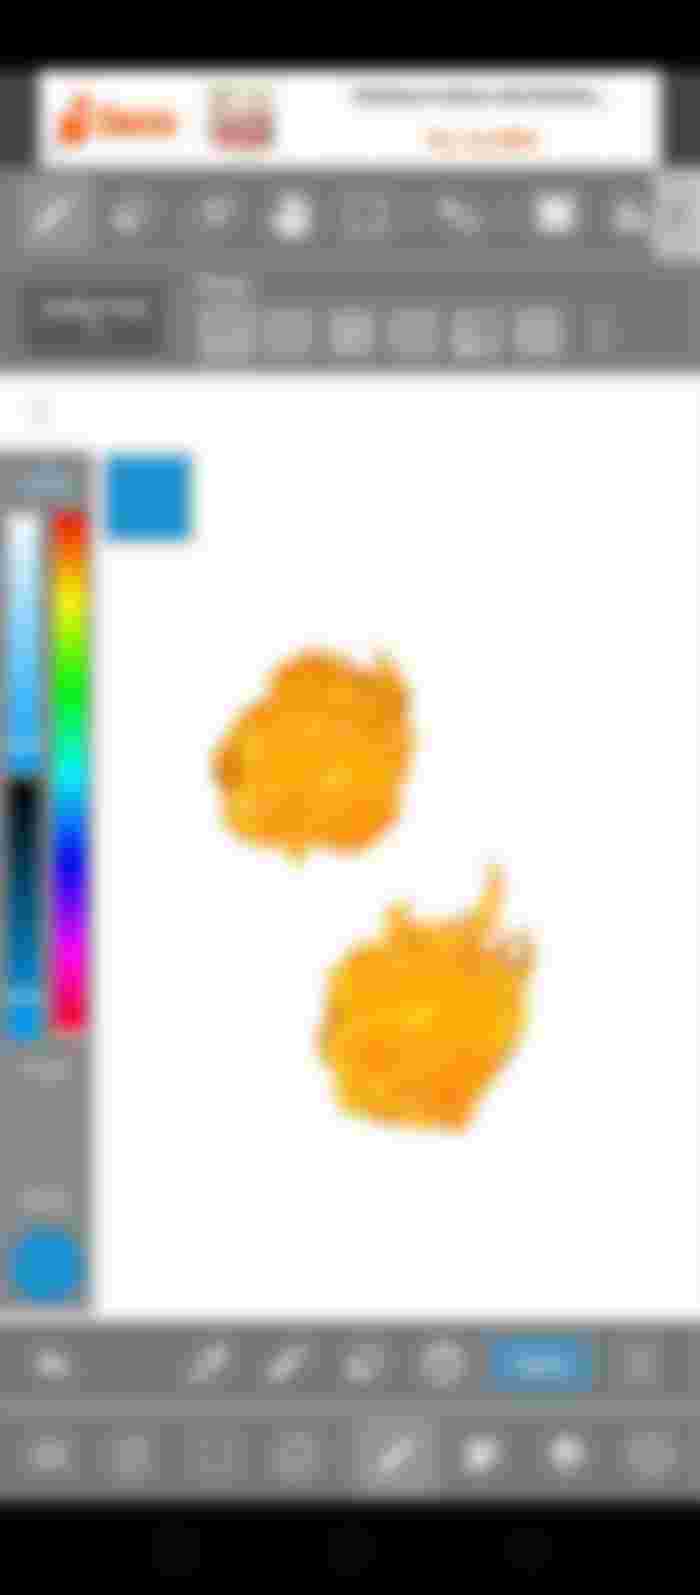
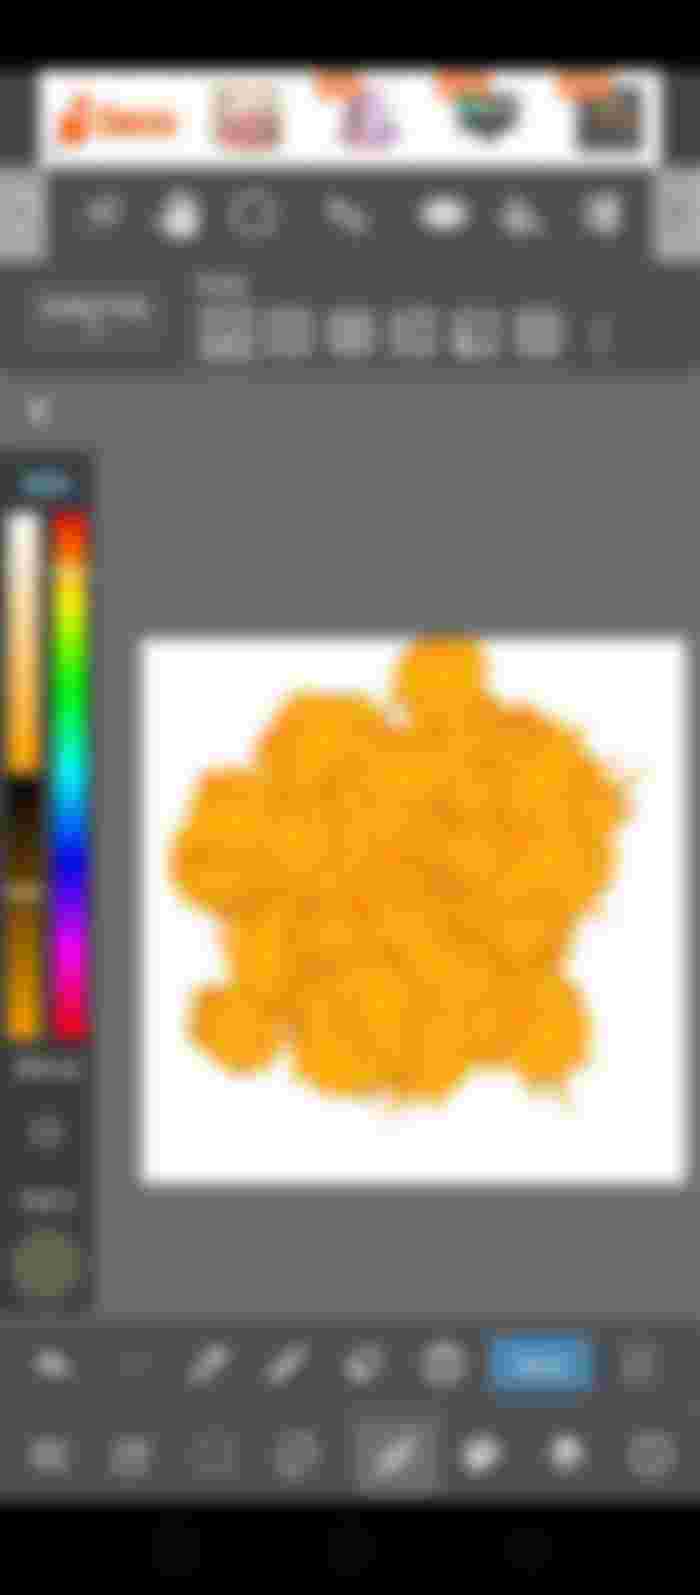
Afterwards a added small dark brown dots to it


Then some yellow dots. And guasian blurred it this makes it look like its sizzling hot or is glistening in some oil

Added some more yellow highlight so it looks pretty shiny cause ofcourse pokoras have their own glow

I merged all the layers and cut one of them and pasted it on a new layer .


Clicked + on the brush selection panel and selected multi image scatter brush


Selected current canvas and here i did these settings and you can see in the preview screen how they will look


So here u have it This is how it looked working . I will be using this for my next Illustration soon

You can make many brushes this way like confetti or a seamless pattern .So thats how i design my brushes .You don't actually need brushes but they do help when u have less time n more work to do.
Very cool, nice tutorial :)