creativity in children should be taken advantage of, we can see that nowadays many people find it easy to be creative when it comes to making any craft work, arrangements, crafts among others, all because from an early age they have always been stimulated to develop their talents and being much more creative than others, at least in my case it was like that. For my mother my childhood was the perfect opportunity for her to use her creativity, I taught her how simple it can be to make an arrangement, to decorate a place, even to create a playful game and, simply to be able to make something real it is only necessary to think about it and then create it.
Living among children with my beloved nephews and nieces I learned how simple and practical it is to get their attention through play, every child likes to play. So I decided to teach my nephews through a game, at first they were not sure they wanted to play, so I used geometric shapes and why not do it through a ludo.

Friends of @read.cash as part of the teaching tasks and educational policies promoted by the Ministry of Popular Power for Education in Venezuela, today I want to show you how I built a didactic game for my students based on geometric figures.
Every child has a learning capacity greater than that of any adult. As I mentioned before, it is important to use games as a learning strategy, facilitating attention and enriching the knowledge put into practice.
I will now mention the materials to be used for the creation of our geometric die. Friends, I would like to clarify that it is up to each person to decide what materials to use, if you have other materials that are not the same, then use your creativity and you can do it in your own way, take mine as a guide and it will be easier (if you have children at home, I advise you to put them to develop all that creativity, learning to build by themselves these great and dynamic figures).
Materials
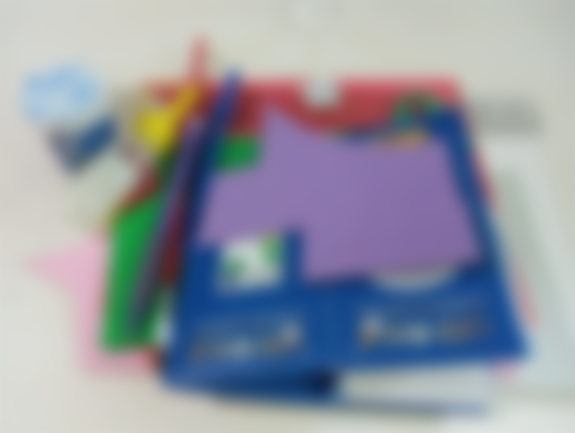
To make this dice with geometric figures we will need the following materials: - A square shaped container such as a small light bulb box or other - Pencils - Liquid glue - Foami - Rulers - Scissors - Cold paint - Brushes

we can use any cardboard we have at our disposal, in my case. cut out the cardboard packaging and then measure it with the ruler, drawing the shape of a cube that the "geometric" Dado would have.
we must try to make sure that the cardboard is in good condition, that it has the right cuts and is well made (clean) so that we can guarantee that the box will be solid enough not to fall apart when we throw it away.
you can also use shoeboxes, they are big enough and their material is resistant, so what you have to do is to take the measurements of the squares that are exactly the same as the one I have designed and then you will only have to cut them out to be able to assemble them later...

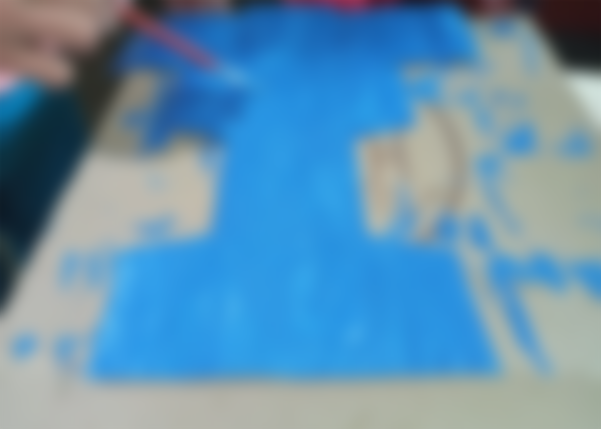
Once we have the drawing of the shape we take the cold paint and start painting the cube in layers until it is uniform. In this case we used blue paint but you can use any colour you like.
try to paint the piece well, you can paint it twice so it will look much better and another important fact, don't forget to place any tablecloth or place it on a surface that is easy to clean.
In my case I used blue, because I want to finish this die for my nephew, #Junior, I know he loves blue. So it will be a great surprise, also try not to fog up the cardboard so much, wait at least a few minutes between each coat of paint so the cardboard doesn't end up wrinkled or soaked.

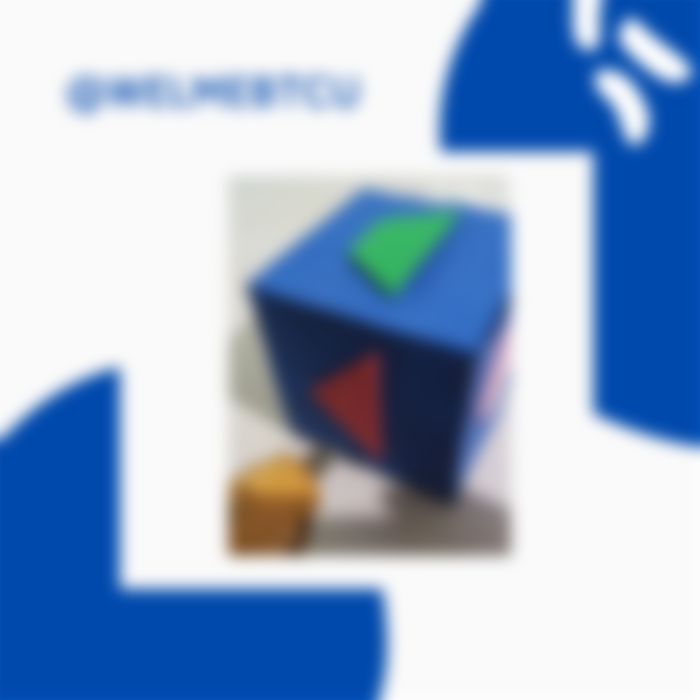
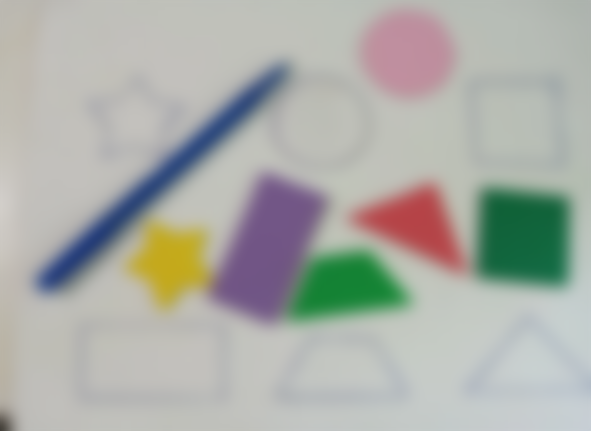
As a cube has 6 sides just like a die, we then draw on the foami various geometric figures which decorate the surface of each of the sides with circles, triangles, rectangles, squares, stars and whatever else you want to add.
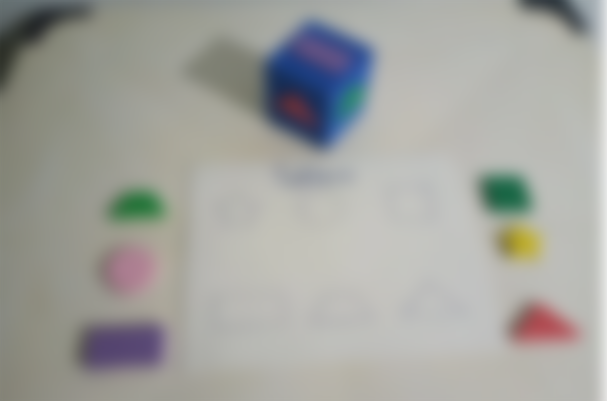
We will draw these same figures twice each because we are going to add them to a board later. "I will clarify again, you decide which figures you want to use, in my case I chose several in order to have a wider range of the different figures that exist and I also used the colours, that is to say, it has a double function, you learn to differentiate the figures and also the colours.
look for the primary colours if the child does not yet have a good command of this area, the important thing is to be able to capture the child's attention, this is the first step, the next step is for the child to learn the order on the sheet and then to do it randomly, this way you will know that he or she already knows how to differentiate the colours and the figures.
You can also take something that I overlooked, the lines with which the drawings of the figures are made, you can place them with the colour that the figure was made, exploiting the innate association that we all have.
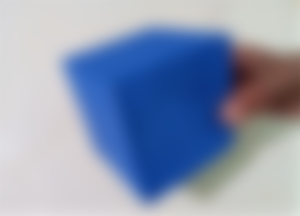
Once the figures have been cut out, we fix them with liquid glue, which could be white school glue or silicone, applied with a gun to each of the six sides of the cube. Remember, the cube must be correctly glued so that it does not get damaged quickly, it can also perform its die mechanism correctly. Wait at least 10 minutes for the glue to dry and then we can start paying for the Geometric figures.
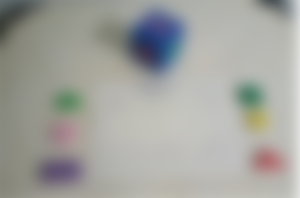
We cut out the same figures that the cube has and place them on a piece of cardboard so that once launched the child can identify the geometric figure and place it on the board. And here is a new game to learn technical drawing, geometry and other sciences didactically and, as always, by playing.
