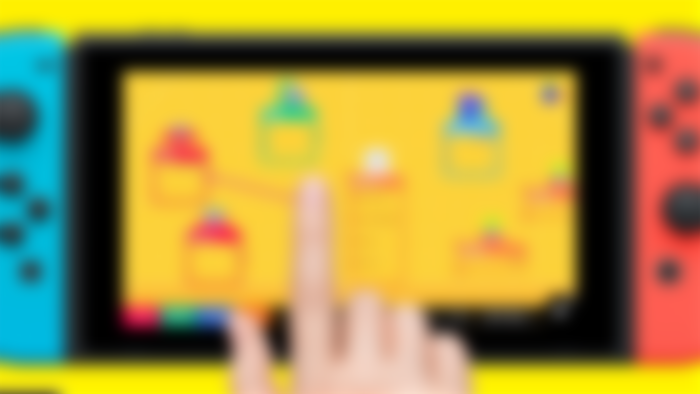
Making games has always intrigued me. I have done a lot of research on these issues. Developed specifically for Nintendo Switch, Game Builder Garage is a production based on the theme of game making, which we have seen different examples of before. It is possible to make mini-games with many tools in the game, which focuses on learning the logic rather than coding. In this review, we will take a look at the general features of the game called Game Builder Garage.
Pluses
+ It's really fun to try making games
+ Visual programming options
+ Explains the logic of making games in a simple way
+ Nodon usage and vehicle control
+ The interface is kept very simple
+ Dynamics that make sense from the beginning
+ Trial and error logic works well
Cons
- No browsing other made games
- Training sections are unnecessarily extended
- More characters and toolkits to come

It's been a long time since Nintendo actually started offering different freedoms to players. Previously, we created our own mini-games with WarioWare games, and we had the chance to share with other players by signing section designs with productions such as Mario Maker. Game Builder Garage, on the other hand, is actually an expanded version of the Toy Con Garage mode offered to the players with Labo. In other words, we can describe it as a game that follows the footsteps of these productions, but takes on a more complicated structure with its content. The game works as a game creation engine in itself and tries to teach the main dynamics, or rather the logic, of similar programs, if not coding.
As I said, Game Builder Garage is a production that explains the logic of making games without knowing the programming language. I think I can actually explain this with the best examples. When you open the free creation mode of the game, you encounter a huge gap. Imagine that you open a new project in the Unreal Engine engine. Let's say we're going to put a character in this project first. After adding your character from the objects section, you need to assign an action to interfere with that character. For this, you choose, for example, the b button from the input menu. When you connect the B button to the jump part on the character on the editing screen, you can make your character jump.
Or let's say you're going to make a 2D platform game. In order for the character to move back and forth, it is enough to connect the left analog button from the input menu to the back and forth part of the character. Of course, if you are going to make a 3D game in the same way, it is also possible to assign keys such as moving up and down, or communicating with objects. You can even assign character control directly to the gyro sensor on the Switch. Let's say you are going to move a ball and you want to play Pinball style. You can connect the movement of that ball to the analog system or to the Gyro sensor. If you pay attention, this was just what you needed to do for the character to jump back and forth. The game has made this so simple that after a while you enjoy playing the game and you start trying different things as you learn.
The editing part of the game is divided into four parts as input, middle, output, and object. As I just mentioned about the input part, you usually make button adjustments, character control or adjustments that will interfere with the touch screen. The middle part reveals the features that we will use while creating the game dynamics. In other words, it is possible to give the game a period of time, to adjust the dynamics such as counting and comparison from here. For example, let's say you made a platform game and you put 15 apples on the playing field. If 10 apples are required to complete the section, you can make adjustments to this condition by using the tools in this menu section. I am trying to explain the event as simply as possible, but of course there are many more options in the menu and the use of all of them is left to your imagination.
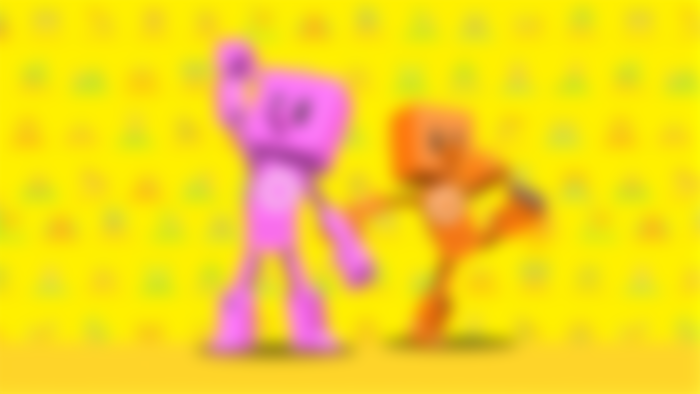
The Output section allows you to change some features that you will add to the playground. that is, you can add music to the game from here, increase the gravity ratio, or set the conditions for the game to end and repeat. Finally, I can say that the object part is filled with objects that we will fill in the game. We add almost all the content that you will see in terms of character, wall creation, sensors, texts, in short, visually, from the Object section. You can even set the angle at which you will play the game from here.


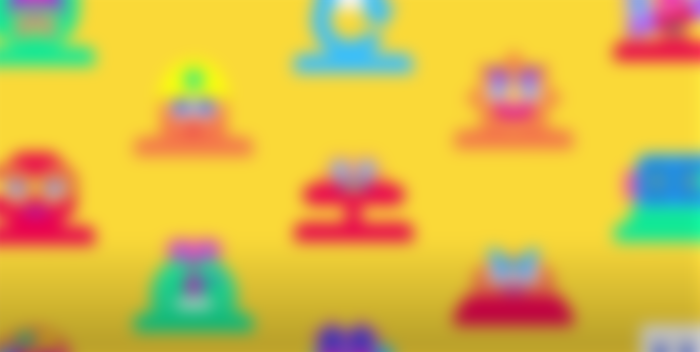
All these features we added in the game are called Nodon. Here, everything you add such as Character Nodon, Background Music Nodon, Sensor Nodon is named nodon. each Nodon has a different look and you can use the Nodons you use very often, therefore, in a more familiar way. After a while, there are so many Nodons in the editing part of the game that it was of great importance that each of them had a different visual appearance. In other words, let's say you are going to make changes to your character or another object that you have added to the playground, you can immediately notice it among the Nodons. I can say that this provided a beautiful visuality even in Edit mode and reduced the confusion a little more.
Of course, the most important point you should pay attention to after all this Nodon variety is that every Nodon in the Editing section has a setting page. So let's say you add a wall Nodon. By entering this Nodon in the settings section, you can even choose its color, whether it is fixed or mobile, whether it will shatter when your character hits it. There are quite a few options in this setting section and I can say that these settings pages carry the importance of the details in your game.
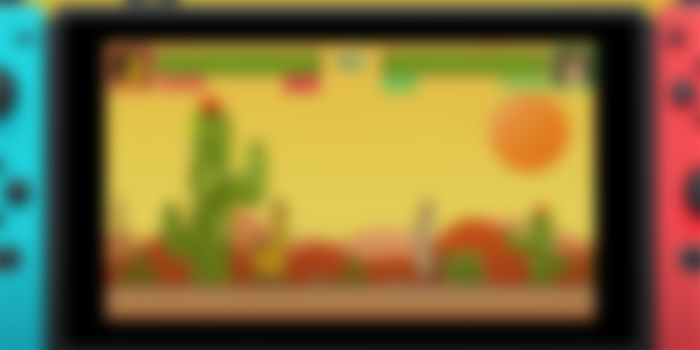

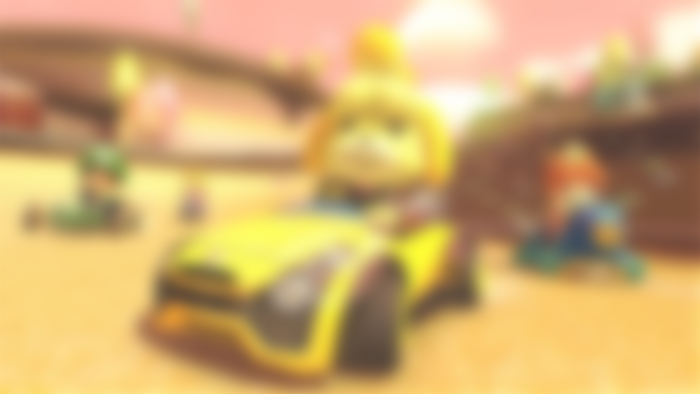
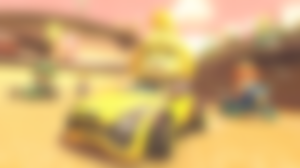
Game Builder Garage is generally divided into two parts. In the first part, there is a training section where you will learn the main dynamics of the game and the Nodons. In this training section, a seven-part training sequence is included. Moreover, you design a different game in each training section. These games include an arena mode where two players compete, a game played from the overhead camera where we use a gyro sensor, and a game in which we drive. By adding as many different games as possible to the training part, we were able to use all the dynamics and Nodons. That's why, even though the free design part is unlocked after the initial tutorials are unlocked, it's important to complete the tutorials to learn all the Nodons and understand the main operation.
All of the dynamics such as creating the playground, adding objects, characters, assigning direction and action keys and establishing the connection between Nodons are included in all training parts. It starts out simple and gets more complex as it progresses. While you only use 5-6 Nodons in the first game, you use two or three dozen Nodons in the last game to make connections between them.
What I don't like about the training part is that it keeps you in too many stereotypes and contains too much dialogue. In other words, you see that you have passed all the steps of the game as press here, press there. In this part, the logic of discover and learn with a little more freedom could be nicer. In addition, even for the smallest action you have to wait for a very long time. Maybe you complete a course that takes 15-20 minutes to complete in about 50-60 minutes. This is a very good way for young players to grasp logic, but explaining a dynamic you have already learned over and over can sometimes strain your patience. Most of the time I found myself pressing the button to skip dialogs. There are so many useless dialogues that it allows you to get bored with the training sections after a while, and it can also cause you to miss the most important points.
Fortunately, once you complete the first lesson, the programming Mode, the actual main game, is unlocked and the game completely frees you. Here, if you wish, you can add all the Nodons one by one to the playground and try to solve the logic. There are many Nodons in the game in terms of main dynamics, but I must also mention that it needs more variety in terms of objects and characters. For example, in the character section, you can only add a plain character, vehicle or ufo. Here, a much wider range or an option such as the players creating their own characters and objects could be included. I hope that more options will be offered in the future, both in terms of structure and other aspects.


Game Builder Garage also allows you to upload your games to the Nintendo server and download content produced by other players. Of course, you need a Nintendo Online subscription for this. It's a bit annoying that this download process works through code. So exactly other players need to share the game they made with you. There is no center where you can browse them and download and test the game you want. Even with this much potential, it was possible to export the game and play it with a separate program on the PC if necessary. With such content, the future of the game could be much clearer, but I also think that Nintendo will not be too close to this process. In short, it has trapped a game with a good potential in its own shell due to the lack of game center and export.
As a result, as I said at the beginning, Game Builder Garage was a fun and enjoyable production to play with. It has important shortcomings in terms of content, but I think it can take this structure to much more extreme with possible updates. Most importantly, it transfers your game-making logic to the player around its own dynamics. He uses Nodons for this and makes the job more enjoyable. If you like this kind of productions and want to design your own mini-games, you can take a look at Game Builder Garage.