


These are just my samples of my thumbnails that I used before on my past articles. It's just plain and simple but I find it neat even I'm not professional and I just took a minute upon doing it.
Aside from that, I also using non-copyrighted pictures on my past articles which is legal and free to use then I will edit it if I want.
Here are the samples:

It's simple but I find it attractive because I didn't took up to 5 minutes just to finish it. In addition, this is all for free and I don't released any cents or investments just to make this edit good.
THINGS THAT YOU NEED

PHONTO
PICSART (OPTIONAL)
INTERNET (for pictures)
BROWSER
HOW TO SEARCH PICTURES?1) If you want to find nice pictures with free of copyright, then you can use this sites in order to search your preferred pictures for your thumbnails or images.

2) You can also go to Google to search your preferred topic then you just need to search the keyword plus the free stock sites that you will use.
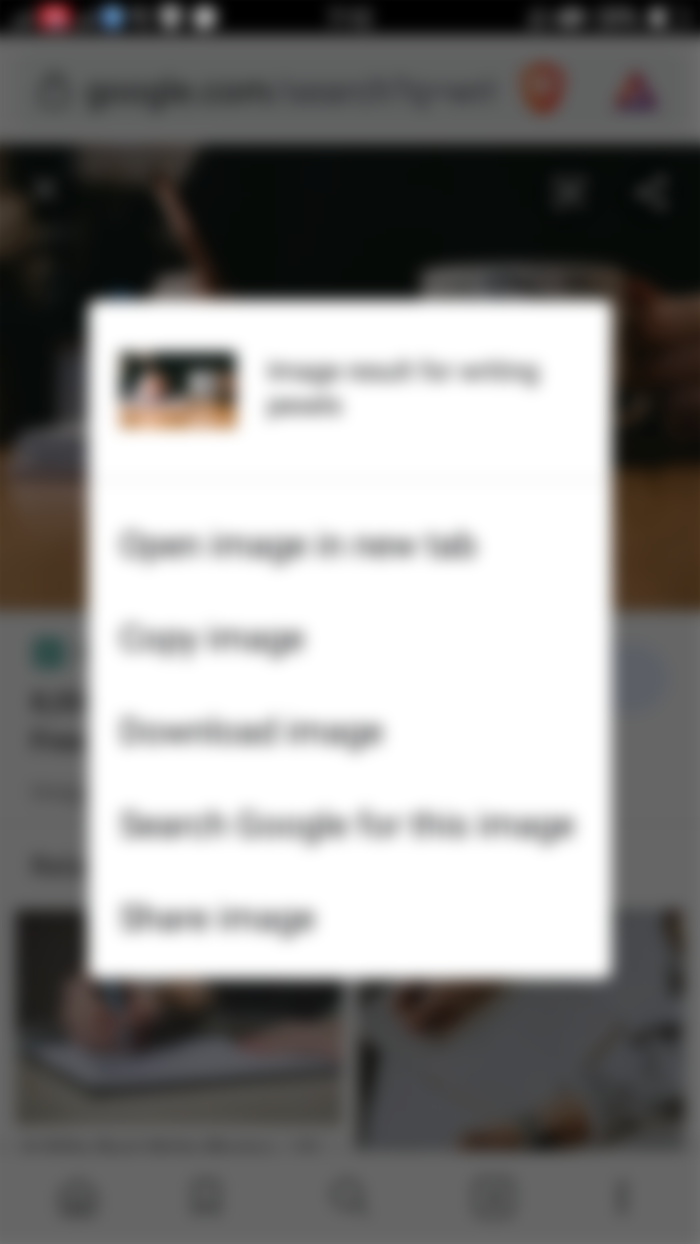
For example, WRITING PEXELS
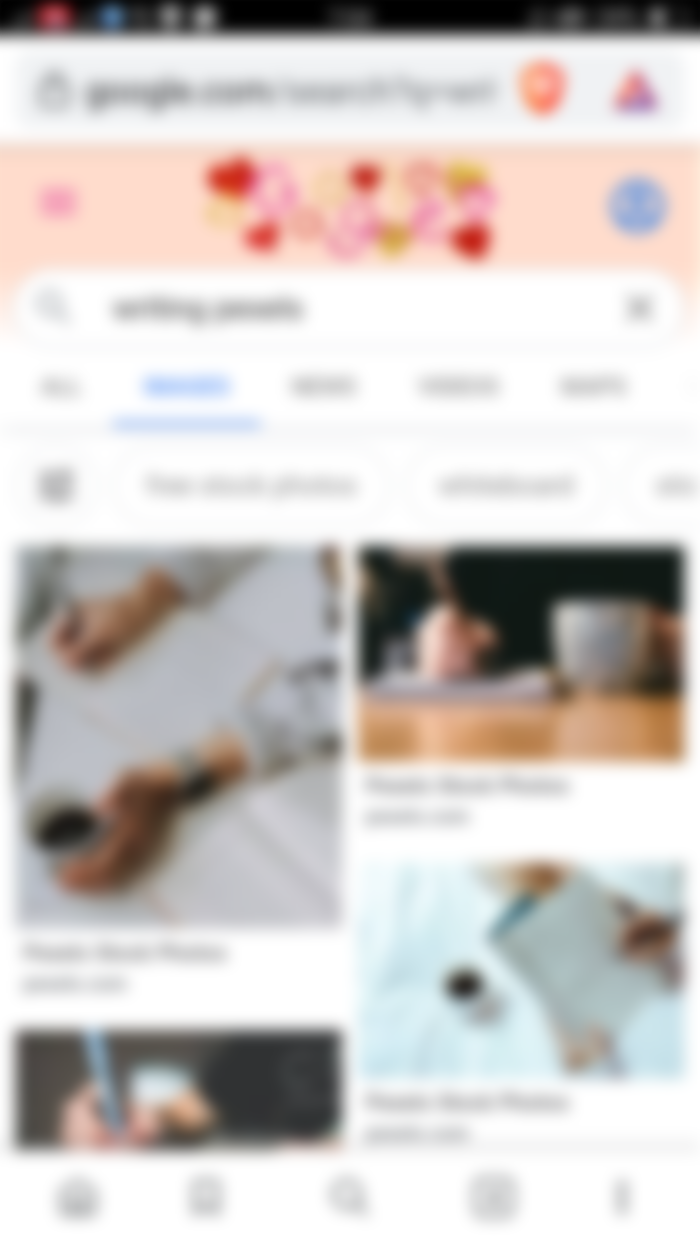

3) Click the picture that you like and I reccomended you to use landscape photos since you will use that as your thumbnail.
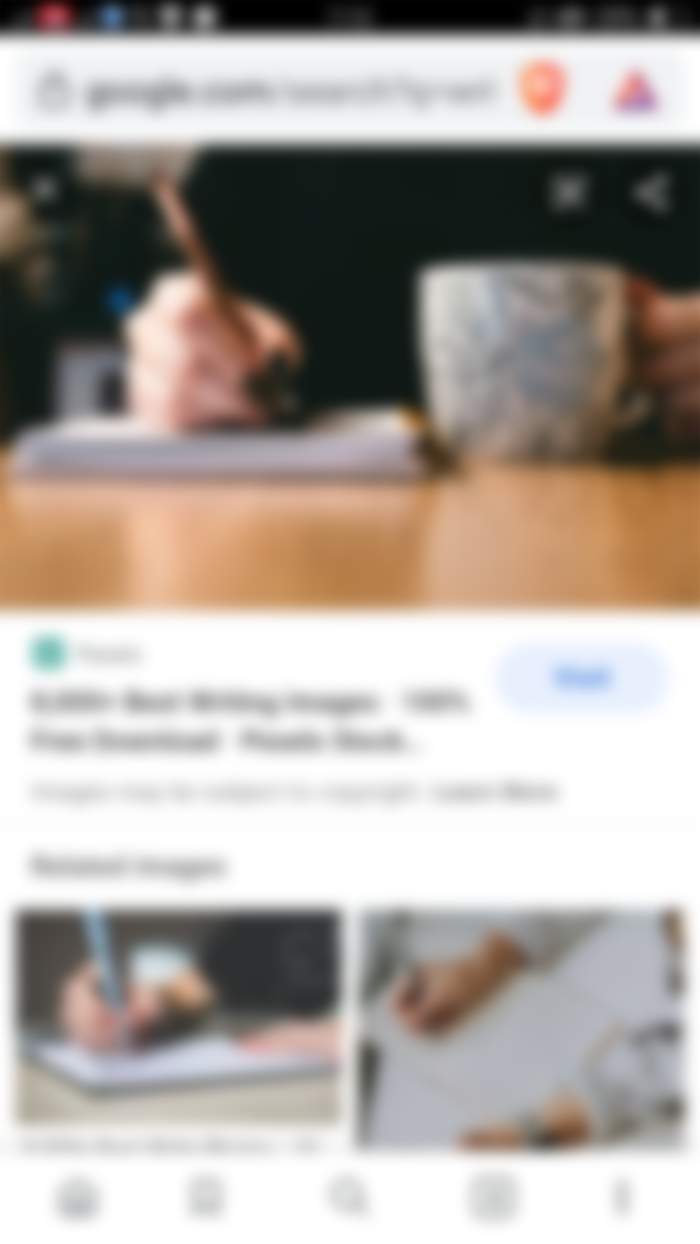
4) Long press the photo then click DOWNLOAD IMAGE.
HOW TO DOWNLOAD PICSART AND PHONTO?Just go to your App Stores then search PicsArt and Phonto and install it. Unfortunately, Phonto has been now unavailable to my version but I downloaded it before so I can still use it.
HOW TO ADD FONTS?1) Go to another tab then search dafont.com.
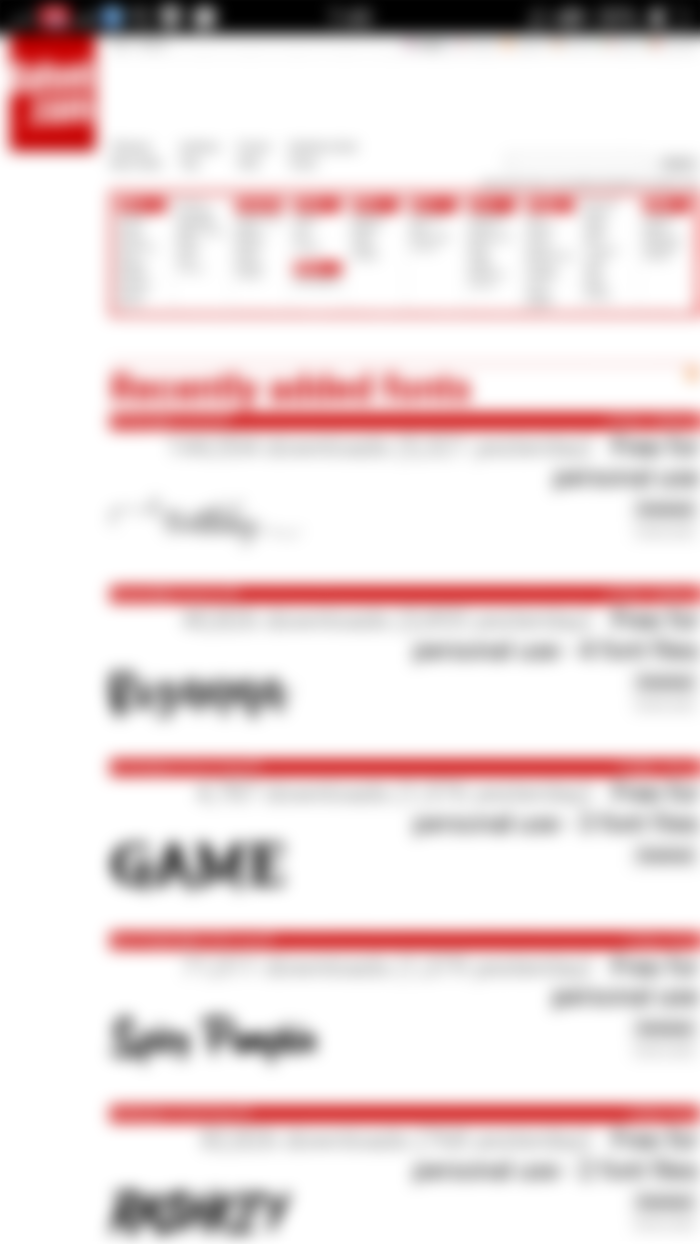
2) You can also choose random categories depending on your choice then you will direct to more customed fonts that you can choose from.
3) If you were interested on what font that I used, you could search Amalfi Coast, Bebasneue, Cherolina and Good Brush then download.


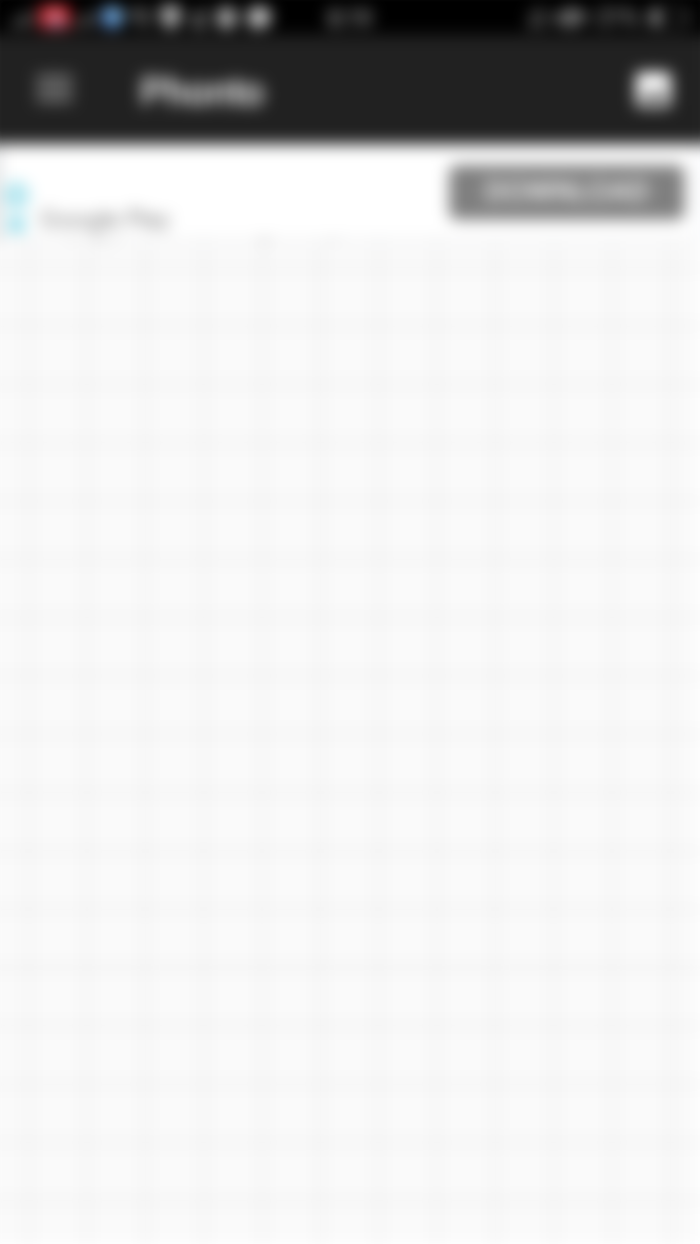
4) For example, I like Blanchope. I will click of course the DOWNLOAD button since I like it and I want to use it for my edits.
5) I already downloaded it so I will click Phonto to start.
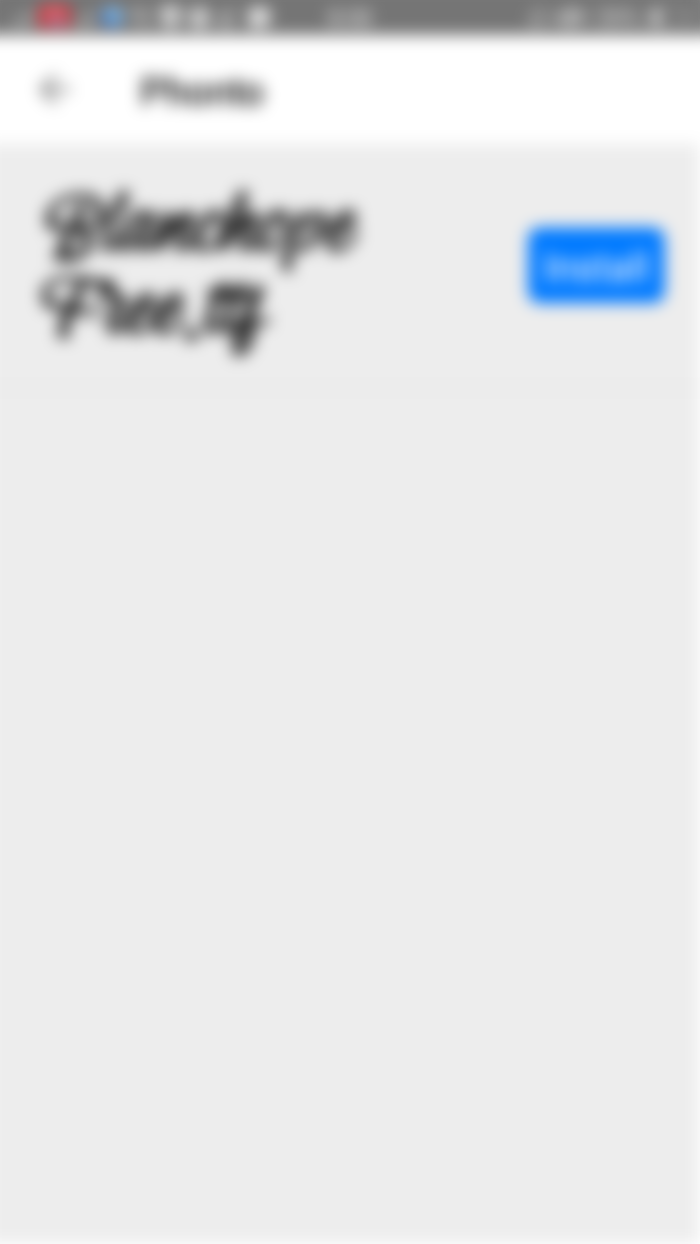
6) Click Install.
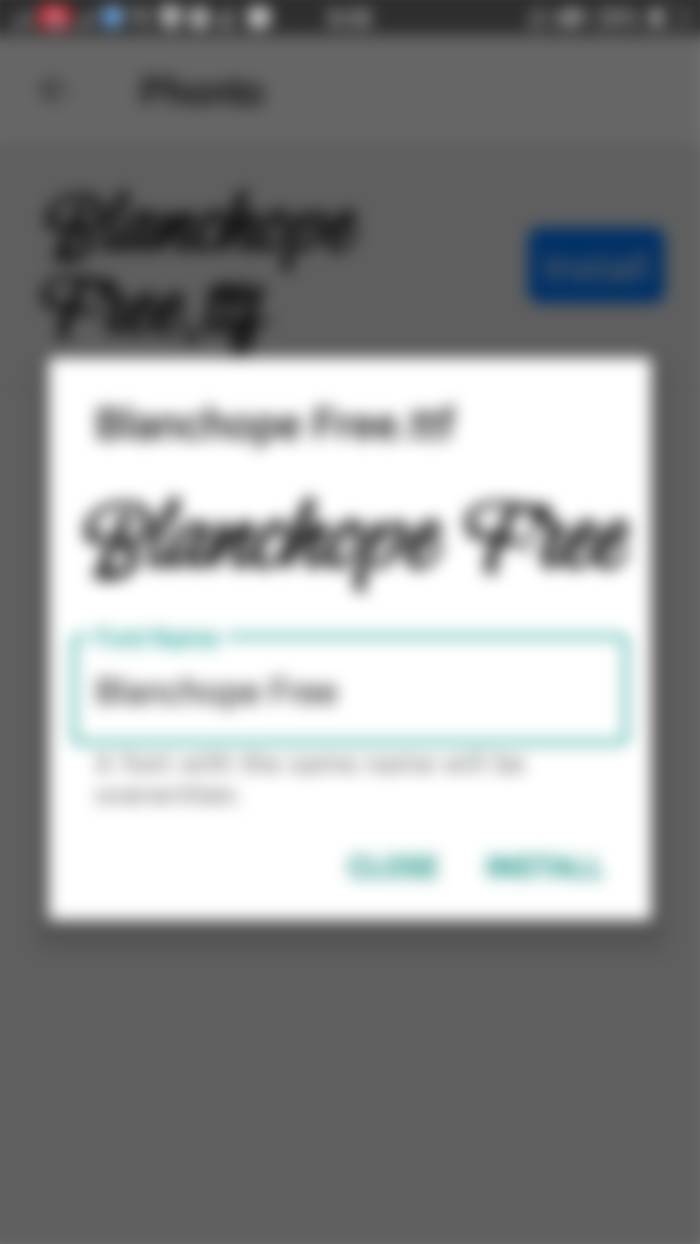
7) You can edit the name but for me, I will just click the INSTALL.
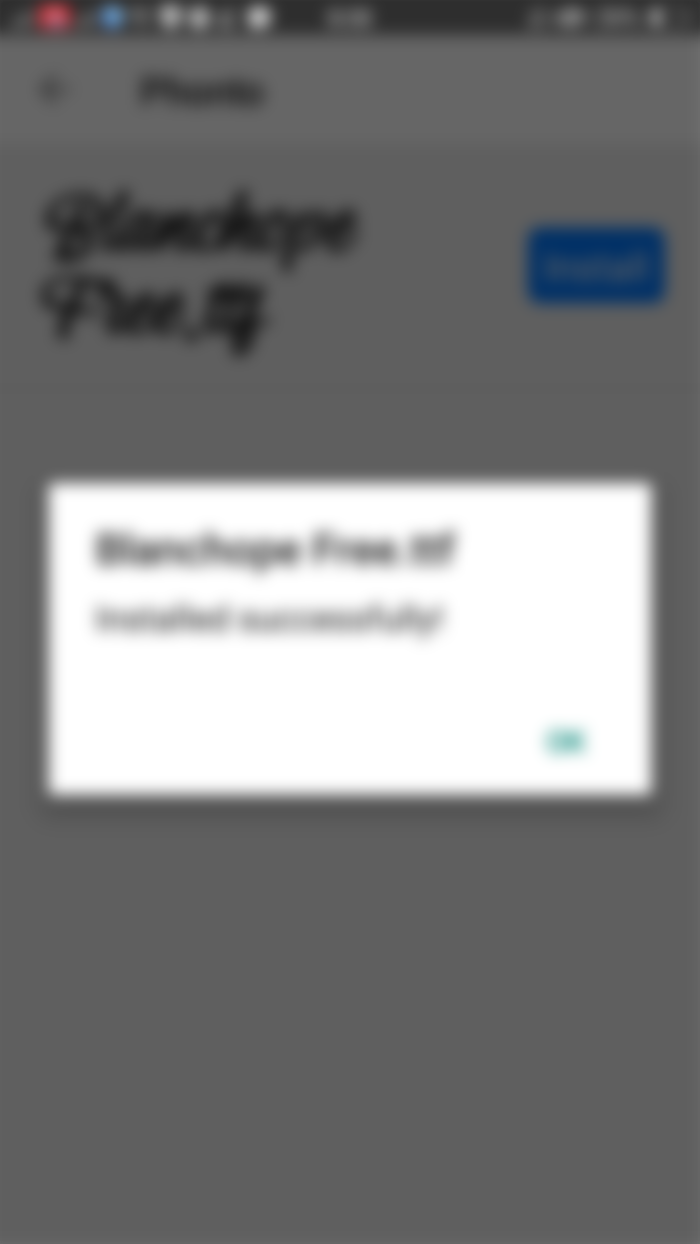
8) Click OK.
HOW TO START?1) It's up to you if you will edit your pic using PicsArt but it's just optional. You can use that app for cropping, putting stickers, making GIF etc. But, I'm now focused on how I edit my thumbnails on Phonto so I will not explain to you one by one.
2) Back to the app, you can now open your Phonto then start editing.
3) First, click the Image button then you will direct here.
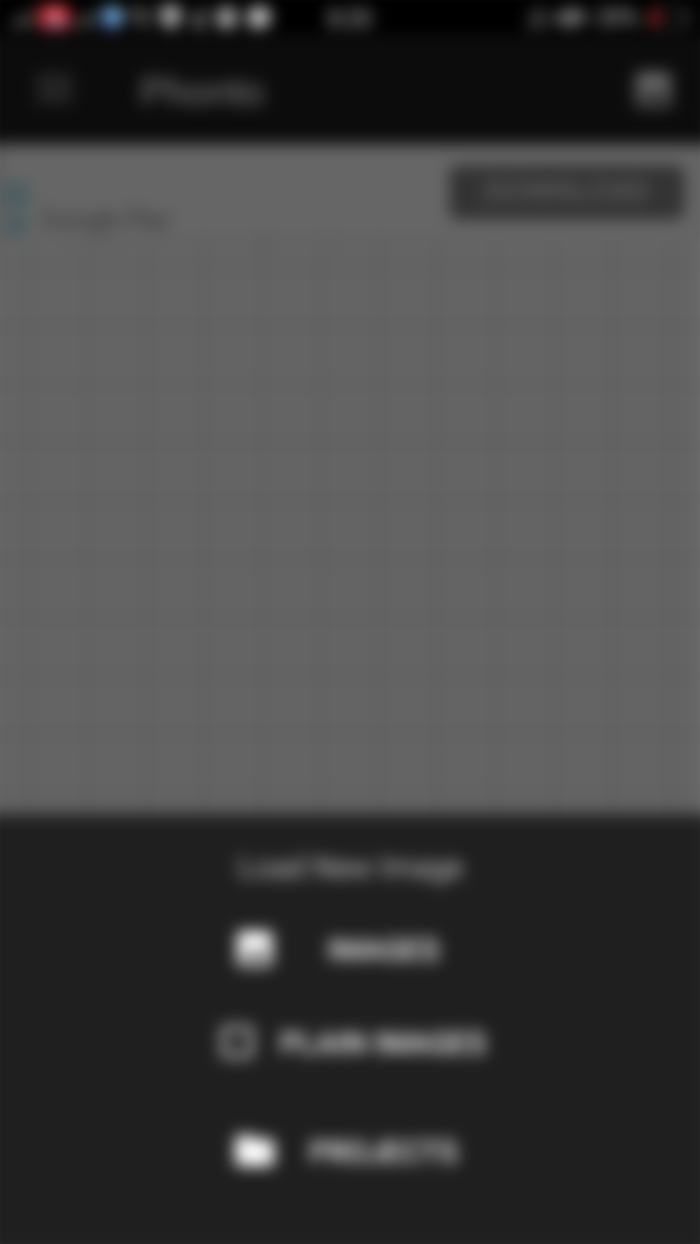

4) Second, if you will click Images, you can use your existing download images or own images for editing. For now, I will be focused on Plain Images.
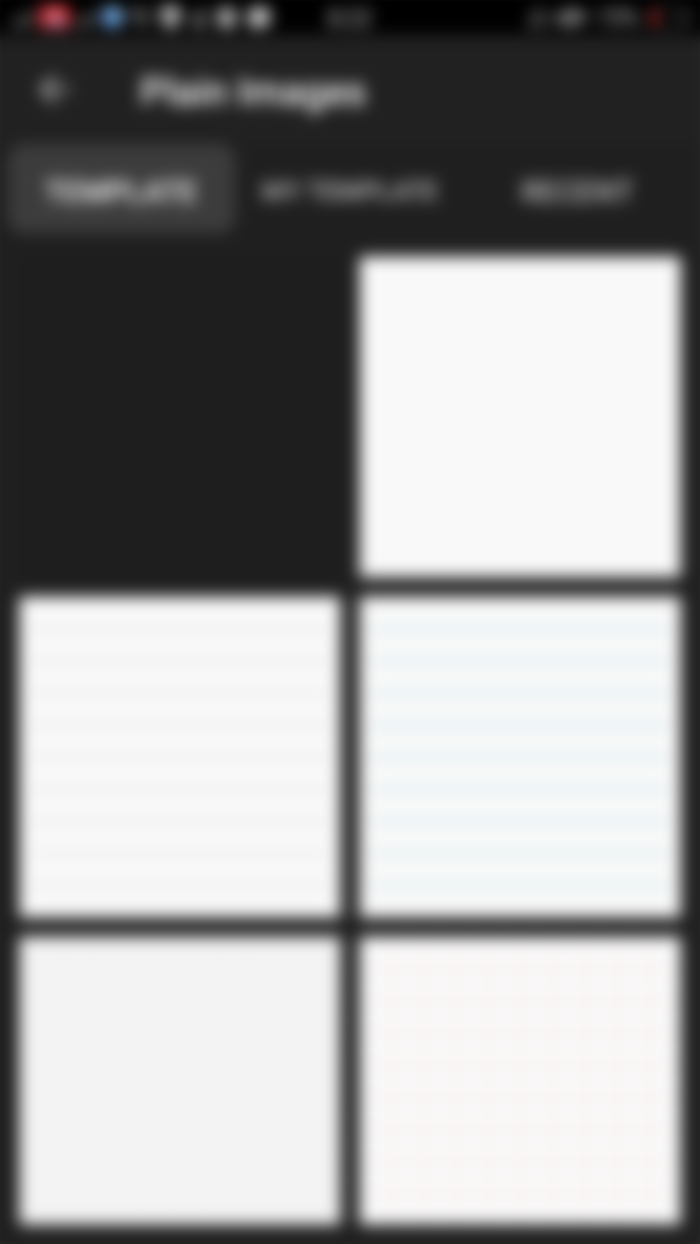
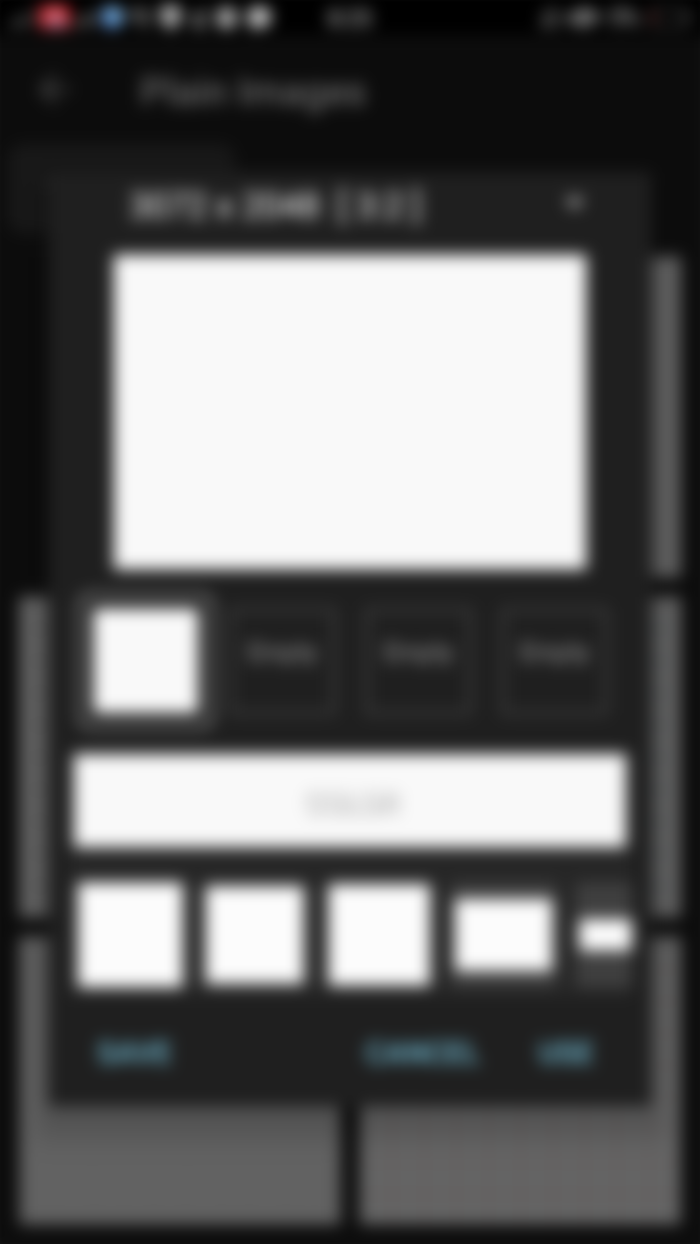
5) Third, pick the White Plain Background then click the arrow button to adjust or cut the image size.
6) Just scroll then click the 3:2 ratio since we need full width background as our lead image.
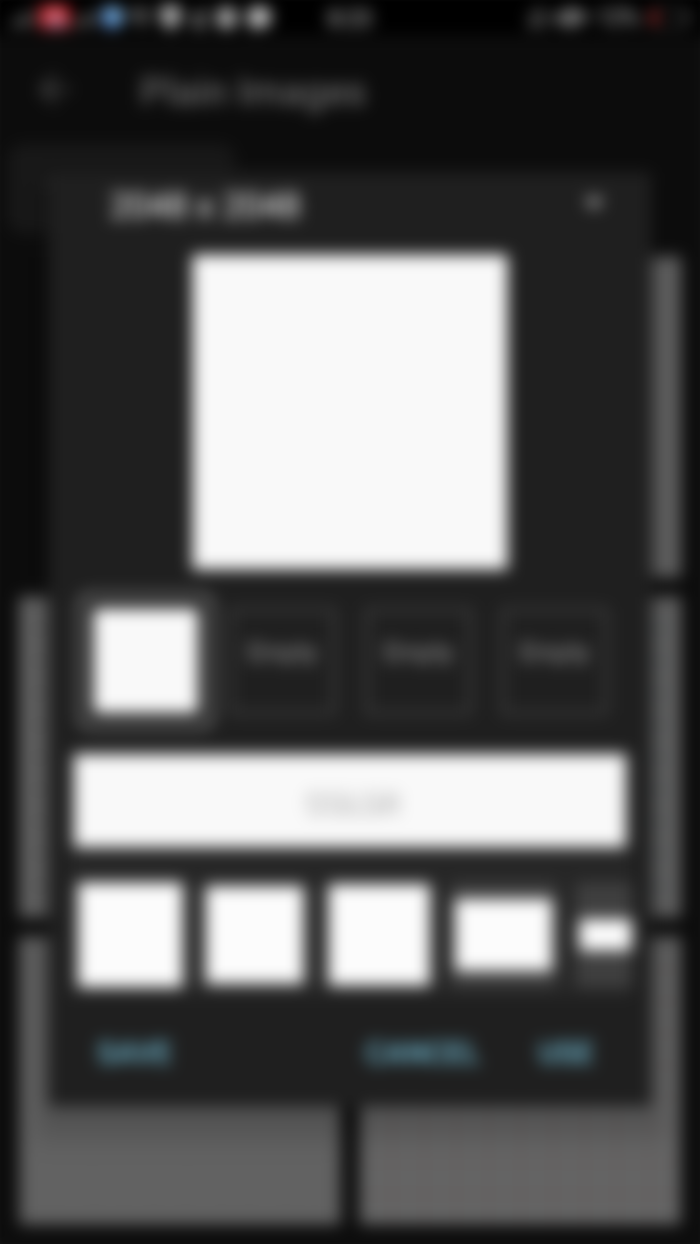
7) The next thing that we will do is to click the COLOR button then pick color that suits to your taste. For me, I would use BLACK.
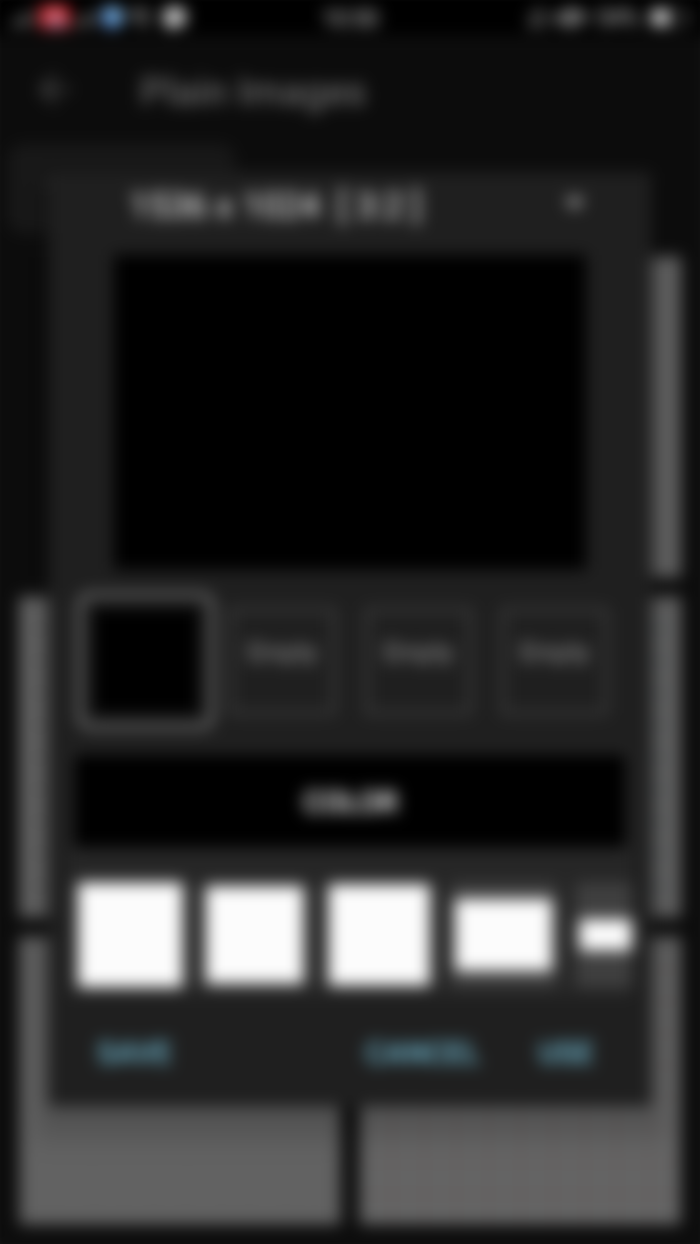
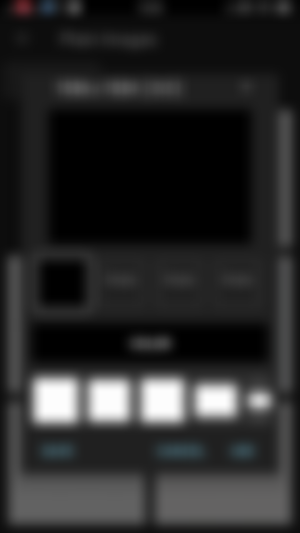
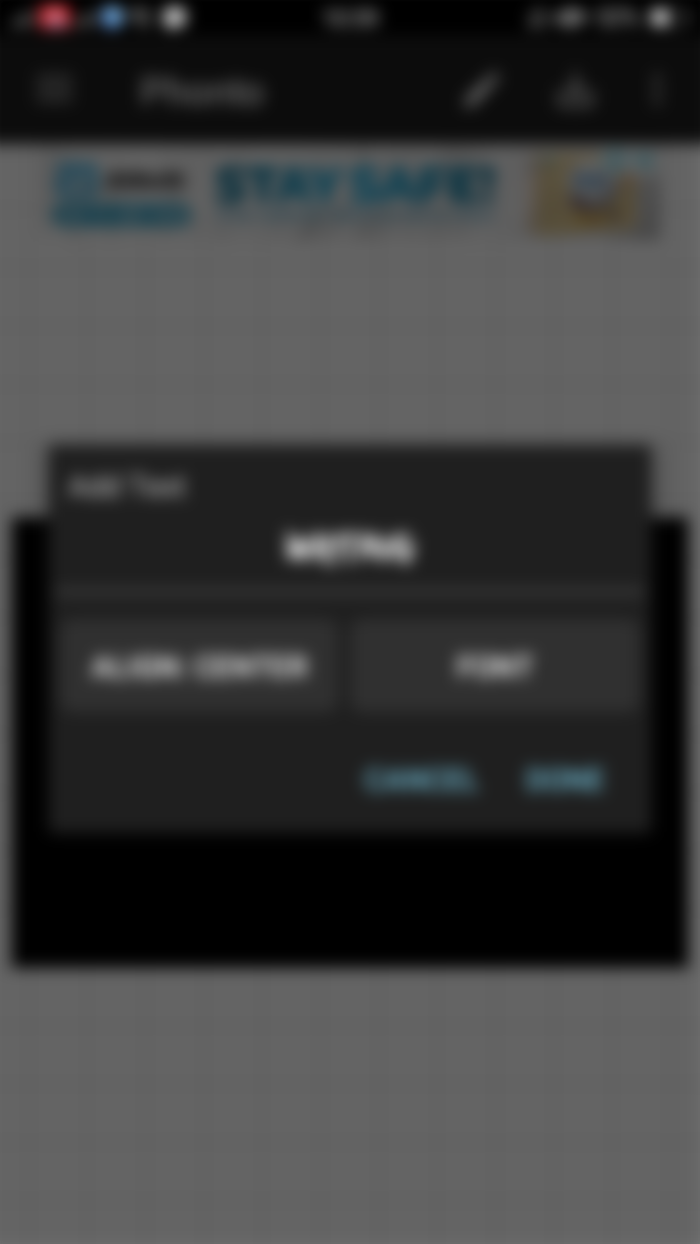
8) The next thing that you will do is to tap USE to start adding text.
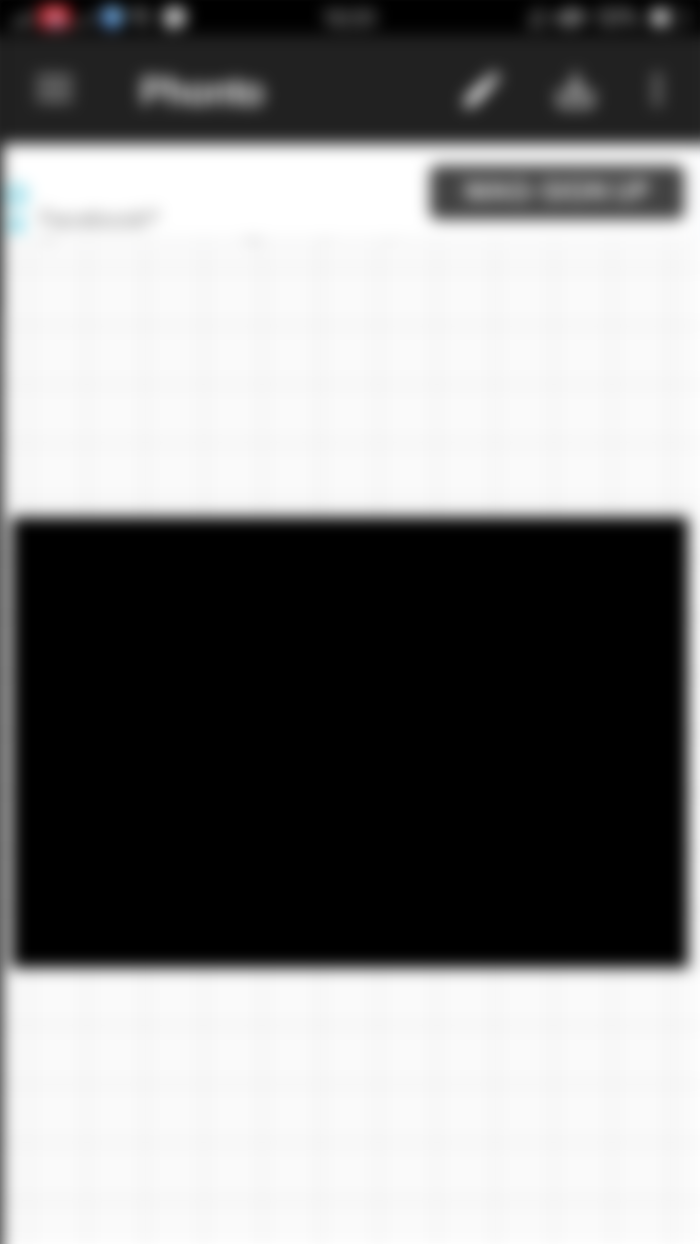
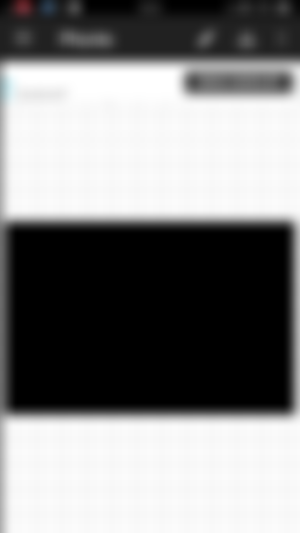
9) Tap the Pencil button and it is located on the top right button of the app.
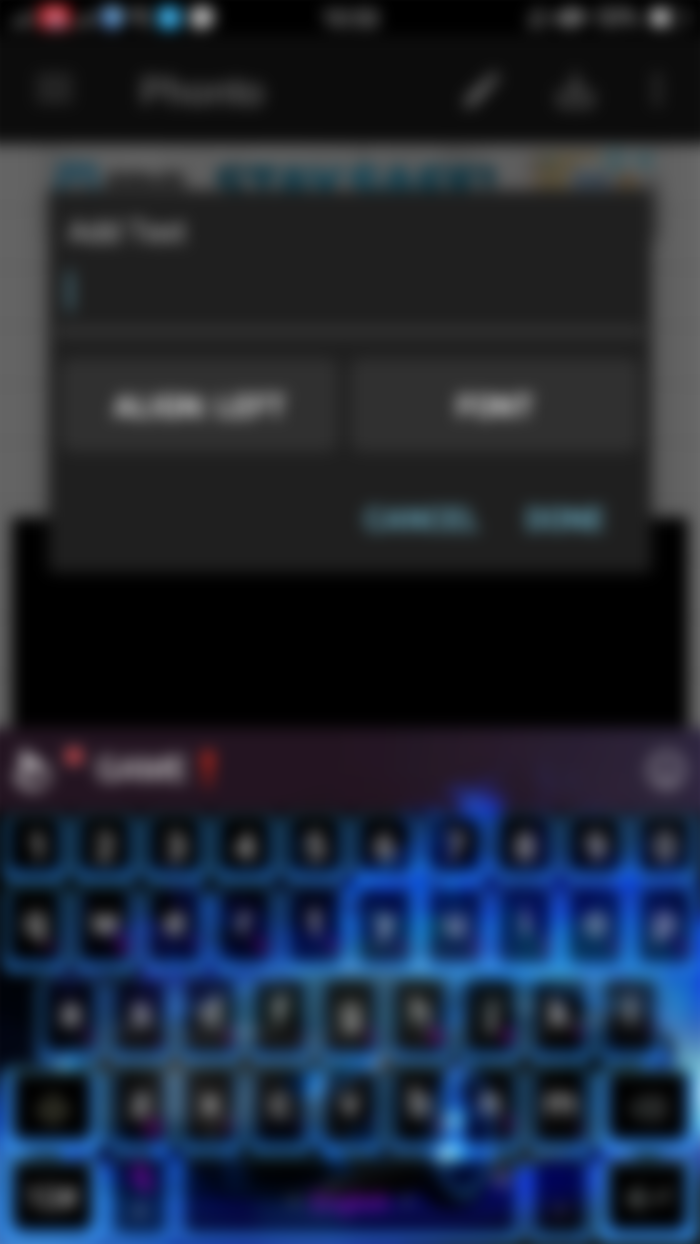

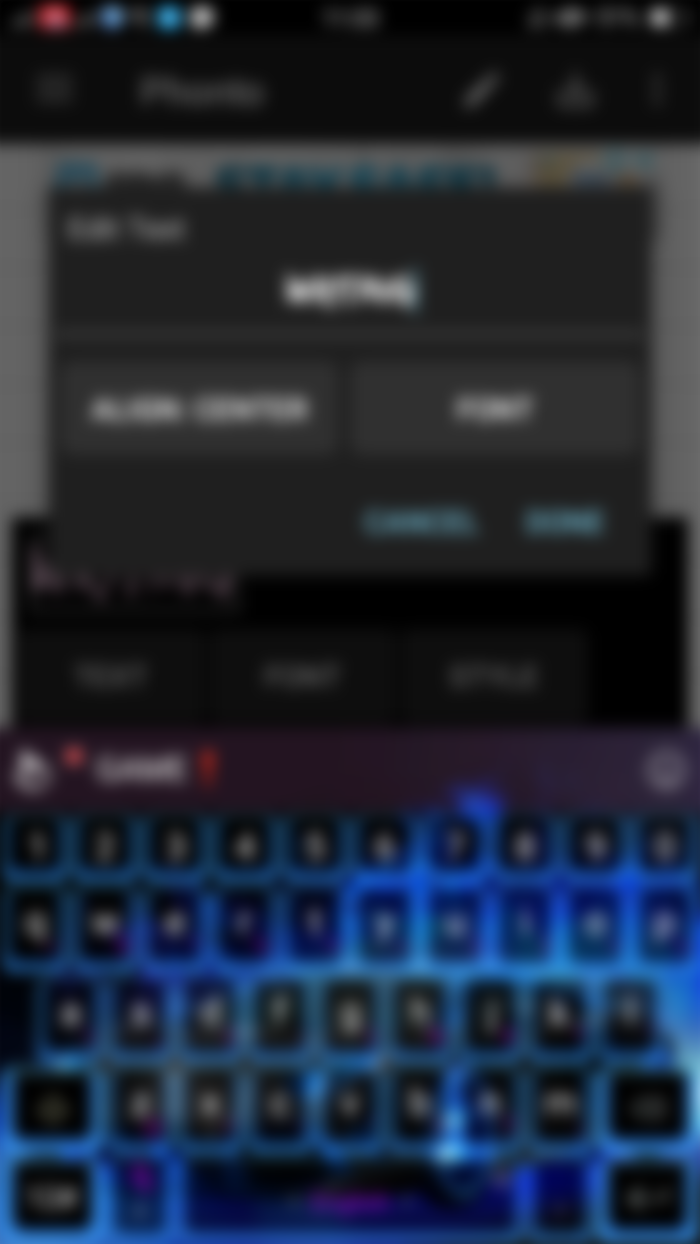
10) Next is you will write your title then click left to make your words aligned on the center.
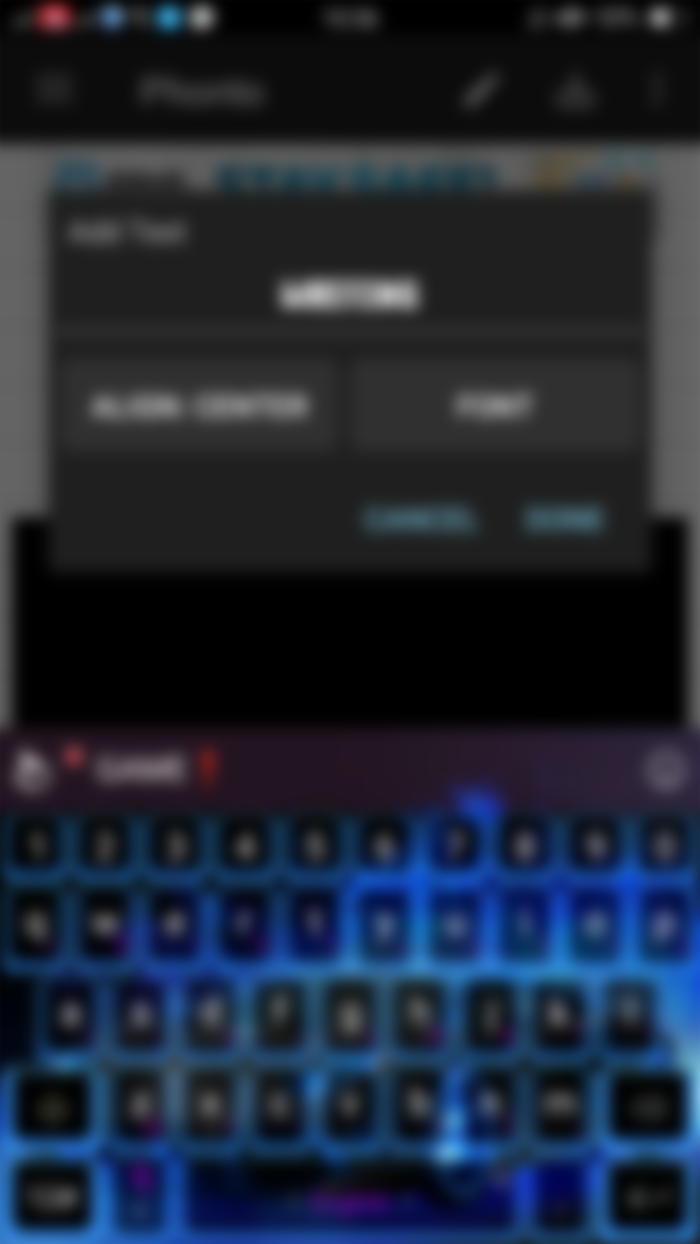
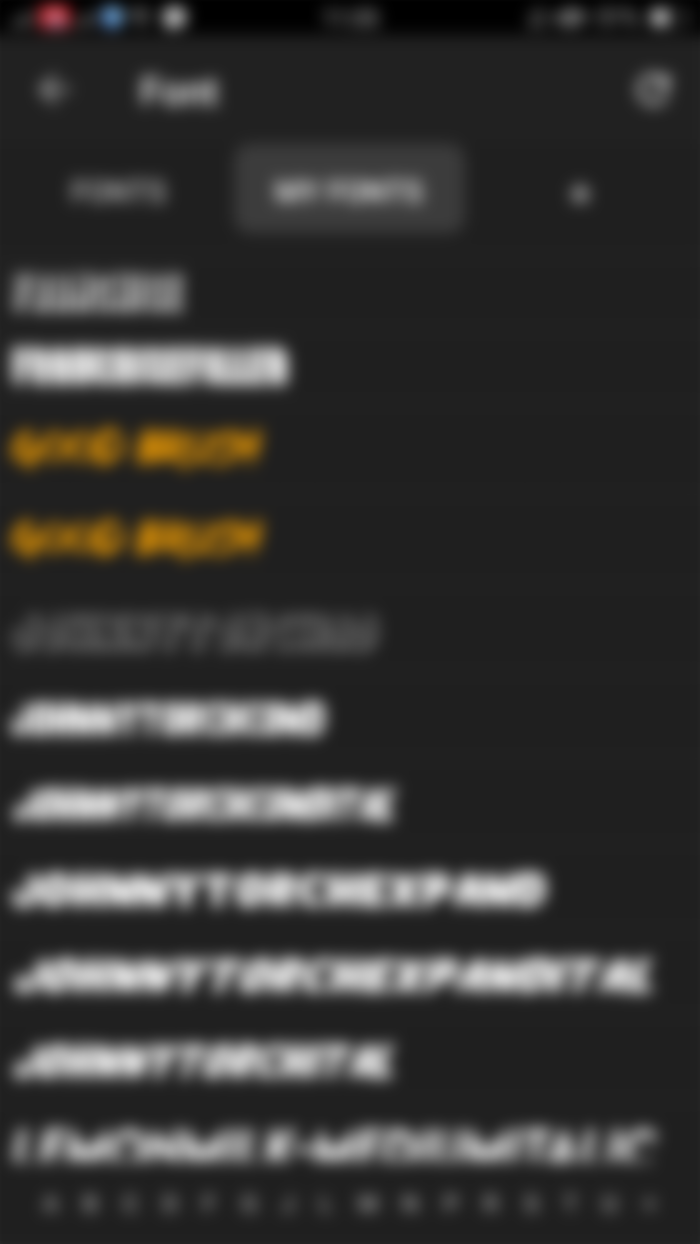
11) Choose what font do you like by tapping the Font button. As you can see, you can choose to Fonts which is provided by the app or My Fonts since those are the fonts that you downloaded a while ago.
11) If you already satisfied to your font, click DONE.
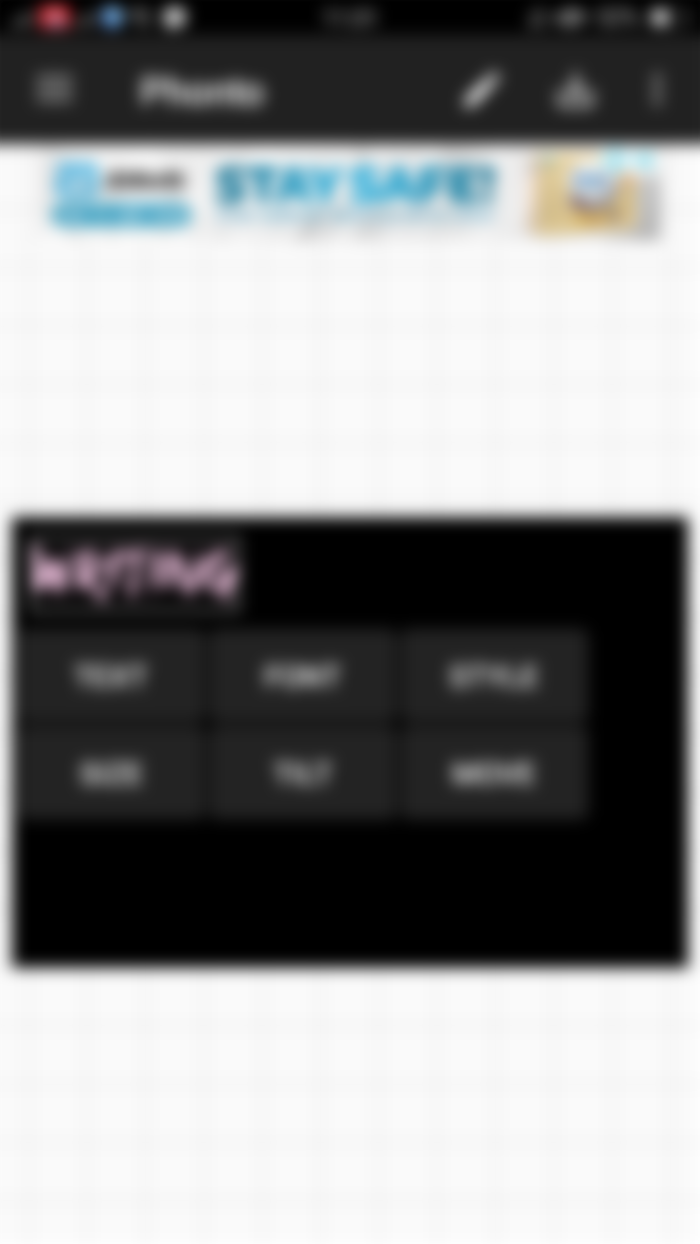
DIFFERENT BUTTONSTEXT: You can edit your text, the alignation or even changed your font if you used to.

FONT: I said it repititively but it's just also the same. You can change your preferred font depending to your style.
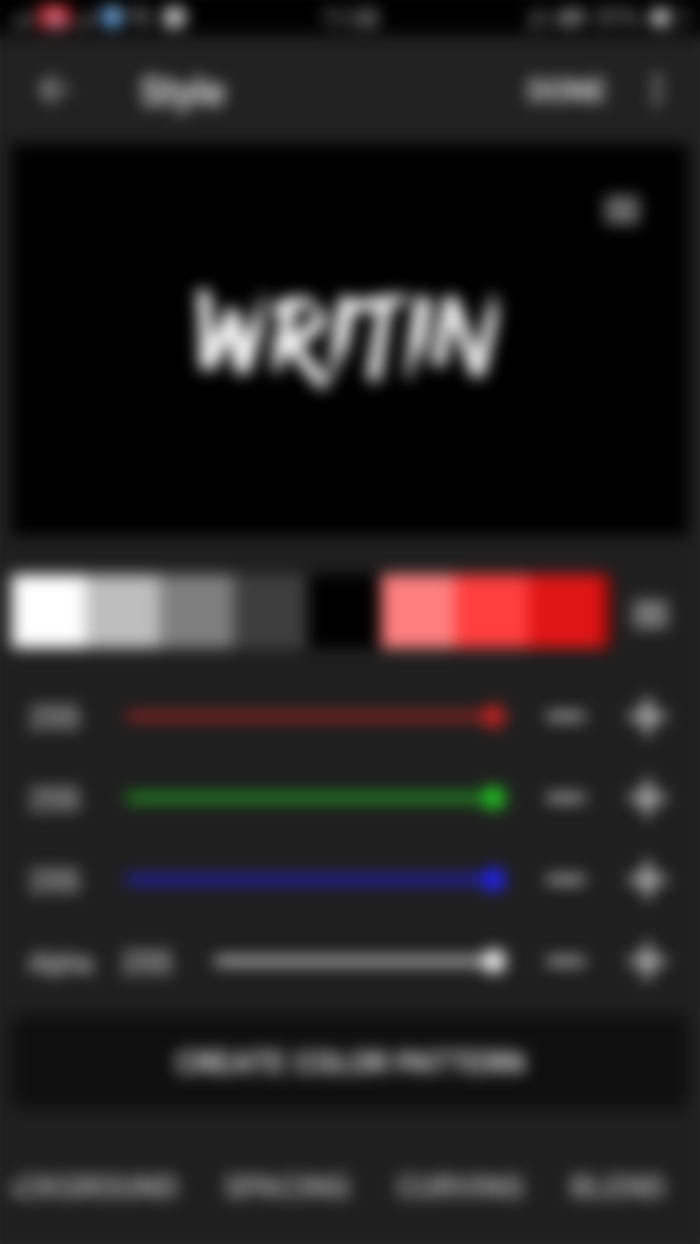
STYLE: You can edit here your text by it's color, shadow, curving, background, spacing, and blend. Click done after you've done at customizing.

SIZE: You can drag down how big or small is the word that you have to fullfill the space that you need.
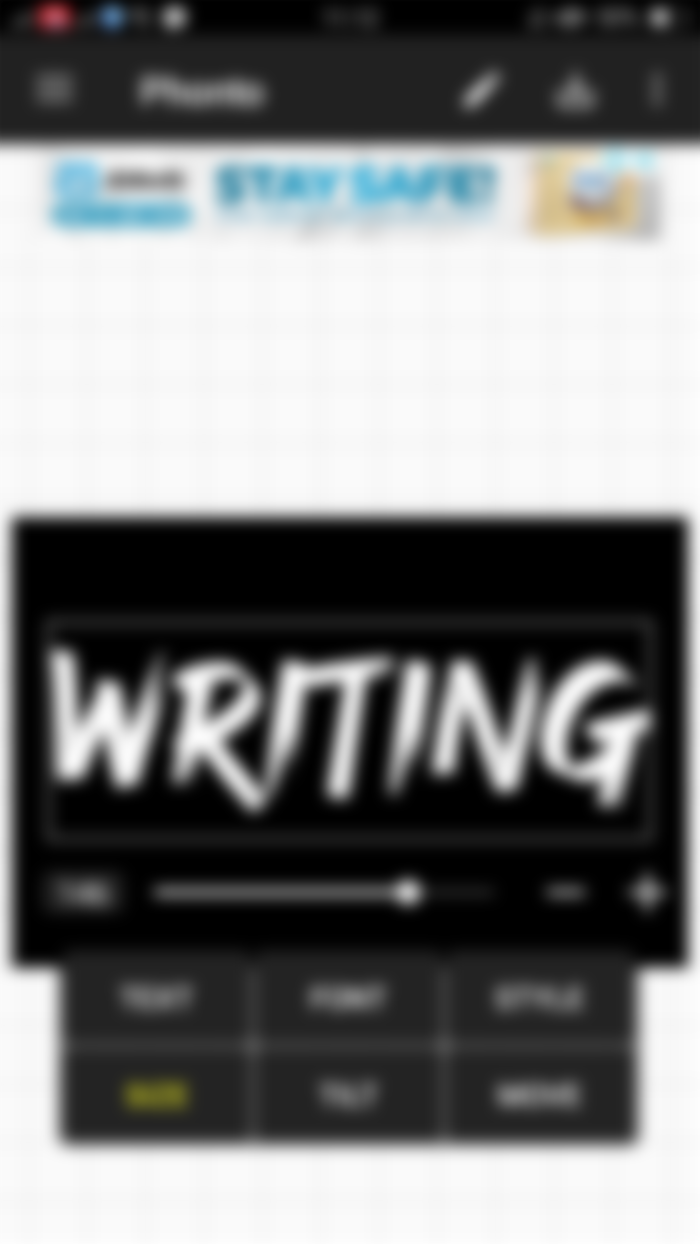
TILT: You can tilt your words depending to your angle and taste. I recommend you to use plus and minus button for better adjusting.
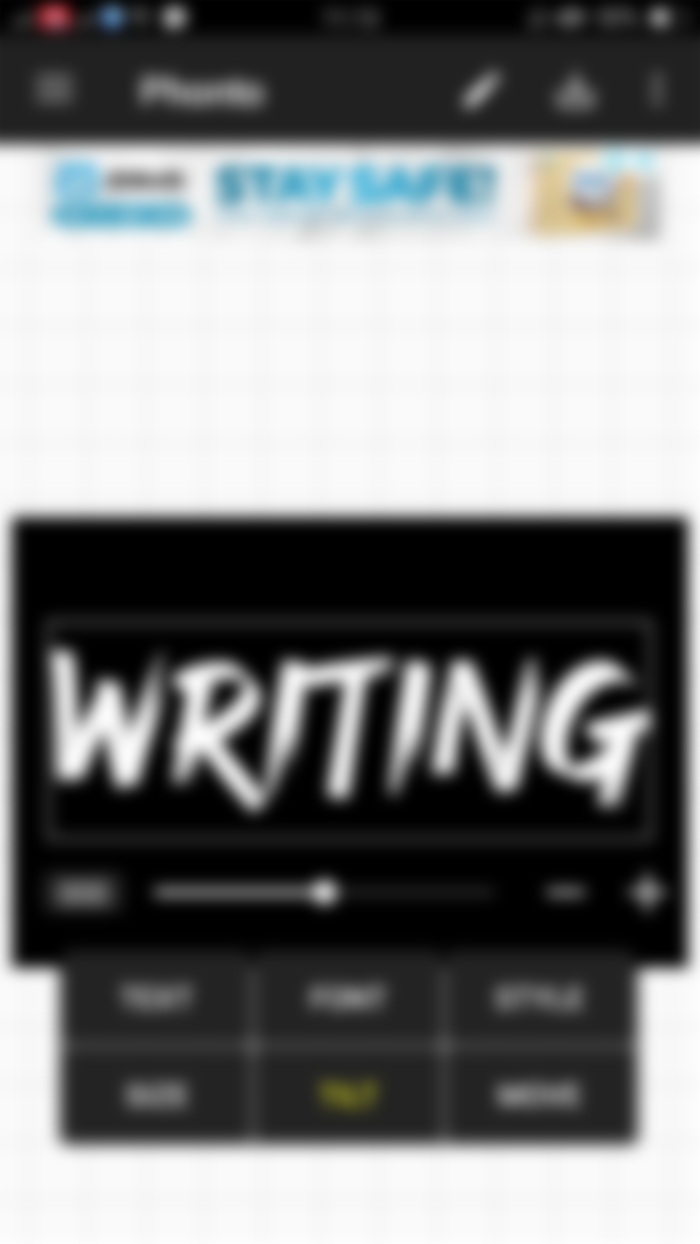
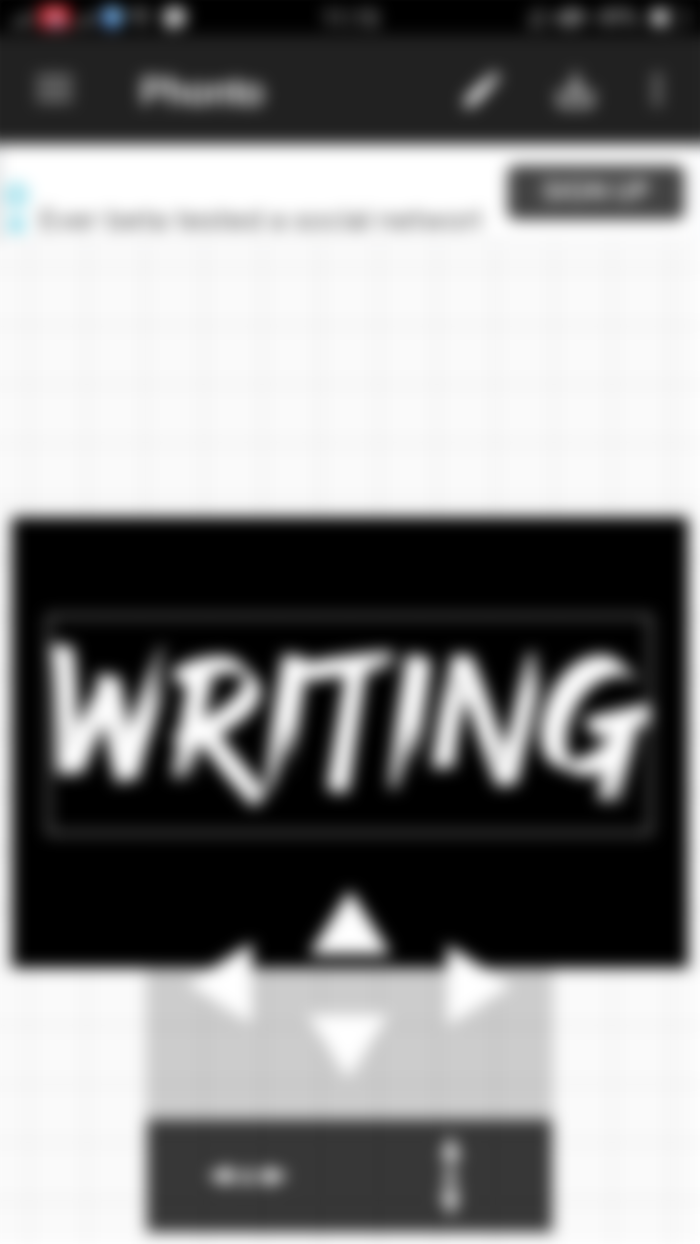
MOVE: This is the way to let your words move little by little by just tapping the button for better accuracy on the place where do you want it to put.
SAVING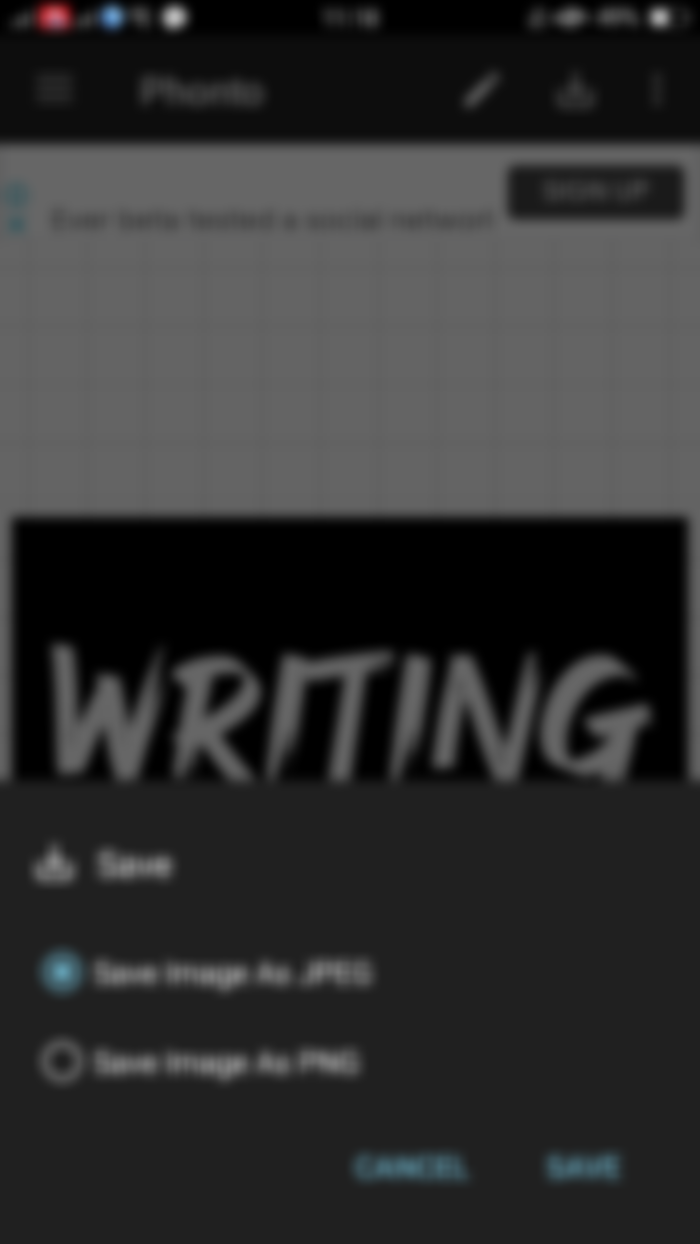

Click the SAVE button then you can choose if JPEG or PNG will be your image format. If you already decided, tap SAVE then it will be downloaded directly to your GALLERY.
That's all for today. Thank you for reading uo until the end.
Thank you so much for sharing this detail in this article. But here I am going to suggest you something different. You have to visit this website https://masterbundles.com/gifts-system-administrator/ for the ideas which are useful for encouraging your staff. I am sure the content available on this website is helpful for increasing the productivity in the work of the employees.