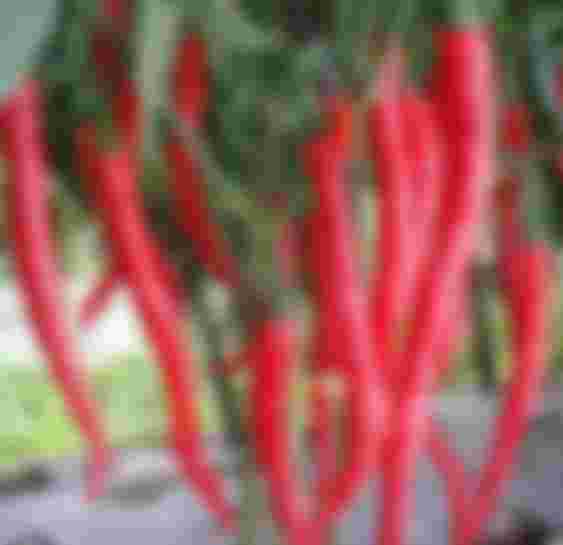
the life of every human being on this earth has a different way of producing and producing from this foothold, the background of life that is the priority of life makes life diverse. That's what happens in rural areas who prioritize their source of life in agriculture, all kinds of plants decorate agricultural land and on this occasion I will share a simple way with conventional work by planting red chilies.
but before that there were amazing friends who have accompanied me and supported my work in this community they are very good and I am proud of them. May you be in good health and always be blessed in all your endeavors and work.
The Sensation Of The Red Turning The Smallest Corner Of The Countryside

1. Selection of red chili seeds

The first step that must be done in planting red chili is the selection of seeds. Adjustment of the type of chili seed to the location of planting, seed quality and economic value is of course very influential. You can get red chili seeds in two ways, namely getting your own seeds from farmers or buying them at a seed shop. To obtain seeds from the previous chili plants, it can be seen from their physical appearance, the size of the parent is large, the shape is perfect and looks healthy. These criteria will produce quality red chili as well. Allow the fruit to ripen on the tree if necessary until it dries on its own. Choose red chilies from the fourth to sixth harvest because during this period they produce optimal seeds. Yields in the first to third period usually produce little fruit. Meanwhile, when the final period is obtained a lot of fruit but tends to produce small fruit. Cut the fruit into three parts, take the seeds in the middle because usually the seeds in the middle are of higher quality. Soak the red chili seeds in clean water. Choose seeds that sink in water and don't use seeds that float. Dry the seeds to dry, for 3 days or more. For organic seeds, you can soak them with a fungicide to prevent the seeds from being attacked by fungi. Store in a dry place so the seeds can last a long time.
2. Seeding red chili seeds The next stage is sowing seeds


For an area of one hectare, about 1/2 kg of red chili seeds are needed. Before becoming a seed, the seed must be sown first. Why does it have to be sown first? Why not planted directly on the ground? Yes, this stage may be considered complicated by some people, but please note that not all seeds planted grow well. Seeding is done to select the seeds that have really grown and are strong enough to be planted on a wider area. In order for the seeds you plant to be fully successful, the nursery should be shaded to avoid direct sunlight, wind and heavy rain. Prepare planting media and polybags measuring 5X10 cm. Fill the polybag with planting media until it reaches 3/4 of the way. Planting media can contain a mixture of soil, compost and husk charcoal in a ratio of 1:1:1. Stir until well mixed. While preparing the planting medium, first soak the seeds in warm water for about 6 hours. This is done to stimulate seed growth. When finished planting the seeds thinly (as deep as 1.5 cm), cover them again with planting media. Put the polybag in a safe place, don't get pecked by the chickens When the seedlings have grown 4-6 leaves (approximately 1 month old or more) you can move them to a wider area. Water every morning and evening. You can cover the surface of the polybag using newsprint so that the seeds are not damaged by water. Flush the surface of the newsprint until it drips on the surface of the polybag. Usually after 2 weeks the red chili seeds have grown, even on the 3-4th day, you can see signs of growth.
3. Land preparation

In order for red chilies to grow densely, good and proper land management is needed. In general, the tillage stage consists of loosening the soil, adjusting the pH level and adding fertilizer so that the nutrients in the soil are met. If it is necessary to cultivate the soil, it should be at the same time as starting the nursery so that the land is ready when the chili seeds are also ready to be moved. A week before planting, flush the planting medium with a growth-stimulating solution. Start by plowing or hoeing the land to a depth of 40 cm. Remove gravel or stones and any remaining plant roots. Too many weeds can be removed using herbicides. Make a bed with a height of 40 cm and a width of 1 m. The distance between beds is 60 cm. In order to facilitate maintenance, make the length of the bed a maximum of 15 meters. Red chili plants do not like standing water, so good drainage is needed. Soil acidity with a 6-7 is the optimal level for red chili cultivation. If it is too acidic, it will produce young chili plants that are attacked by the virus and the leaves will look pale. To prevent this, dolomite or agricultural lime as much as 2-4 tons/ha can be used. Apply dolomite or lime during the plowing and land making process. Give organic fertilizer on each bed evenly, can be with manure or compost. Cultivation of red chili requires organic fertilizer as much as 20 tons/ha. It is also necessary to add 200kg/ha fertilizer and 350kg/ha of urea. Giving mulch serves to suppress erosion, maintain moisture, maintain land cleanliness and be able to control weeds. Intensive chili cultivation should use plastic mulch to cover the beds. Although it costs more, the use of plastic mulch is quite profitable. Mulch serves to suppress erosion, retain moisture, keep the land clean and be able to control weeds. Make planting holes in each bed in two rows and space them 60 to 70 cm. Planting holes should be made not parallel or zig zag. This is done so that the air circulation remains regular and is able to penetrate the sun's rays. The depth and diameter of the hole is made about 10 cm or can be adjusted to the size of the polybag where the seedling is.
4. Transferring / Planting seedlings


After the seedlings have 3-4 leaves or when they are about 3 weeks old the seedlings can be moved to the field. Do planting simultaneously in one day and in the morning or evening to avoid plant stress. The stage of transferring and planting red chili seeds on the land. Insert the red chili seeds along with the planting medium into the planting hole by tearing or opening the polybag at will. Try to keep the planting medium intact and not split. Water the plants so that moisture is maintained.
5. Red chili care Do watering during the dry season by flooding.


Try to be careful when watering seedlings when they are still very easy and not strong enough. Do an inspection once every one to two weeks to see the condition of the plant. If there are damaged or dead plants, remove them immediately and replace them with new seeds. Installation of stakes as plant supports by tying the stems of the plants to the stakes after they are over one month old or the plants are tall enough. A stake or stick is needed as a support for the growth of red chilies to remain upright. Plug the stake next to the base of the stem at a distance of 4 cm and do not injure the roots. The stakes were planted a week after the seedlings were transplanted. After 1 month, cut shoots for land in the highlands and 3 weeks in the lowlands. Cut the shoots that are in the axils of the leaves. Do the cutting until the main branch grows which is marked by the appearance of the first or second flower. Further fertilization is carried out after every two weeks until the final harvest. To be more practical, use 100 ml liter of liquid fertilizer that has been diluted and then pour it directly on the plants.
6. Harvest


The harvest period for red chilies is 75-85 days after planting. The harvesting process can be done many times, depending on the type of chili, land conditions, and cultivation techniques. To extend the shelf life, pick the red chilies along with the stems at once. Harvesting can be done every 2-5 days. Choose ripe fruit marked with orange to reddish skin and pick it in the morning. Cultivation of red chili can reach 10-15 tons/ha, depending on the cultural technique and variety. If the optimal cultivation yields can reach 20 tons / ha. That's how to plant red chili is good and right.
That's how to grow red chilies is simple, let's always develop what is in our foothold on this earth, we may often cook and eat from this earth's source and a large part is the effort of farmers. we have to respect them. thank you all friends, if there are shortcomings I apologize, because I am very limited in my life. thanks for all the support.


I hope I have a little more space in my garden to make a small garden, I have tried it in pots, I have also prepared some beds, but it seems that the quality of the soil is not very good, because I have not obtained fruits yet. It is great what they do in that community for their own consumption, ideal.