It is always a pleasure to be with you sharing a little of my creations and trying to show you how the process of their creation was. On this occasion I bring you a very interesting project, so you can cheer up if you are a little bored at home. It is a long sleeve shirt, a classic garment that should never be missing from a lady's closet. I made it because my eldest daughter was asked to wear it at the Symphony Orchestra, since it is part of the uniform. Unfortunately, the ones I had were too small for her, so I had to make a new one, I documented the whole process, and I hope it will help you and encourage you to make one.
Siempre en un gusto estar con ustedes compartiendo un poco de mis creaciones e intentando mostrarles el cómo fue el proceso de su creación. En esta ocasión les traigo un proyecto muy interesante, para que se animen si están un poco aburridos en sus casas. Se trata de una camisa manga larga, una prenda de vestir clásica que nunca debe faltar en el closet de una dama. La realice porque a mi hija mayor se la pidieron en la Orquesta Sinfónica, ya que es parte del uniforme. Lamentablemente las que tenía, le quedaron pequeña, así que toco hacer una nueva, documenté todo el proceso, espero les sirva y se animen a realizar una.


I believe, as I told you, that I work with the bosses who bring the sewing magazines. But sometimes I copy the pattern from clothes that are already made, so if you have a blouse at home you can try to copy it. The process is simple, turn the garment inside out and on paper, mark each piece. However, so that you don't get lost, you can put some kind of code on it that you understand and that tells you where each piece goes.
Creo, que ya les había comentado, que yo trabajo con los patrones que traen las revistas de costura. Pero en algunas ocasiones copio el patrón de ropa que ya este elaborada, así que, si tienen una blusa en casa pueden intentar copiarlo. El proceso es simple, denle vuelta a prenda por el revés y sobre papel, van marcando cada una de las piezas. Eso sí, para que no se pierdan, pueden ir colocándole algún tipo de código, que ustedes entiendan y que les indique donde va cada pieza.
Materials Long sleeve blouse (size 12 children)
• 1 meter White cotton fabric
• 1 and 1/2 meter of white embroidered strip (optional)
• ¼ of grooved tape (optional)
• White thread
• 6 buttons
• Needles and pins
• Scissors
• Paper for the pattern
Materiales Blusa manga larga (talla 12 Infantil)
• 1 metro Tela de algodón blanca
• 1 y 1/2 metro de tira bordada blanca (opcional)
• ¼ de cinta gro (opcional)
• Hilo blanco
• 6 botones
• Agujas y alfileres
• Tijera
• Papel para el patrón


Step 1:
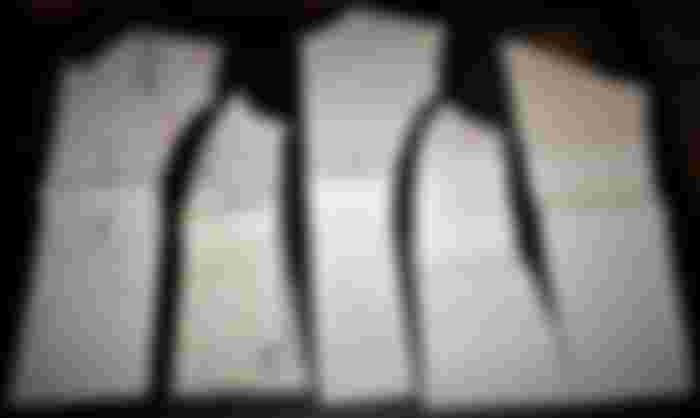
Once we have all the necessary materials, the first thing we have to do is mark the pattern on paper, if we don't have it already, another time, of course. Then we must trace each of the pieces on the piece of cloth. I will stop for a moment at this point, to copy the pattern on the fabric, if you don't have the special pencils for sewing, just use normal graphite pencil, never pencil. Once you have drawn all the pieces, proceed to cut each one of them, always keeping in mind that normally the fabrics have a right and a left side. Therefore, you should always keep in mind how each piece is placed on the blouse, in this case.
Paso 1:
Una vez que tenemos todos los materiales necesarios, lo primero que debemos hacer es marcar el patrón en papel, si no lo tenemos ya, de otra ocasión, claro. Seguidamente debemos calcar cada una de las piezas en el trozo de tela. Me detendré un momento en este punto, para copiar el patrón en tela, si no tienen los lápices especiales para costura, solo usen lápiz de grafito normal, nunca lapicero. Ya dibujadas todas las piezas proceda a cortar cada una de ellas, teniendo siempre presente que normalmente las telas tienen un derecho y un revés. Por ello, siempre debe tener pendiente el cómo va ubicada cada pieza en la blusa, en este caso.


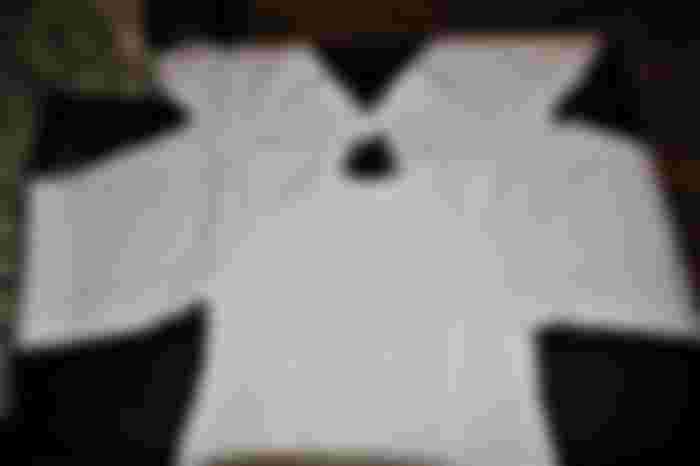
Step 2:
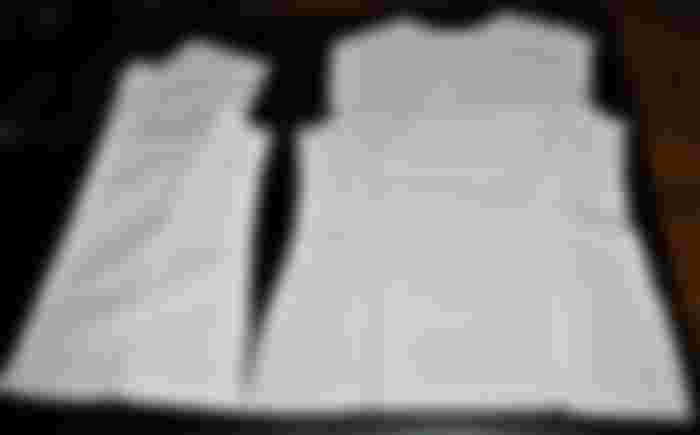
Well, we've cut and arranged the pieces, now it's time to cut the pieces. Like this blouse model, it has some clips to give a little shape and fit the figure. The first thing we do is to join the clamps, front and back. Although in this case, at the end you will realize that they are not very helpful, because I used a much bigger size than I should for my daughter. But you know, kids grow very fast and I wanted it to last longer, yet it always gives the blouse a better fit. After the tweezers are done, we pass the final stitching and proceed to iron them, to settle them. Always, it is good to do it at this moment, because later it is more difficult. Then, we pass the front part of the blouse with the back part, through the shoulder area, we pass the definitive seam and we iron it. As you can see, the iron is a good friend, in this type of project. I always recommend that, as long as the final seams are made, they are ironed. This step helps the seams to settle and the work becomes neater. In addition, if we leave it to the end, some seams could be very difficult to access and the end does not look so good.
Paso 2:
Bueno, ya cortamos y organizamos las piezas, ahora toca bastear las piezas. Como este modelo de blusa, tiene unas pinzas para que den un poco de forma y se ajusten a la figura. Lo primero que hacemos es unir la pinzas, delanteras y traseras. Aunque en este caso, a la final se darán cuenta que no son de mucha ayuda, porque utilice una talla mucho más grande que la que debería para mi hija. Pero ustedes saben, que los niños crecen muy rápido y quería que le durara más tiempo, sin embargo, siempre le da una mejor caída a la blusa. Luego de basteadas las pinzas le pasamos la costura definitiva y procedemos a plancharlas, para asentarlas. Siempre, es bueno hacerlo en este momento, porque después es más difícil. Seguidamente, pasamos a bastear la parte delantera con la trasera de la blusa, por la zona de los hombros, pasamos costura definitiva y planchamos. Como pueden ver, la plancha es una buena amiga, en este tipo de proyecto. Yo siempre recomiendo, que en la medida que se realicen las costuras definitivas, las mismas de planchen. Este paso, ayuda a que las costuras se asienten y el trabajo vaya quedando más prolijo. Además, si lo dejamos para el final, algunas costuras podrían ser muy difícil de acceder y a la final no se ven tan bien.

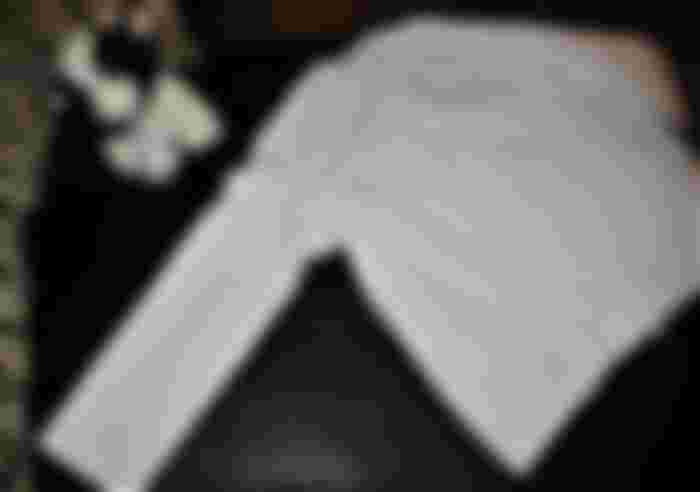
Step 3:
We've got the front and back together, now it's time to stick the sleeves on. For this stage we must join the curved part of the sleeve to the armhole of the blouse, as I show you in the picture. Then we join the front with the back, on the sides of the blouse, including the sleeve, first with a hem and then with the final seam. If we want, add a detail to the sleeve edge, as I did, place it before joining the pieces, so it's easier.
Paso 3:
Ya tenemos unida la parte delantera a la trasera, ahora toca pegarle las mangas. Para esta etapa debemos unir la parte curva de la manga a la sisa de la blusa, como les muestro en la fotografía. Seguidamente unimos la parte delantera con la trasera, por los lados de blusa, incluyendo la manga, primero basteado y luego con la costura definitiva. Si queremos, agregarle un detalle a la orilla de la manga, como lo hice yo, colóquelo antes de unir las piezas, así es más sencillo.


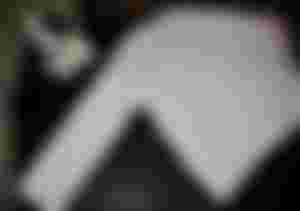
Step 4:
We have the shirt almost ready, only missing the final details, one of them is to assemble what is known as Frontal Folder. This is nothing more than the central strip, where the buttonholes are placed on one side and the buttons on the other. It can be done in several ways, some more complicated than others. The simplest way is to make a hem of about four, five centimeters or whatever you have left for that purpose according to your pattern. As I wanted to put a nice detail on it, I also put an embroidered strip, all along the blouse.
Paso 4:
Ya tenemos la camisa casi lista, solo faltan los detalles finales, uno de ellos es armar lo que se conoce como Tapeta Frontal. Esto no es más, que la franja central, donde, de un lado se colocan los ojales y del otro los botones. Se puede hacer de varias formas, unas más complicadas que otras. La manera más sencilla, es realizar un dobladillo de unos cuatro, cinco centímetros o lo que usted halla dejado para tal fin según su patrón. Como yo quería colocarle un detalle bonito además le coloque una tira bordada, a todo lo largo de la blusa.
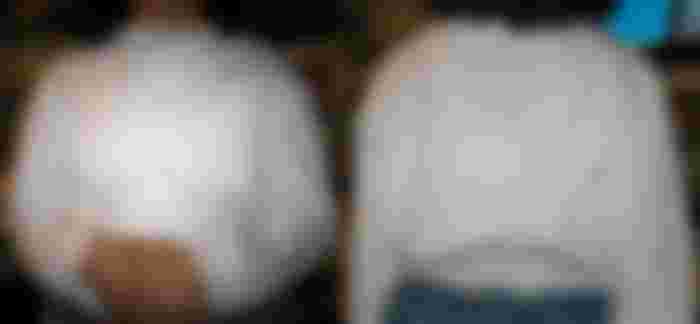

Step 5:
Now it's time to put the collar on the shirt. Since it's a ladies' blouse, I can take certain liberties that I couldn't in a men's shirt. In this case, since I was short of time, I did not put a collar on it, but made a simple hem, helping me with a bias, which I placed around the entire hem. Once the collar area is finished, all that is left is to make the buttonholes, to place the buttons. The last thing I did to finish it was to roll up the blouse and finally it was ready for my daughter to premiere it at her concert, which was very beautiful, by the way. I hope you liked this project, you can use my explanation, and if so, you can make a blouse.
Paso 5:
Ahora corresponde, colocarle el cuello a la camisa, como se trata de una blusa de damas, puedo tomarme ciertas libertades que en una camisa de caballero no podría. En este caso, como estaba corta de tiempo, no le coloque cuello, sino le realice un dobladillo simple ayudándome con sesgo, el cual coloque alrededor de todo el borde. Una vez terminada la zona del cuello, solo quedo realizar los ojales, colocar los botones. Lo último que realice para terminar, fue el ruedo de la blusa y finalmente estaba lista, para que mi hija la estrenara en su concierto, el cual fue muy hermoso, por cierto. Espero que les halla gustado este proyecto, les sirva mi explicación, y si es así, se animen a realizar una blusa.
Content and photographs of my intellectual property
Technical information
Camera: Pentax * istDL
Lens: Pentax 18-55
Lighting: Natural Light
Location: Barcelona, Anzoátegui State, Venezuela
Contenido y fotografías de mi propiedad intelectual
Información Técnica
Cámara: Pentax * istDL
Lente: Pentax 18-55
Iluminación: Luz Natural
Locación: Barcelona, Estado Anzoátegui, Venezuela