Well, as I have said many times, here in Venezuela, as a result of the pandemic, it has been up to us parents to educate our children at home. Of course, we are not adrift; the process has been guided by the teachers, who have sent us the assignments and instructions through various means of communication. WhatsApp, email, virtual classrooms, have been the tools we have used throughout this journey, which, by the way, has not been easy.
Bueno, como ya he comentado en múltiples ocasiones, aquí en Venezuela, a consecuencia de la pandemia nos ha tocado a los padres educar a nuestros hijos en casa. Claro, no estamos a la deriva; el proceso ha sido guiado por las maestras, quienes nos han enviado las asignaciones e instrucciones por diversos medio de comunicación. WhatsApp, correo electrónico, aulas virtuales, han sido las herramientas que hemos utilizado en todo este transitar, que por cierto, no ha sido fácil.


But, finally the school year came to an end and one of the requirements of the schools is that the children hand in an academic portfolio. The case is that the children had to elaborate an organizing folder, where the activities carried out could be placed in an orderly way. This folder should have divisions by subjects, in the case of my oldest daughter, it should have 4 divisions or separations.
Pero, finalmente el año escolar llego a su final y uno de los requerimientos de los colegios, es que los niños entregaran una carpeta o portafolio académico. El caso es que los niños, debían elaborar una carpeta organizadora, donde se pudiera ubicar de forma ordenada las actividades realizadas. La misma, debía tener divisiones por asignaturas, en el caso de mi hija mayor, debía tener 4 divisiones o separaciones.
As always, I decided to search on the Internet and found an option that I thought was the most practical and easy, to be carried out by my daughter, who by the way is in 5th grade of primary school. Besides, in terms of materials to be used, it was the best choice, given the current situation, we must evaluate all aspects. Well, I'll put the materials on it now.
Como siempre, decidí indagar en internet y encontré una opción que me pareció la más práctica y fácil, para que la realizara mi hija, quien por cierto cursa 5to grado de primaria. A parte, en términos de materiales a utilizar, era la mejor elección, dada la situación actual, debemos evaluar todos los aspectos. Bueno, a continuación le coloco los materiales.
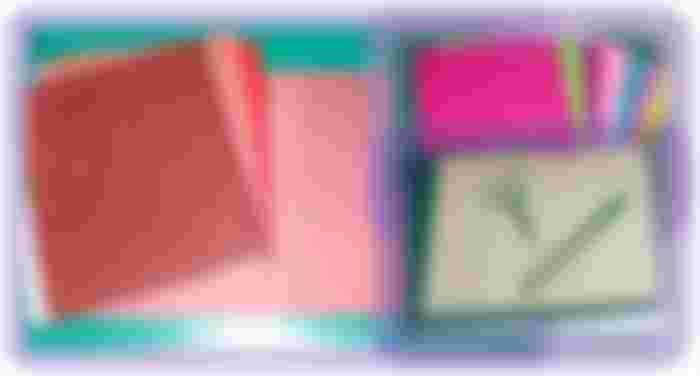

Materials:
4 brown folders (This will depend on the number of divisions)
Cardboard sheets of various colors
Carton box
Fabric scraps of any kind
Contact Paper
Paste
Scissors
Plastic tape or pull
10 cm of elastic cord
One button
Materiales:
4 carpetas marrones (Esto dependerá del número de divisiones)
Hojas de Cartulina tamaño carta de variados colores
Cartón de caja
Retazos de tela de cualquier tipo
Papel Contac
Pega
Tijera
Cinta plástica o tirro
10 cm de cordón elástico
Un botón
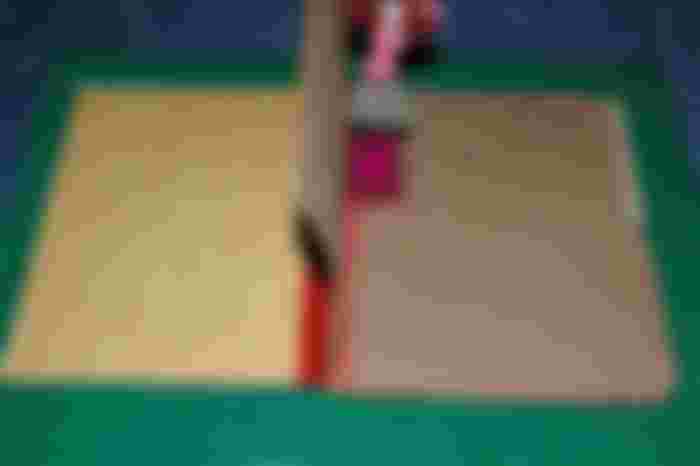

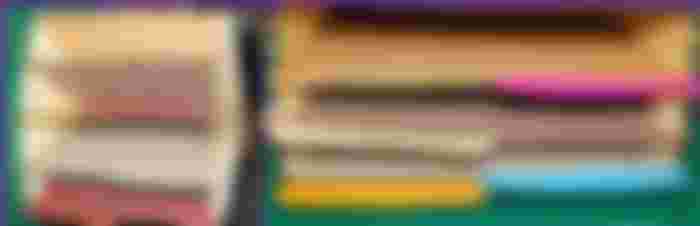
Step 1:
The first thing that was done was to put the folders together, put glue on the covers and then glue cover to cover, placing them one after the other, as shown in the picture.
Paso 1:
Lo primero que se realizo fue unir las carpetas, se colocó pega en las portadas y se fue pegando portada con portada, colocándola una detrás de la otra, como se muestra en la fotografía.
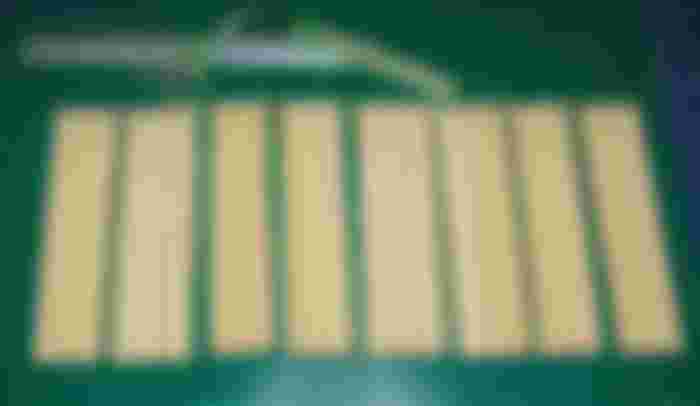

Step 2:
Then, a sheet of cardboard was taken, at the level of the longest side, and folds of 2 cm wide were made and with this a kind of fan was obtained. Four fans were made, each one divided exactly in half, that is, 8 narrower ones were made.
Paso 2:
Luego se tomó una hoja de cartulina tamaño carta, a nivel del lado más largo, y se realizaron dobleces de 2 cm de ancho y con ello se obtuvo una especie de abanico. Se elaboraron 4 abanicos, cada uno de ellos se dividió exactamente por la mitad, o sea, que con ello se tenían 8 más angostos.


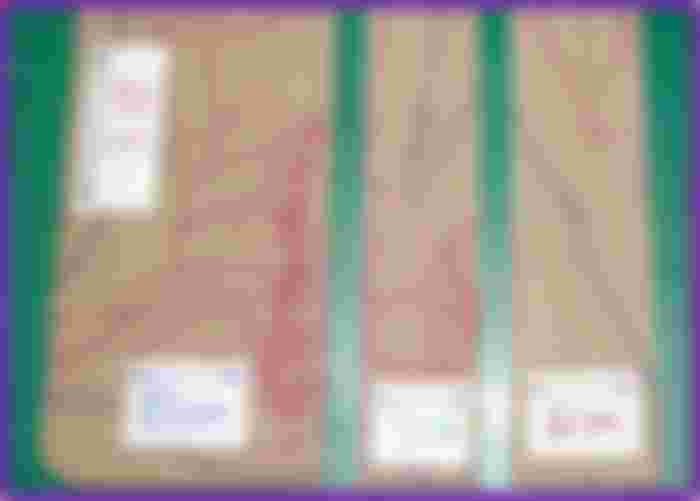
Step 3:
Next, each fan was taken and pasted on the sides of the folders, to join them and close the sides of what would be the portfolio. Adhesive tape was also placed on the joints to reinforce the joints. Then the tabs were placed, with different colors for each separation. The name of the subject was written on each tab and finally, plastic tape was placed over it to protect it.
Paso 3:
Seguidamente se tomó cada abanico y se pegó en los lados de las carpetas, para ir uniéndolas y cerrando los costados de lo que sería el portafolio. En las uniones se le colocó además cinta adhesiva para reforzar las uniones. Luego se colocaron las pestañas, con colores distintos para cada separación. En cada pestaña se escribió el respectivo nombre de la asignatura y finalmente para protegerla se le coloco cinta plástica encima.


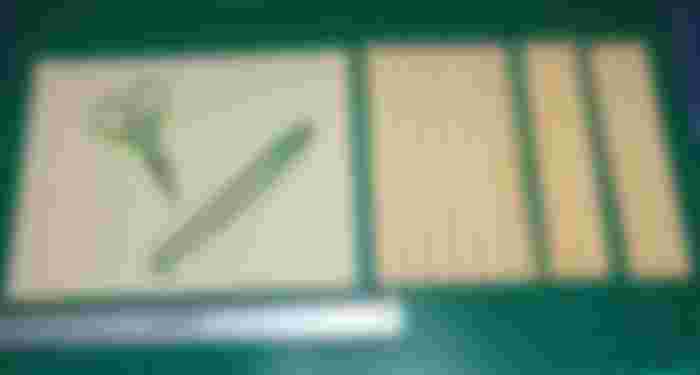
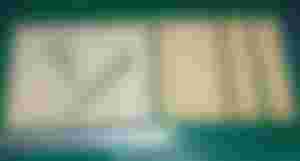
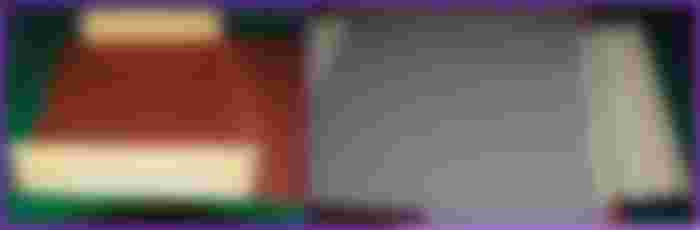
Step 4:
To build what would be the cover of the portfolio, 3 pieces were cut from cardboard, one measuring 30 x 11 cm, another 30 x 5 cm and a last one 30 x 6 cm. These pieces were joined with the pieces of cloth, leaving a separation of approximately 0.5 cm between them, as shown in the image.
Paso 4:
Para construir lo que sería la tapa del portafolio, en cartón se cortaron 3 piezas, una de 30 x 11 cm, otra de 30 x 5 cm. y una última de 30 x 6 cm. Las piezas, se unieron con los retazos de tela, dejando entre ellas una separación de aproximadamente 0,5 cm, tal como se muestra en la imagen.
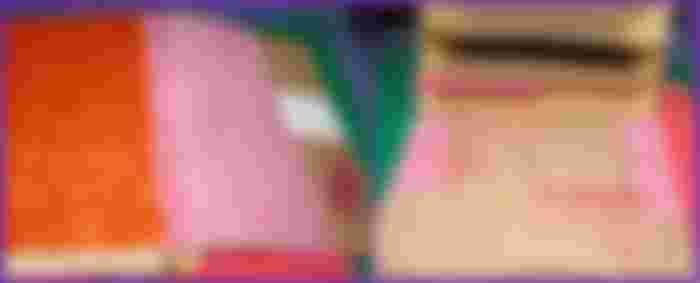


Step 5:
With glue and another piece of cloth, the cover was glued to the briefcase and then the cover was lined with purple contact paper. And a piece of cardboard was placed on the inside to cover the imperfections, which could not be covered with the contact paper.
Paso 5:
Con pega y otro trozo de tela, se pegó la tapa al portafolio y seguidamente se forro la tapa con papel contac de color morado. Y se colocó un pedazo de cartulina en la parte interna para tapar las imperfecciones, que no se lograron tapar con el papel contac.


Step 6:
The briefcase was already assembled, all that remained was to decorate the exterior, both the front and back of the briefcase were lined with cardboard. In the back part a ribbon was placed and cut in cardboard with a special cutter. But you can use whatever you have at hand, a nice ribbon, a lace, a strip of cardboard of another color, in short, it is a matter of letting your creativity fly.
Paso 6:
Ya el portafolio estaba armado, solo restaba decorar el exterior, tanto la parte frontal como posterior del portafolio se forro con cartulina. En la parte de atrás se colocó una cinta que se cortó en cartulina con un cortador especial. Pero usted, puede utilizar lo que tenga a la mano, una cinta bonita un encaje, una tira de cartulina de otro color, en fin, es cuestión dejar que su creatividad vuele.
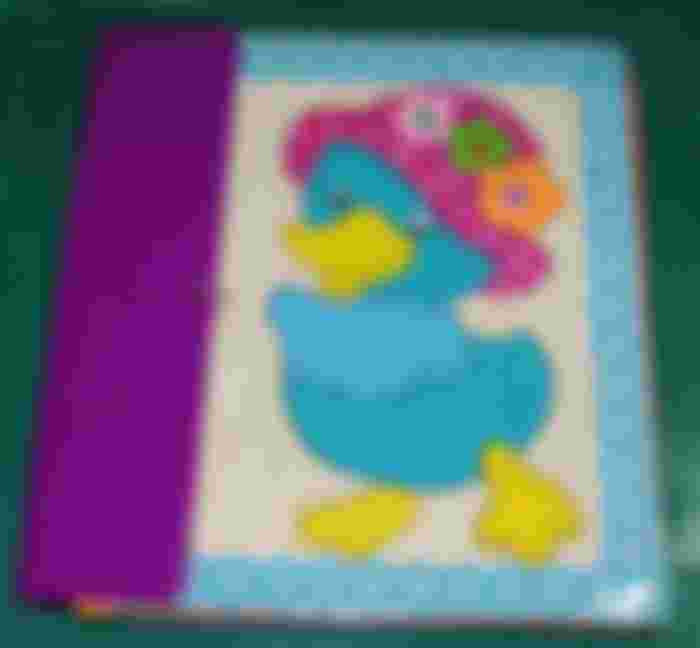
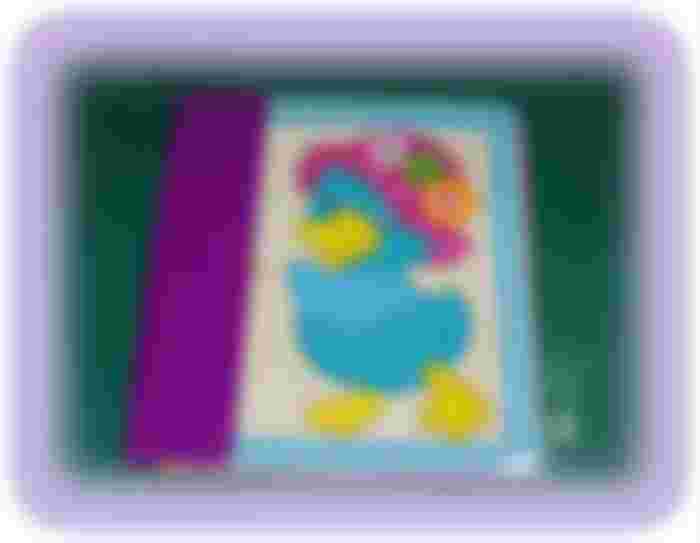
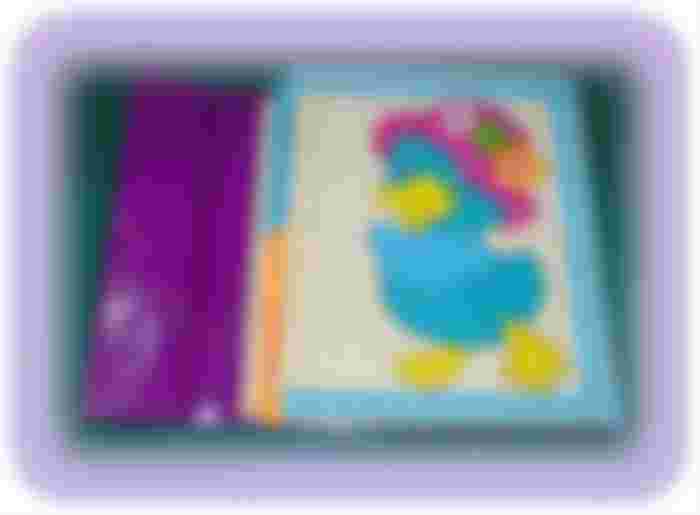
Step 7:
The decoration of the front of the portfolio is also a matter of taste, but in our case, we had already made a nice blue duck, in cardboard. Basically, the image was glued and in the borders also was placed, the same tape in cardboard, that was used for the back.
Paso 7:
La decoración de la parte frontal del portafolio también es cuestión de gusto, pero en nuestro caso, ya habíamos realizado un lindo patito azul, en cartulina. Básicamente, se pegó la imagen y en los bordes también se le coloco, la misma cinta en cartulina, que se utilizó para la parte posterior.
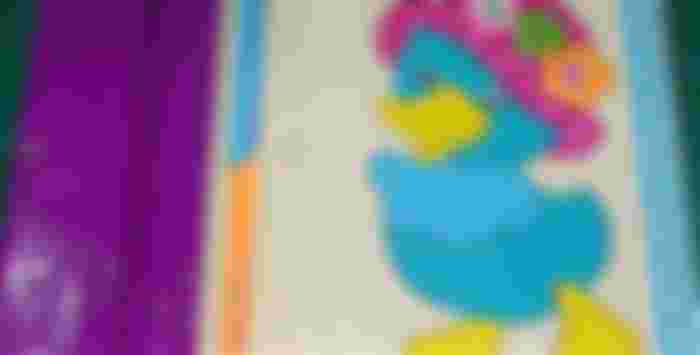

Step 8:
Finally, a small hole was opened in the lid, through which an elastic cord was passed and secured to form a small ring. On the front, a small button was sewn by hand that would serve as a pin, it would hold the elastic ring of the lid, and thus achieved the closing mechanism of the portfolio.
Paso 8:
Para finalizar, en la tapa se abrió un pequeño agujero por el que se pasó un cordón elástico y se aseguró formando un pequeño anillo. En la parte frontal, de se cosió a mano un pequeño botón que serviría de pasador, en él se sujetaría el anillo elástico de la tapa, y con ello se logró el mecanismo de cierre del portafolio.
That was the whole process, I hope you like it and try to do it at some point, use what you have available, let your creativity fly free and above all have fun, it is an excellent project to do with your children.
Eso fue todo el proceso, espero les gustara e intenten realizarla en algún momento, utilicen lo que tengan a disposición, dejen que su creatividad vuele libre y sobre todo diviértanse, es un excelente proyecto para hacer con sus niños.
Content and photographs of my intellectual property
Technical information
Camera: Pentax * istDL
Lens: Pentax 18-55
Lighting: Natural Light
Location: Barcelona, Anzoátegui State, Venezuela
Contenido y fotografías de mi propiedad intelectual
Información Técnica
Cámara: Pentax * istDL
Lente: Pentax 18-55
Iluminación: Luz Natural
Locación: Barcelona, Estado Anzoátegui, Venezuela