
In this post I'd like to show you how to get your own domain with Engrave, a dApp from the Hive ecosystem. In my opinion this is one of the easiest ways to create a blog, if you want to have your own domain but don't want to write a single line of code or pay hosting.
Firstly, let's talk about Engrave/dBlog, two names for the same thing. Engrave is part of the Hive blockchain, all content that you upload will be stored directly in the blockchain. Because of this, there's no need to worry about hosting. It is SEO friendly and its templates are pretty neat. In less than 10 minutes you can start blogging in your own domain (if you have a Hive account already).
1. You need a Hive account ⚠️
This is probably the hardest and most difficult part of the whole process but in my opinion it's totally worth it. This is also a nice opportunity to explore the world of internet's decentralization. Check this amazing tutorial for Hive beginners. You don't need to understand everything at once, and you can open an account even if you don't grasp all the information you'll encounter. Hive is really attractive in many ways but it is zero user friendly. You'll need to put some extra effort to enjoy the benefits of Hive blockchain.
I know getting familiar with Hive can be frustrating and difficult at the beginning but don't worry, for having you're own blog with Engrave the only thing you need is having an account in Hive. You can postpone your research about the rest of dApps, the wallet, Hive Power, Hive liquid, etc.
2. Create your own blog ✨
Next step is clicking "create your own blog" on dBlog.org. You'll need to sign in with your Hive account. Once you are in, you'll be directed to https://dashboard.dblog.org/, so the first thing you'll see is your dashboard, you edit and publish from here, save this address in your bookmarks:

If you go for the free domain you can pick from dblog.org, engrave.site, or engrave.website. You have the option to buy a domain but you need to pay with Hive. You can always go for the free version and consider buying a domain later and import your previous posts.
Right now there are 4 themes to choose, they are fully responsive so you can test how they look in different devices. This is something that you can try later, for now it is enough just to pick one randomly.
An important thing to mention is that a single user can have multiple blogs, and multiple users can edit the same blog.
Once you click "create", you'll need to configure blog categories.
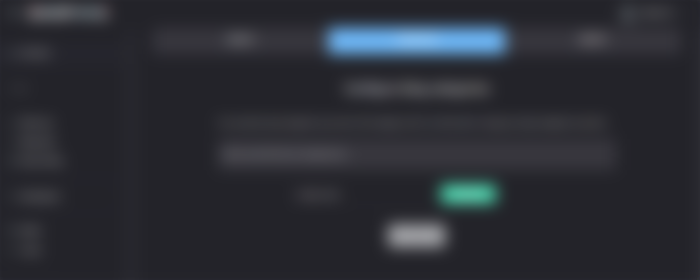
I'm working on a blog in Spanish with tips for students in the humanities field and I've created 5 categories.
You can check my site to see an example of the Engrave power.
The final step is only for those wanting to import previous post to their new blog.
After those 3 easy steps you already have a functional website where you can post whatever you want!
You can go to the site by clicking on the top right tab, right where your user name is, there you'll see the option "visit [the name of your site]"
3. Getting familiar with your dashboard ⚙️
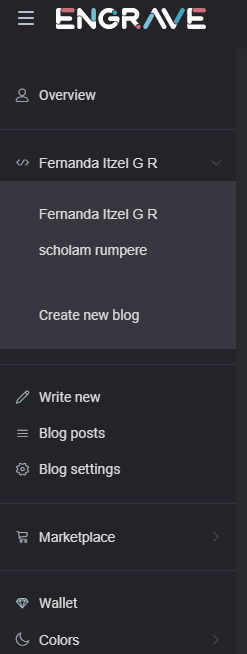
Let's focus now on the left bar, we can call this a "navigation bar". You can go to all your blogs and posts from here.
Your account overview shows all the information about your Hive account. You need to get familiar with Hive to really understand all this data. Again, I recommend you this guide.
You can see that I have two blogs (Fernanda Itzel G R and scholam rumpere), and that I have the option to create a new blog.
This is also the place to go to your blog settings or write a new post . It is really intuitive so I'm sure you can figure it out for yourself.
Let's go now to blog settings so you have an idea of the kind of features you can implement in your blog.
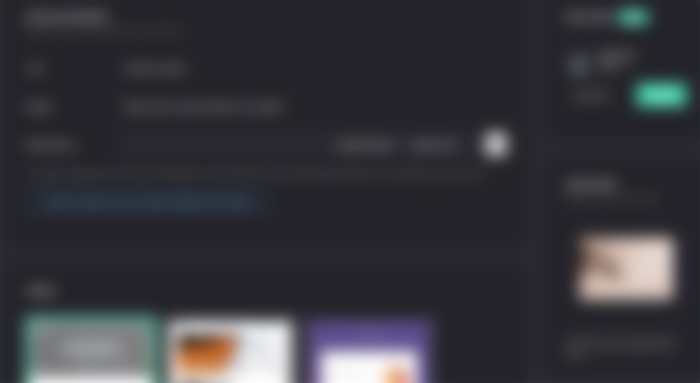
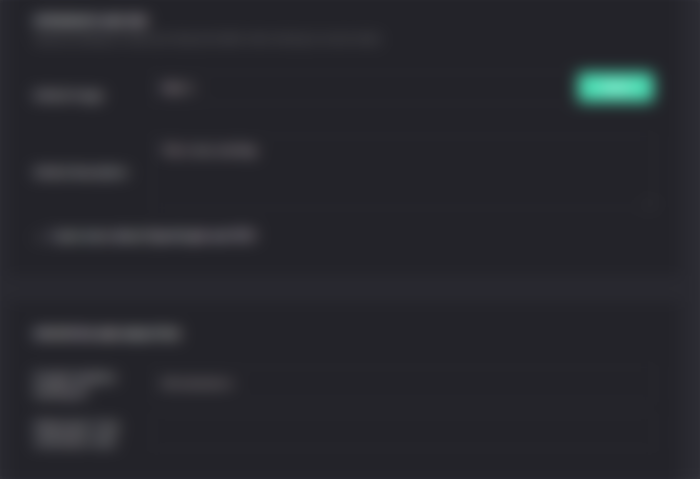
Blog settings: Firstly, you have the option to change the title, the slogan, and the blog address. On the right there is a box where you can add more editors to the blog (obviously, they need to have a Hive account too). Under this box you can add/edit the main image of your site.
From here you can also change the theme, blog categories, and add the links to your social media accounts: Facebook, Twitter, and Instagram. They will appear at the end of your website, depending on the theme you have chosen.
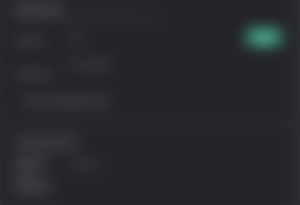
Keep scrolling and you'll find one of the things that I find really attractive about Engrave. You have the option to add some metadata to turn your website into a graph object (what's a graph object?) Remember what I said about Engrave being SEO friendly? This is the place to do it. You also have the option to manage statistics and analytics.
4. Write a post ✍️
Writing a post is also pretty easy. Select a title, blog category, blockchain tags (block what?), a cover image, write your post and publish it! Really, not too much to explain.
Extra information 👁️
A discord channel where you can ask questions and talk with the Engrave community https://discord.gg/sFbgvfZD
Here is a 20 min video with almost the same information I have written https://3speak.tv/watch?v=unklebonehead/horlwztu
Engrave in PeakD https://peakd.com/@engrave
Engrave's blog https://blog.engrave.dev/category/blog
See you soon! 😺😺😺😺😺😺😺😺😺😺😺😺😺😺😺😺😺😺😺😺😺😺😺😺😺


Thanks for this kind of information. This is what I've been looking for the past few weeks. Thanks for the head's up my friend.