 @daring-celt
edited
@daring-celt
edited
Digital art_2021. Christmas Window (part 1) Hi friends! Some days ago I wanted to draw a picture dedicated by Christmas. December is a special month. The streets of cities are beginning to be decorated with New Year's garlands, and Christmas gifts appear in stores. The spirit of the holiday is everywhere... Artists can catch him in the first place to embed in their paintings.
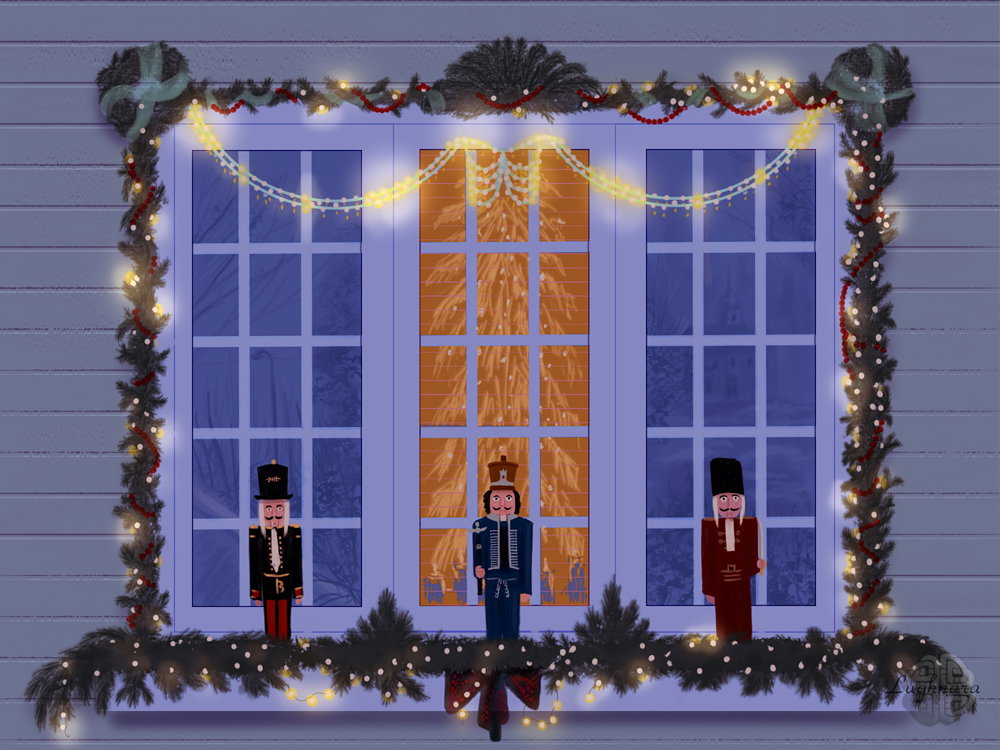
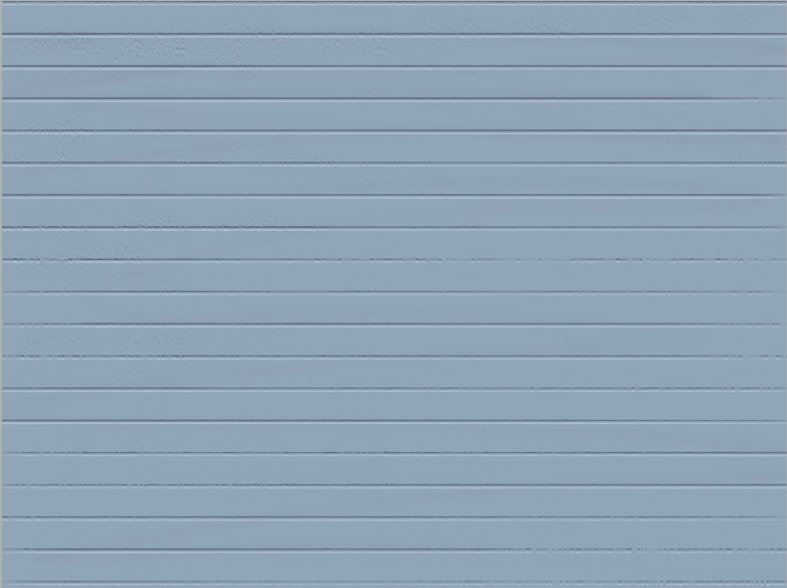
I chose for the image an ordinary window of a residential building decorated for Christmas. https://cf.ltkcdn.net/christmas/images/orig/189654-850x800-Nutcracker-Christmas-Window.jpg I painted it in a slightly different style than usual. I also want to show you how to work with some of the special tools in **Paint Tool SAI 2** And, yes... I wanted to try doing all the work in **SAI** without the help of **Photoshop** I started my work with drawing a wall texture. I customized usual brush by giving it a striped texture
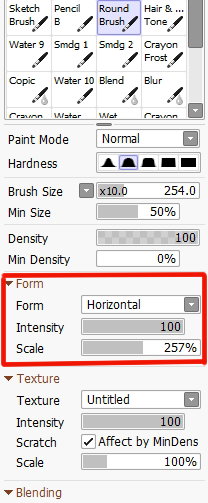
and draw with this brush on new layer

Then I fill a background layer with blue color as on a reference

To create a volumetric effect, I copied the stripes layer, changed the blending mode to **Screen** and moved it **1** pixel down.
So... I need draw a main frame for window. Select **Rectangle selection tool** and select an area on new layer and fill it bright blue color
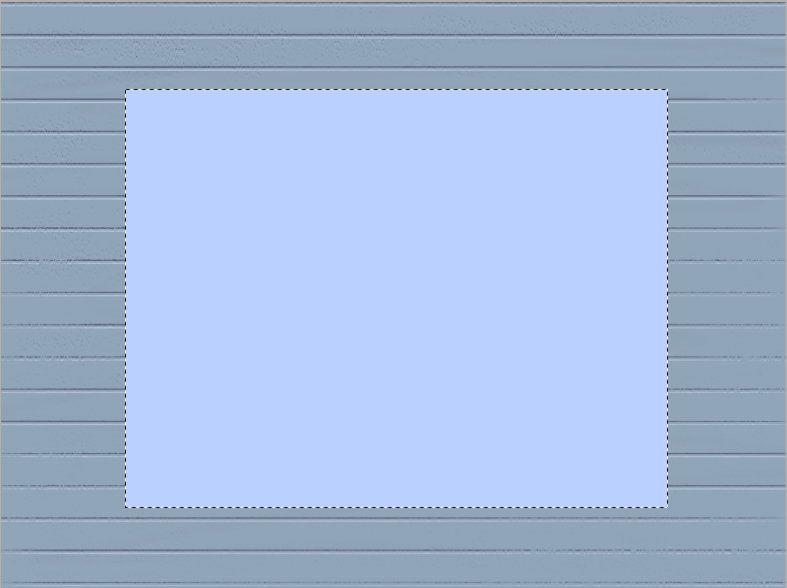
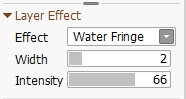
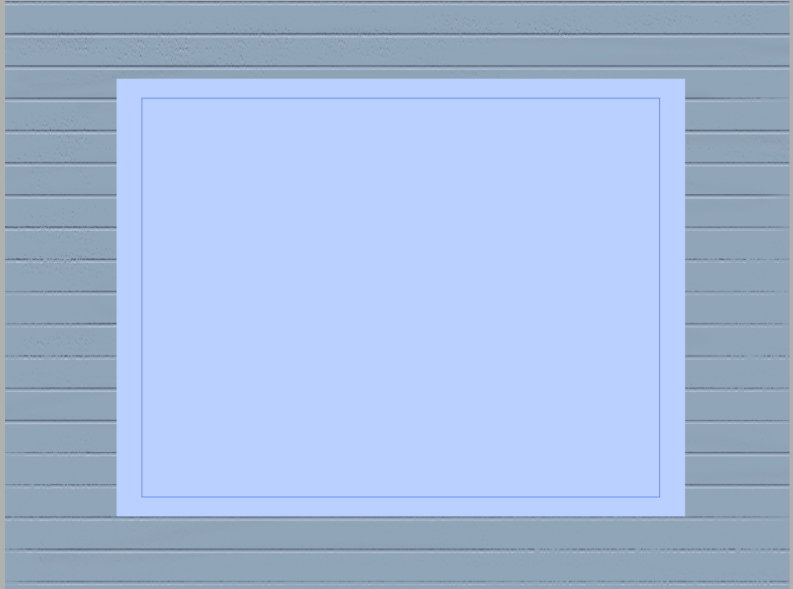
Duplicate this layer and reduce a size To make a little shading around the edges, I use the **Layer Effect** function for duplicate layer with this option
This is how it looks. So far so good!
In the next step, I'll need to turn on the guides to split the window into three equal areas
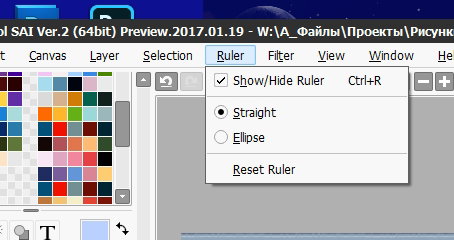
So I turn on a option to drawing strait line. I move the guideline with **CTRL** and draw along it.
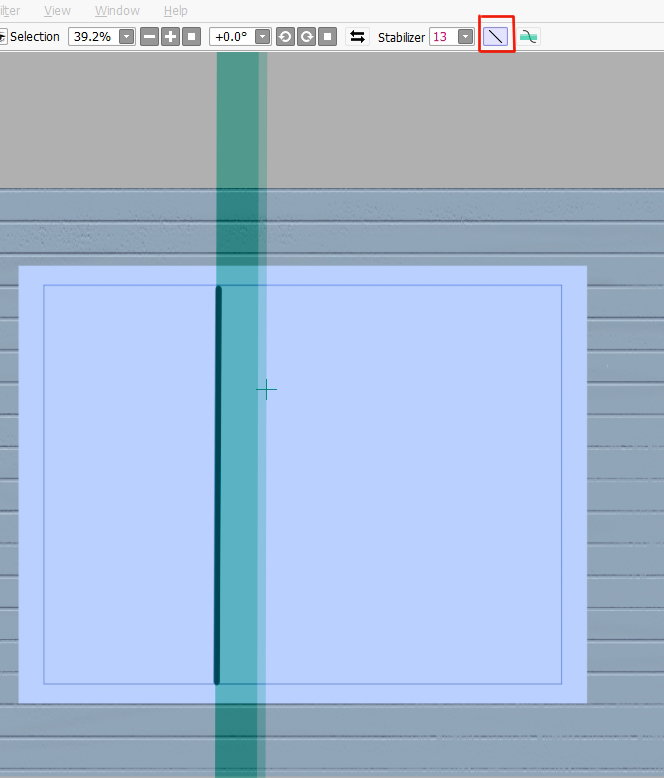
Making a selection for the first window
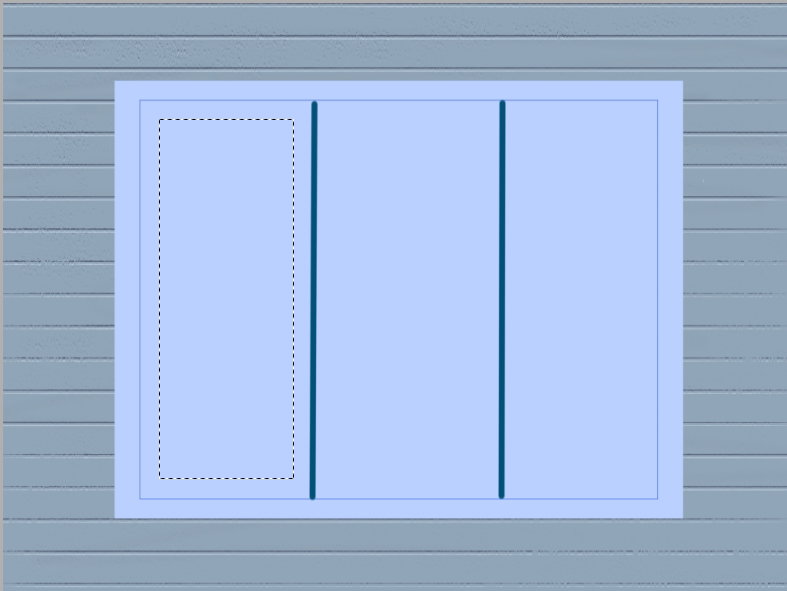
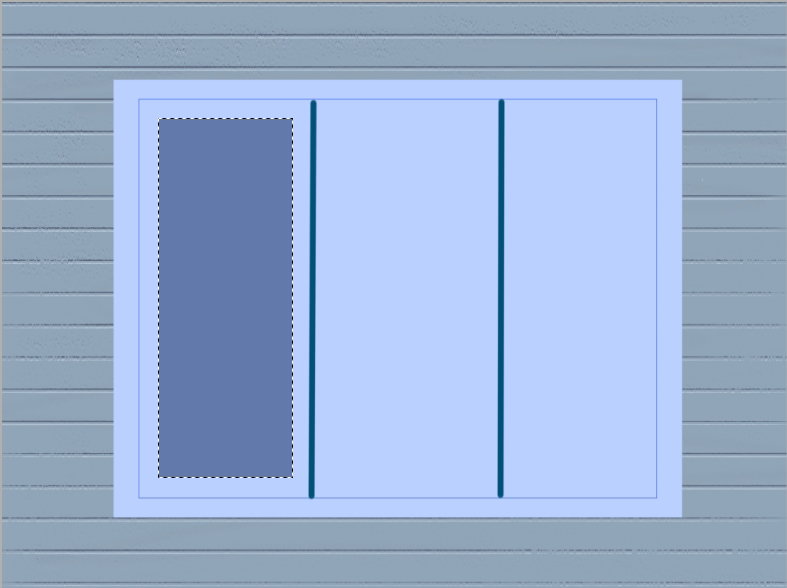
Filling with dark blue on new layer and applying the same layer effect
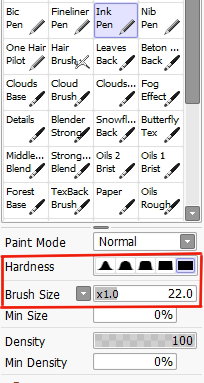
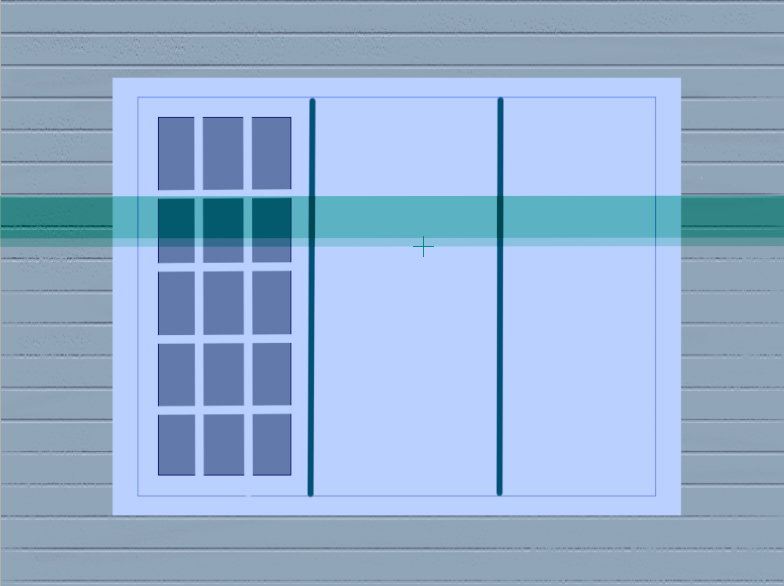
Then I choose a hard brush **Ink Pen** with this options to draw the crosshairs of the window frame (*on new layer again*)
Drawing with guideline again. For drawing horizontal stripes I rotate a guideline with **ALT**
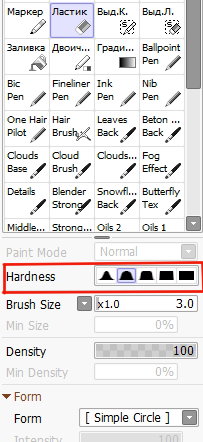
Then I choose an **Eraser tool** with this options (not so hard)
and erase some of the stripes where they overlap the shading at the edges
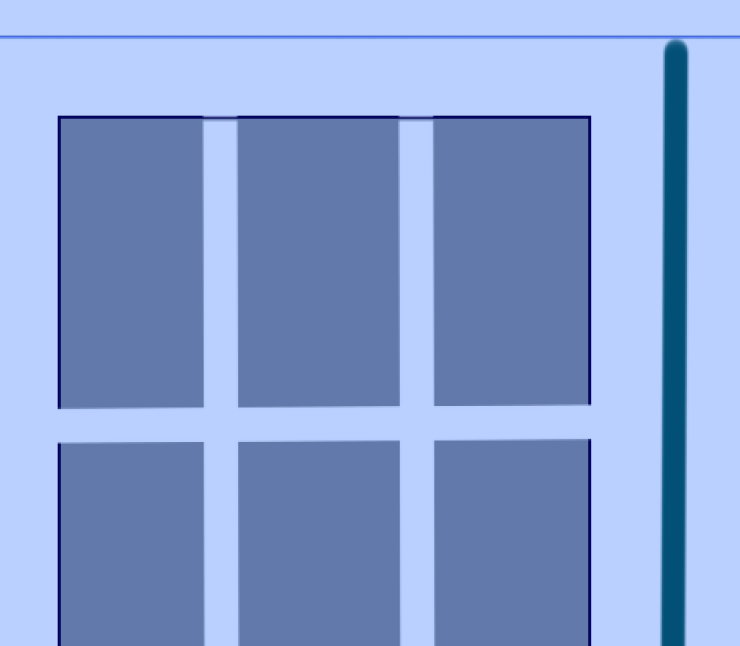
Yes, very realistic window!
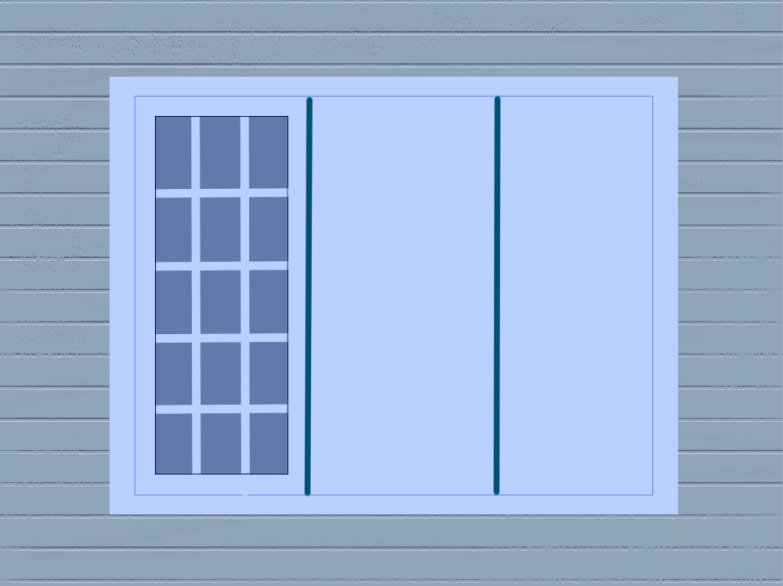
On this step I make a copy dark blue glass layer and make in invisible (we need it to draw reflections). Then I merge a layers with glass and cross stripes Copy this layer two and replace in window area (with guidelines)
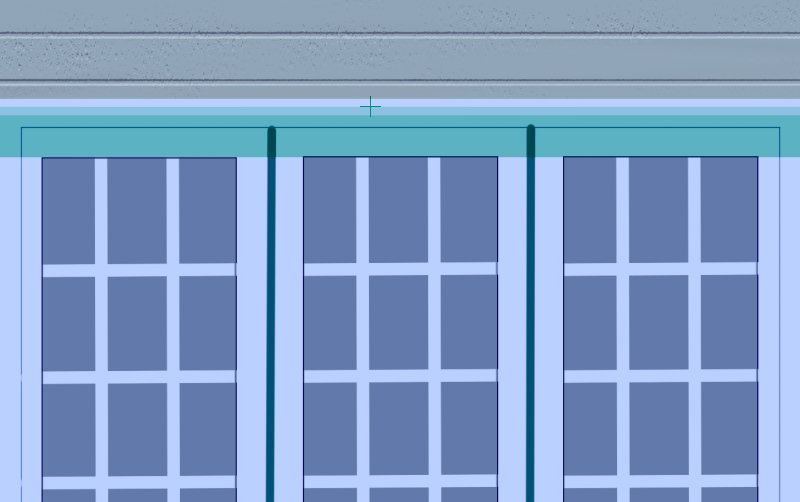
Yes, it's all I need!
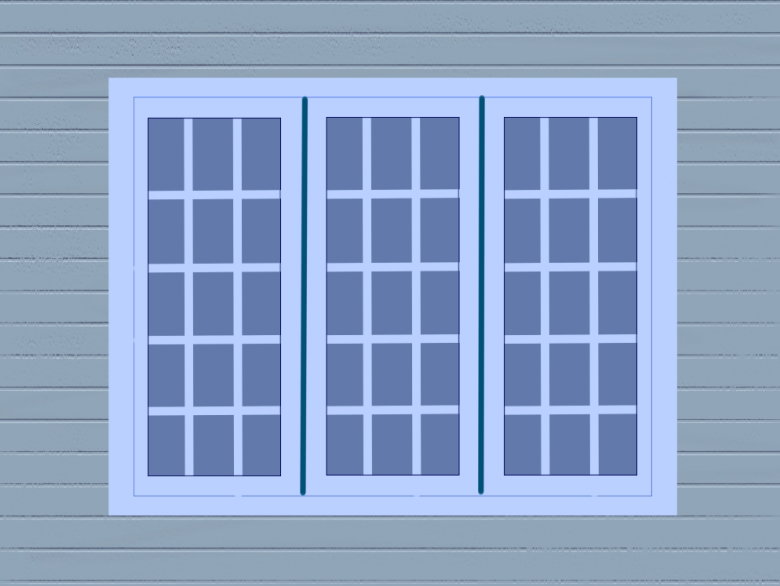
So, I make one more rectangle selection (along supporting verticals) to create a middle frame
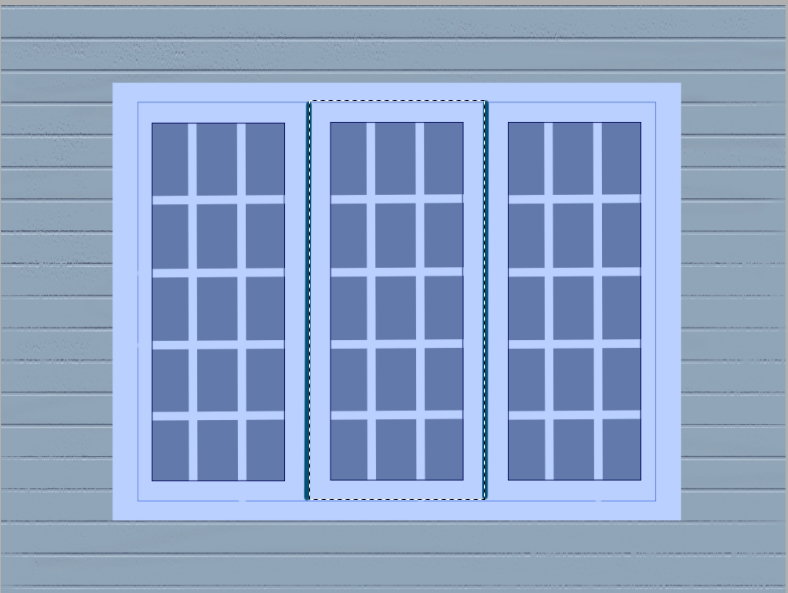
I fill it with light blue color on new layer and can delete a layer with supporting verticals
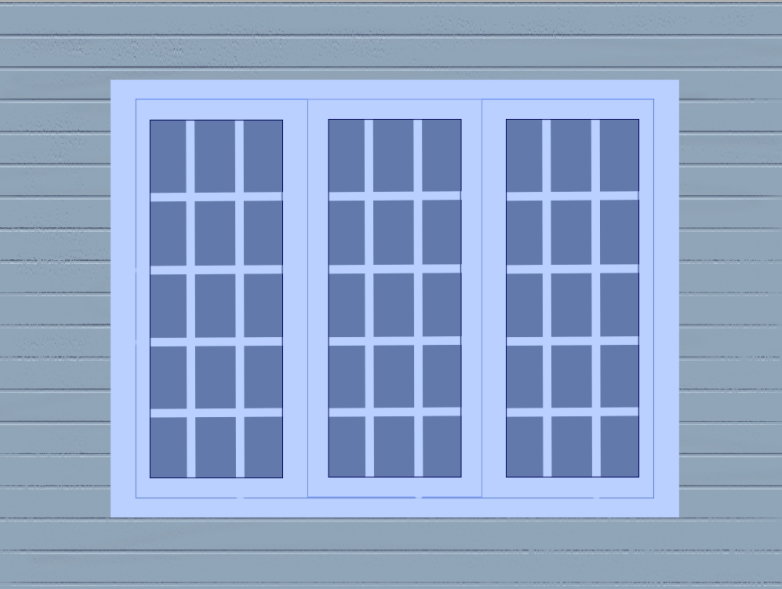
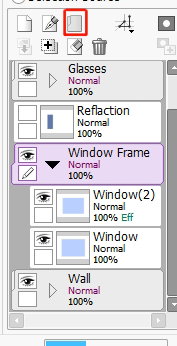
Well, the window is ready! Now I'm starting to decorate it for Christmas... But first, I arrange all the layers in the layers palette so as not to get confused in them. The easiest way to put them in separate named folders is to select each layer with **SHIFT** and click the icon in the form of a folder
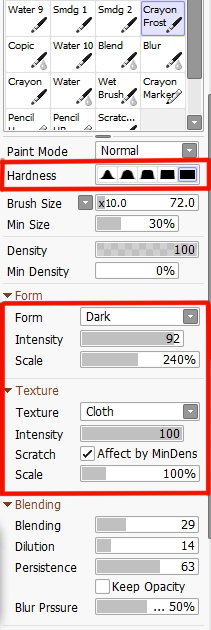
So... I chose a brush from my set named **Crayon Frost** with this options form and texture It resembles a garland of fir branches
Then I turned on straight line drawing button and draw the vertical stroke along the frame on a new layer
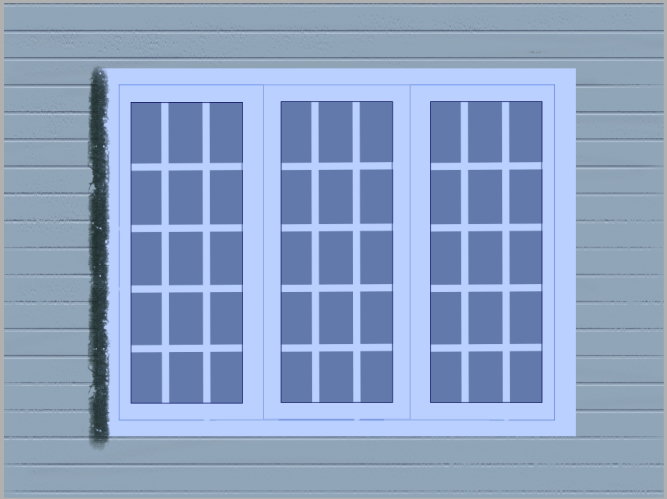
Changing the size of the brush and the scale of the texture, I paint other parts of the garland
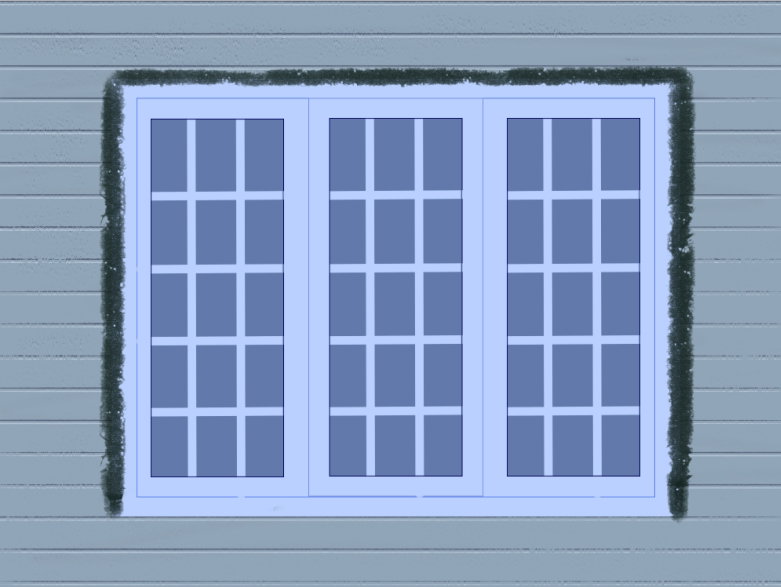
To draw the bottom of the garland, I draw first the window sill (in the frames folder, on a new layer)
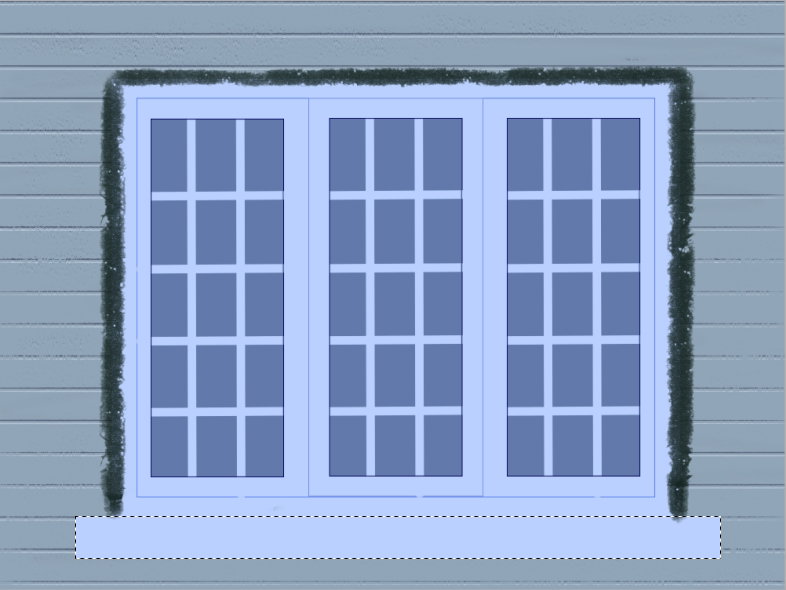
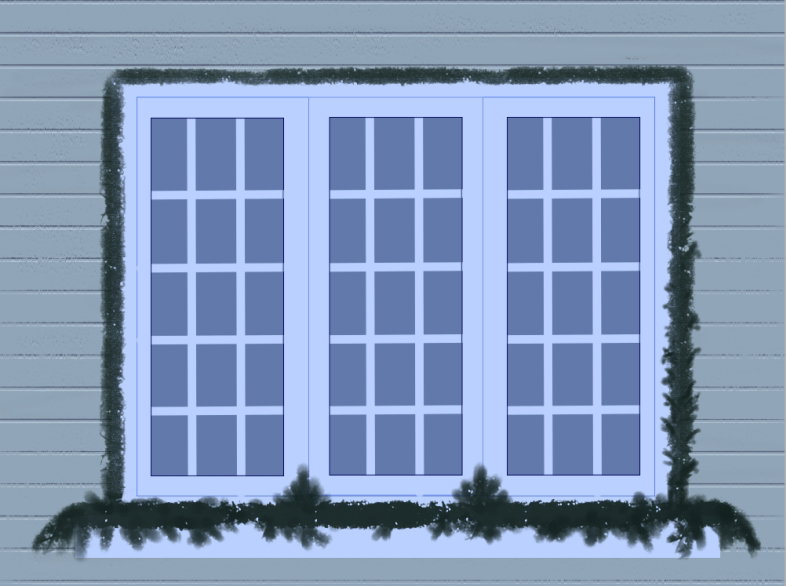
Here and there I add details with another brush, which I usually use to paint hair for characters, but it came in handy for me now!
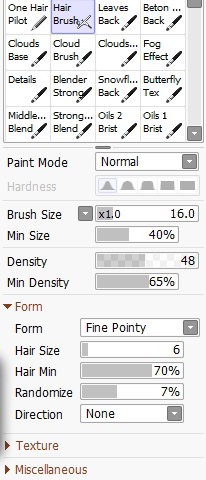
With this brush I can draw several strokes at once, similar to fir needles.
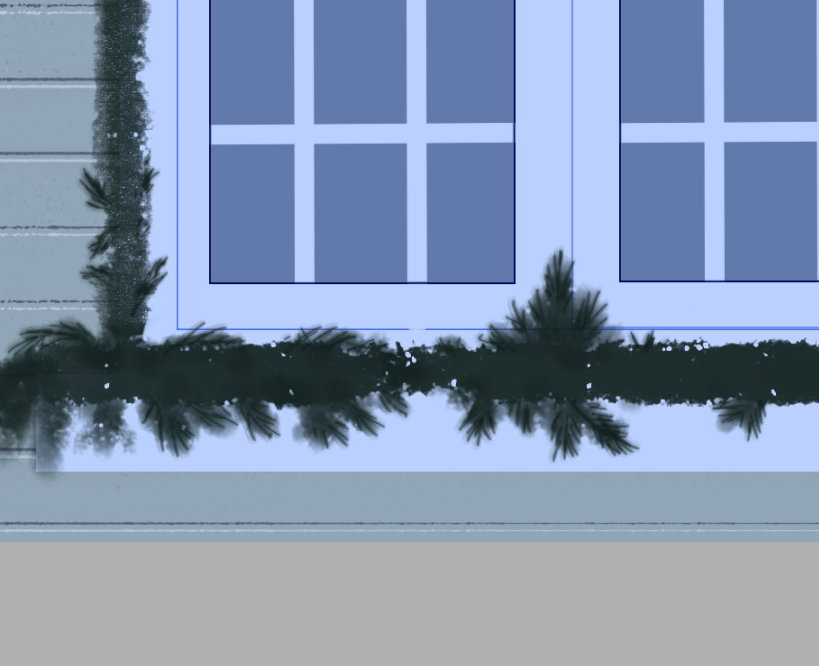
Yes, it's as Christmas fir garland!
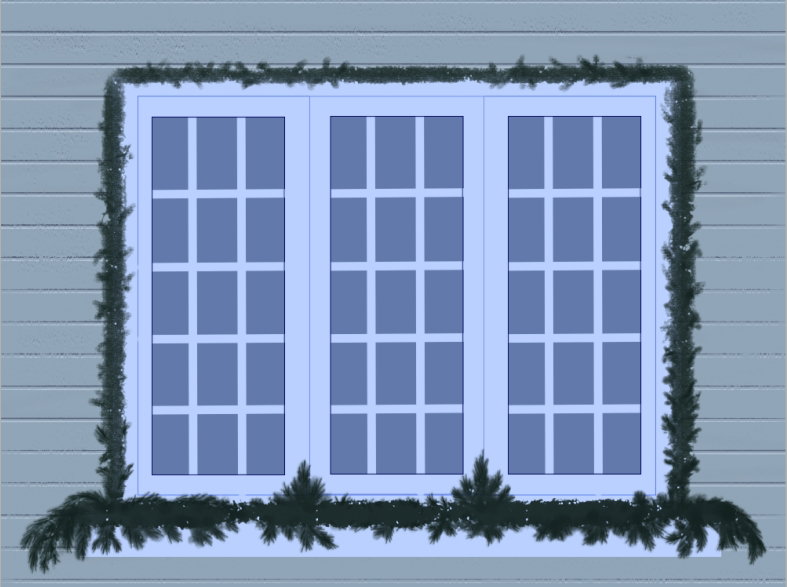
To be continue... tomorrow ;) Have a joyful Christmas mood to all my friends! With Love...


4 comments
It was great as usual, what a beautiful photo you chose. Christmas is everywhere, Merry Christmas my friend, I wish you a year full of health, happiness and success... 💚🎄
Thanks a lot! Merry Christmas too!
A very important part of Christmas and New Year's decorations has long been windows. And the custom of decorating windows is even older than the tradition of decorating the Christmas tree. It is very beautiful! You convey to us the warm and genuinely kind spirit of Christmas! I want to ask you: When do you celebrate Christmas? On December 25th, or like in our country on January 7th?
Спасибо большое! Я лично - тоже православный человек ;) Но праздновать начинаю ещё вместе с моими англоязычными френдами))))) I'll still have the spirit of Christmas in my drawings, I hope)