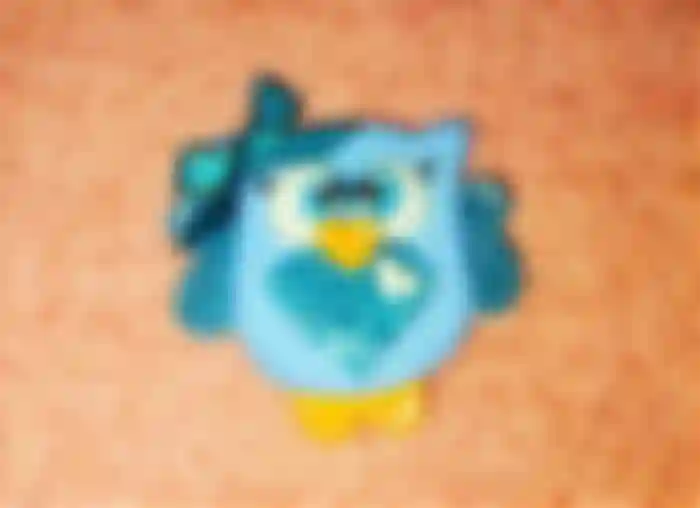
Hello community ❤️ today I share with you a very useful craft that will serve as a beautiful decoration for our pencils, pens or markers, I'm talking about a very cute and cuddly ornament that will carry and look our favorite pencils. Making cartoon crafts, especially of animated animals is what I love to do and today I was inspired by owls, the most interesting, beautiful and curious nocturnal beings I know. Now let's get to work!
Hola comunidad ❤️ hoy les comparto una manualidad bastante útil que nos servirá como una hermosa decoración para nuestros lápices, lapiceros o marcadores, les hablo de un adorno muy lindo y tierno que llevarán y lucirán nuestros lápices favoritos. Realizar manualidades de caricaturas, especialmente de animales animados es lo que más me encanta hacer y hoy me inspire en los búhos, los seres nocturnos más interesantes, hermosos y curiosos que conozco. Ahora si no se diga más y manos a la obra!
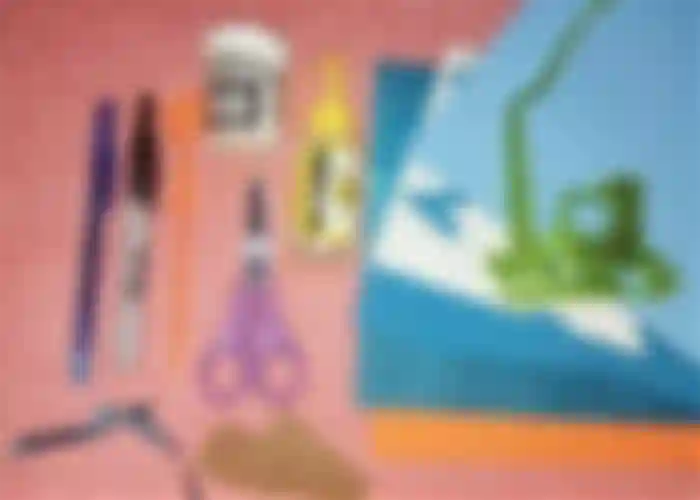
Materials
Foami (2 shades of blue + 1 frosted, white, orange and frosted green)
White paint
Cold (or hot) liquid silicon
Black marker
Scissors
ribbon bow (blue)
strips of cardboard
plastic pencil with fine point
Materiales
Foami (2 tonos de azul + 1 escarchado, blanco, naranja y verde escarchado)
Pintura blanca
Silicon líquido frío (o caliente)
Marcador negro
Tijera
lazo de cinta(azul)
tiras de cartón
lápiz de plástico con punto fina
Step by step
First we are going to draw the silhouette of the body of our owl on the foami, as shown in the images, once this is done we cut it out.
Primero vamos a dibujar la silueta del cuerpo de nuestro búho sobre el foami, cómo les muestro en las imágenes, una vez hecho ésto lo recortamos.
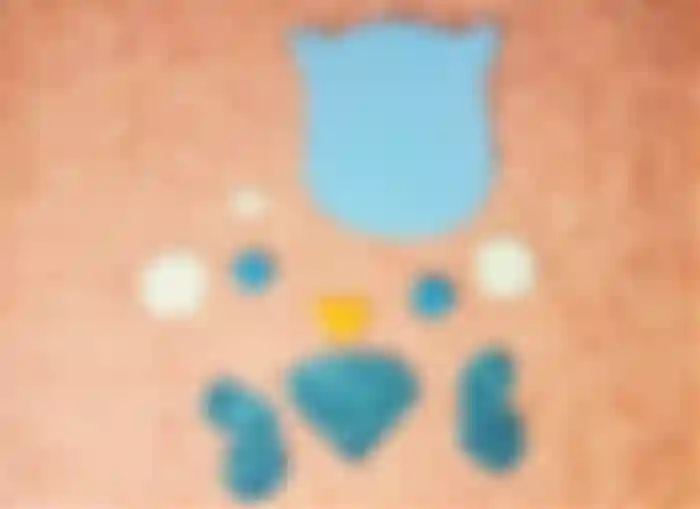
We will repeat the same step with all the pieces, like the eyes, the beak, the wings, the leaves and the branch we will draw it on the cardboard strip, then we cut it out (it can be a little complicated because of the small size of the pieces, but nothing that with patience you can't do 😉).
Repetiremos el mismo paso con todas las piezas, como los ojos, el pico, las alas, las hojas y la rama la dibujaremos en la tira de cartón, luego recortamos.(puede ser un poco complicado por el tamaño tan pequeño de las piezas, pero nada que con paciencia no logres hacer 😉).

Now with a little bit of makeup we add light and shadows to the pieces of our owl, I did it with my fingers but you can also do it with the help of a brush. Once this is done we will glue each of the pieces in its place.
Ahora con un poco de maquillaje le agregamos luz y sombras a las piezas de nuestro búho, yo lo hice con los dedos pero ustedes también lo pueden hacer con la ayuda de un pincel. Una vez hecho ésto pegaremos cada una de las piezas en su lugar.

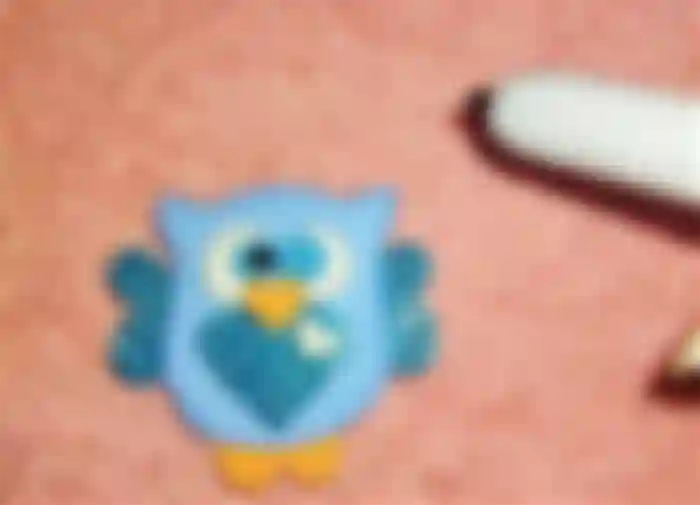
Then comes the best part, and that is to give much more detail and life to our owl, for this we will use the marker and draw two circles in the eyes, and also the eyelashes. Now with the white paint and the pencil with fine tip we will make two points of light trying that both eyes are the same, so we continue with the wings, the beak and the legs.
Luego viene la mejor parte, y es darle mucho más detalle y vida a nuestro búho, para ello usaremos el marcador y dibujaremos dos círculos en los ojos, y también las pestañas. Ahora con la pintura blanca y el lápiz con punta fina le haremos dos puntos de luz tratando que ambos ojos nos queden iguales, asi continuamos con las alas, el pico y las patas.
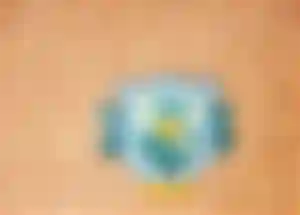
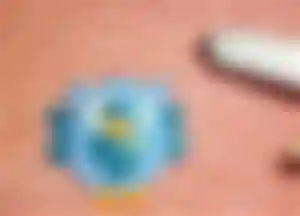
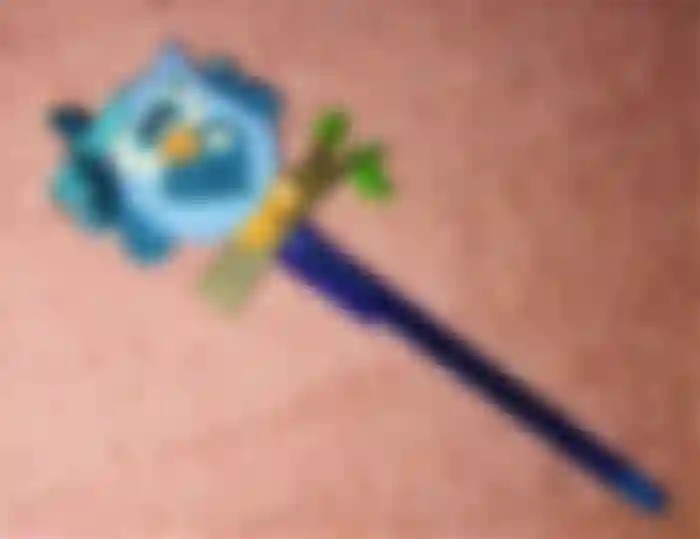
Finally, we will glue the ribbon bow on one of its ears, I chose blue so that it would be in harmony with the owl, made in the same color. Now we just need to take our pencil and glue the cardboard branch and the shiny leaves, and finally on top of them the owl we made previously.
Ya para terminar le pegaremos en una de sus orejas el lazo hecho con cinta, yo elegí el color azul para que tuviera armonía con el búho, hecho del mismo color. Ahora solo nos queda tomar nuestro lapicero y pegar la rama de cartón y las hojas brillantes, y finalmente sobre estos en la parte superior el búho que realizamos previamente.
That's it! We have finished our cute owl pen ornament, that we will show off when writing notes, drawing or marking our crafts, as I said, there is nothing difficult that with a little creativity you can't do, super easy and also very useful, I hope you liked it and I encourage you to do it for personal use or as a gift.
¡Listo! Hemos terminado nuestro tierno adorno para lapicero de búho, que luciremos a la hora de escribir notas, dibujar o marcar nuestras manualidades, como les dije, no hay nada difícil que con un poco de creatividad no logres hacer, super fácil y además muy útil, espero les haya gustado y se animen hacerlo para uso personal o regalar.
All content is my own and images are my property
Todo el contenido es de mi autoría y las imágenes son de mi propiedad
