PC Mod - BCH Logo CPU Cooler
WARNING: This doc contains modifications to electrical components. It's just my build process, not a tutorial. I take no responsibility if you try to do this and fuck shit up.
I made a modification to my CPU cooler and was pleased with the results so I thought I'd put something together and see what other people think. This post documents my process.
The CPU cooler I have is the Deepcool GamerStorm Castle 240RGB V2. Right after purchasing it, Deepcool released a new model with a logo that can be swapped out, I was a little disappointed but figured I'll just live with it... until now!
This ugly GamerStorm logo has been sitting on my CPU for a few months now and ever time I looked at it, it got a little uglier. This morning I woke up, gave it a dirty look and though "fuck it, I'm getting rid of this eyesore".
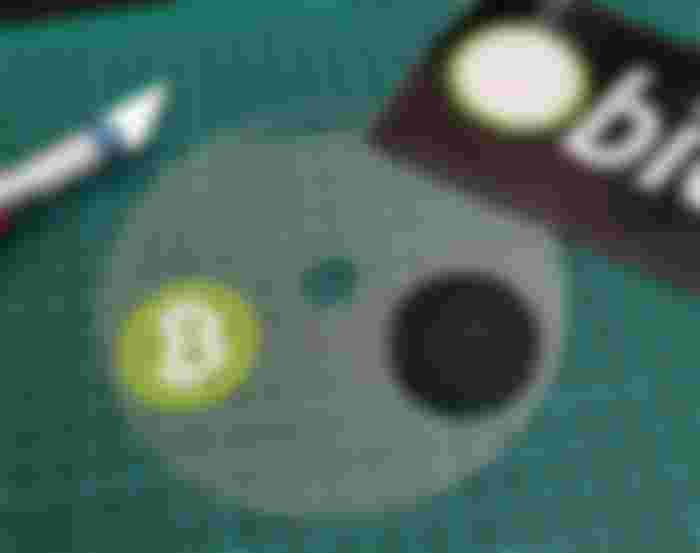
Removing the CPU cooler means I would be without a computer until It's finished so I made sure I had an assortment of tools and parts for the project (I really wasn't sure what was involved when starting)
Removal and tear-down
After turning off all the power and unplugging my computer, I got to removing the CPU cooler. It was really easy to pull apart, there was only two hex screws holding the silver cone part to the base.


Creating the BCH Logo
Next up I needed to figure out how I was going to replace this little plastic circle with the BCH logo, so I went hunting around the house to see what I could find.
I had an old spindle of CD's floating around and though a CD was a good thickness for it, so I opened it up and immediately saw the plastic spacer from the spindle and thought PERFECT!! (high five if you remember spindles of CDs... you old fart).
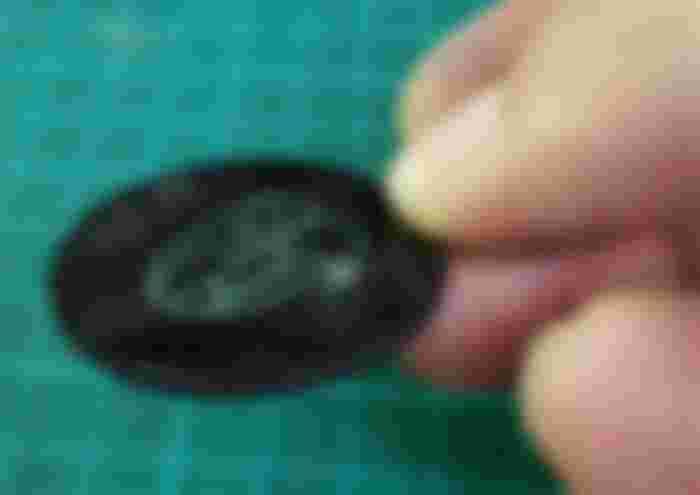
I had a Bitcoin Cash sticker laying round which was just about the same size as the GamerStorm logo. Placing the gamestorm button on the sticker, I used a knife to cut it out then stuck the "B" on my no-CD.
Fine and medium grit sandpaper was used to smooth down the edges and the back to defuse the light.


Testing and tweaks
Getting to this point was great, it was looking awesome. Time for a quick test.
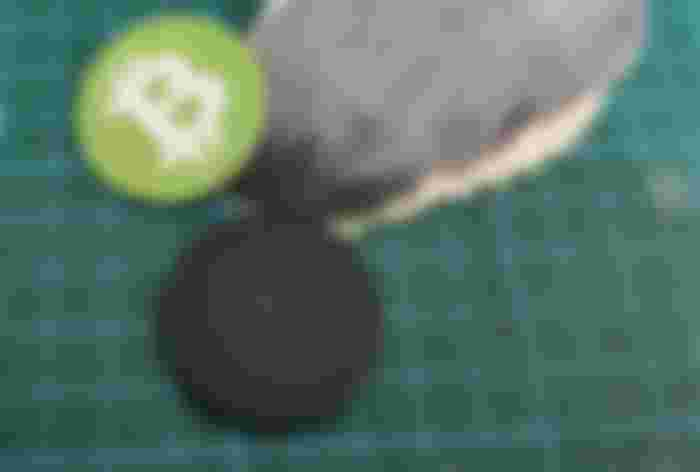
Placing the logo a LED I noticed that light was shining through the green sticker part and I wasn't happy with it, so I tried to think of a way to stop the light.
First I used some of the black part of the sticker I originally cut the logo from but after sticking it to the back, I had no idea how I'd cutout the "B" on the flip-side.
Then It dawned on me, I'll just use a sharpie and color it in. So I grabbed my trusty sharpie and realized it was low on ink and I didn't have a spare in the house. At this point I was getting hungry so thought I'd take a break and have some breakfast.
I was out of milk, so went for a walk to the local 7/11 to kill two birds - grab milk and a sharpie. The servo doesn't sell sharpies but the guy behind the counter gave me one he had spare behind the counter. What an awesome guy, gave him some BCH for a tip.


Re-Assemble
Really happy with the results, I started putting it together.
It was simple enough to re-assemble, I just used two small spots of double sided tape to hold the button to where the old GasmerStorm logo was and it looked great.
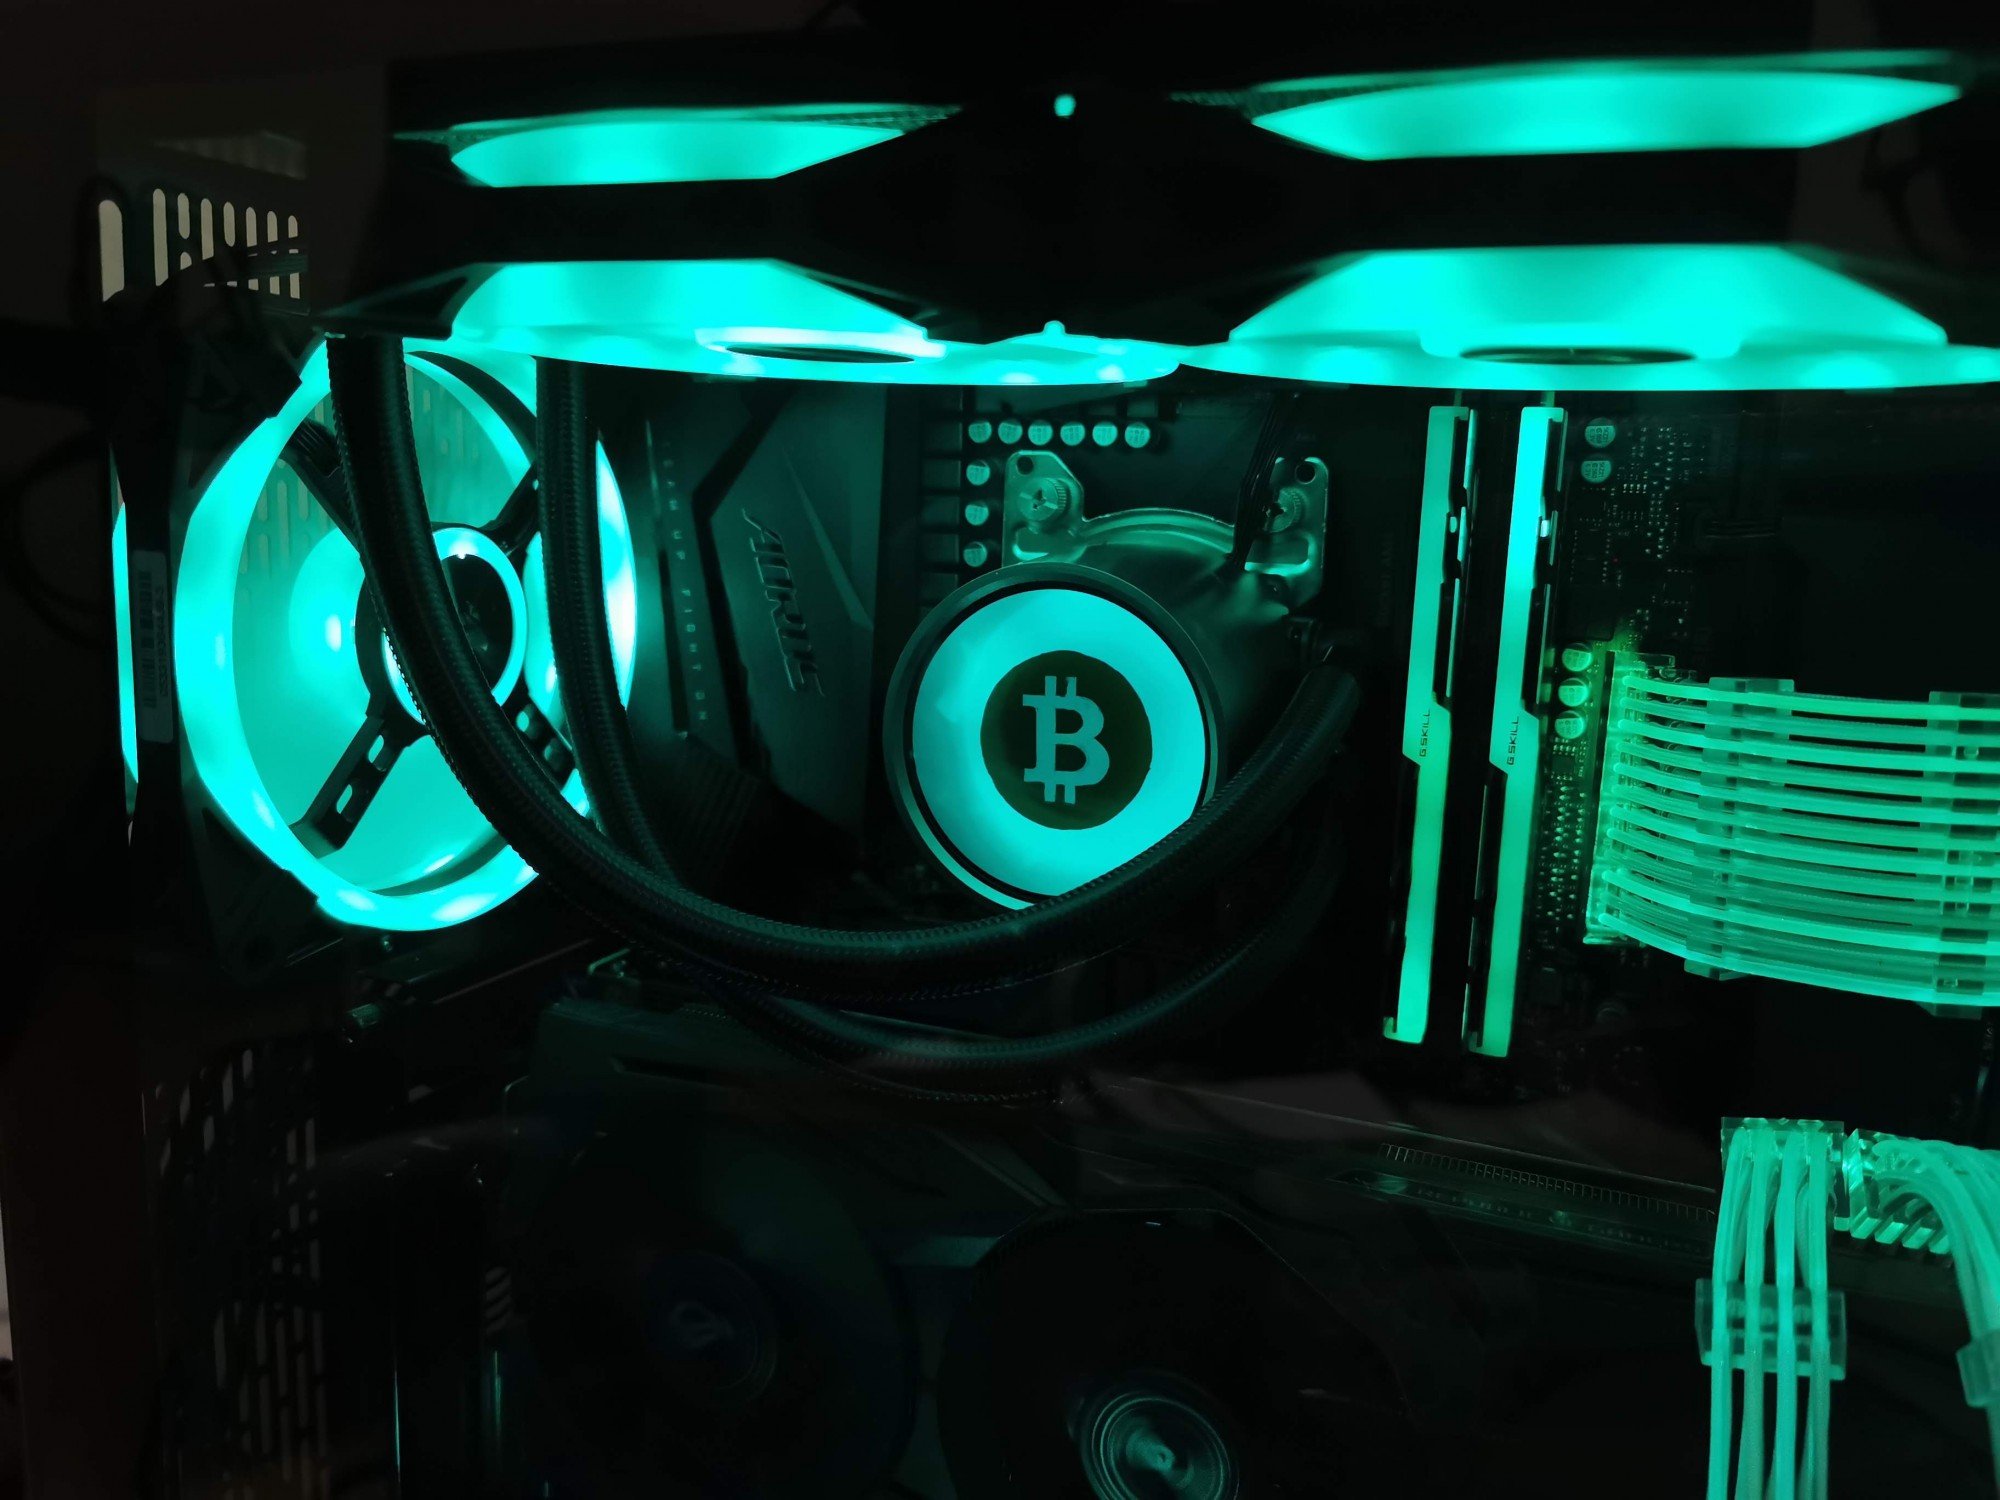
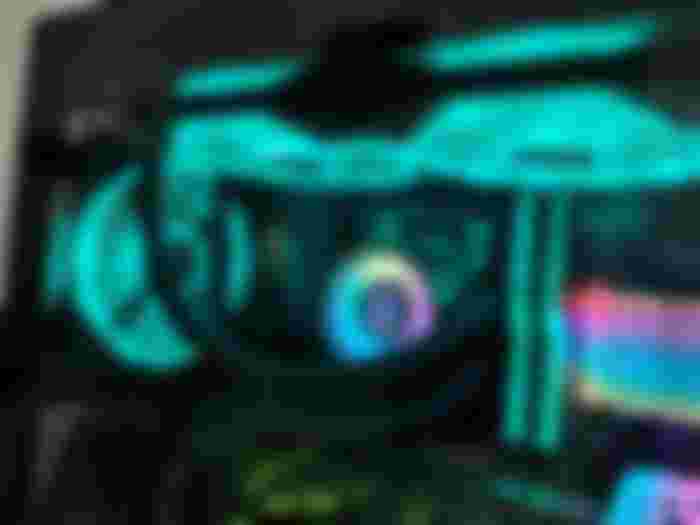
Next I put the silver shell over and gave it a test... this is the moment I jumped up and did a happy dance.
The rest was easy, I just screwed it all back together and put it back into my computer. As another quick test, I powered the PC up without anything else plugged in and it was all great.
The next hour and a half was spent doing cable management (which I actually enjoy, I find it relaxing - I know, I'm weird)


Conclusion
Well that was fun and quite simple. I'm really happy with the end result, here's a video with a simple lighting profile.
I have many more modification ideas and will publish more content as I get around to making them.
Love it!