In today's task we are asked for a beginner's guide for one of the following exchanges explaining how to register, verification, depositing funds, withdrawing funds,
The exchange that I have selected to make my guide is [Binance](https://www.binance.com/es/register?ref=44865713), for being one of the most important exchanges and in which we will find a large number of cryptocurrencies listed.
We will start by registering the account, for which you must click [here](https://www.binance.com/es/register?ref=44865713) and you will see the following registration screen.
There you must enter an email address and a password which I advise you to use letters, uppercase and lowercase letters, numbers and signs to give security to our account. Keep in mind that we will be depositing money here and the security of our funds will depend on the security of our password.

Once the password is entered, the platform will send us an email to confirm the registration with an activation code for your account.
The activation code is a 6-digit number and it must be taken into account that this code is valid for 30 minutes. If you do not enter the confirmation code within 30 minutes, you will have to request the email to be sent again.
Once this code is entered, the account is registered, without identity verification.

After that I advise you to log out and log back in. It should be noted that the system automatically sends us an authentication code by email whenever we try to log in as a second authentication factor, but we can also add in the 2FA another authentication by SMS text message to our smartphone or an authentication by Google Authenticator.

Once we have entered the code sent to our email we log in to the account and the next thing we need to do is to configure the 2FA of our account to give even greater security to our funds. In my particular case I have done it by Google Authenticator and also by SMS to my phone.

To do this we must click on Verify as indicated by the red arrow in the screenshot below.
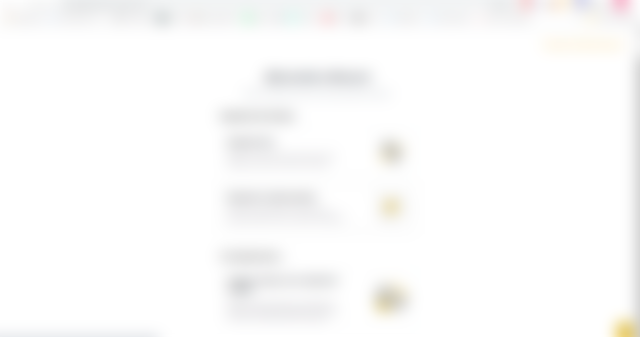
Once we enter verification as an example I selected the Google Authenticator option and it will display a new screen with all the steps we must follow to leave this new level of security active.


As you can see the screens are very simple and the help provided by the system makes everything very intuitive.
Once we have the security level of our account to the maximum we will begin to perform the verification of identity that Binance asks us to start trading. This verification consists of providing basic information about our person, such as nationality, full name and surname, date of birth, address, city where we live and our postcode.

Once our details are uploaded the system will ask us to send photos of our ID document, passport or driving licence and one step further we will be asked to take a selfie with our document in hand.


Once we complete these steps, Binance takes a few hours to analyze our data upload and once our account is verified we can start trading with Binance .
Once your wallet is secure and verified we can continue by completing the minor settings such as the language and the currency in which your cryptocurrency holdings will be reflected.
Alright, let's make a short summary of the main points we have seen so far:
- Binance registration.
- Activation of our Wallet's security factors.
- Verification of our personal data.
- Setting the language and currency in which we will see our wallet.
Now we have to see how to deposit and withdraw our funds, and we will do it soon.
How do I deposit or withdraw funds from Binance?
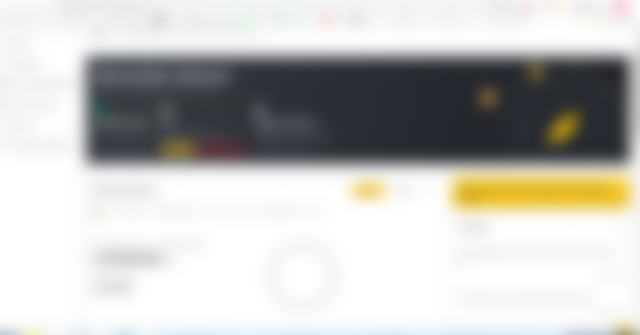
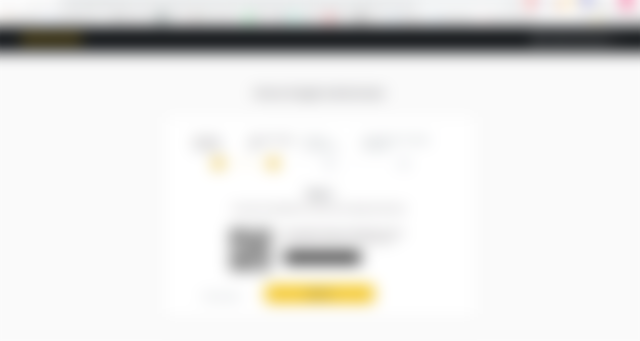
The first thing we have to do is go to our platform options bar, go to the Wallet section and within this section go to Spot Wallet.
Once we enter there we will see a screen like the one below in which we will see two big options:
- Deposit
- Withdraw


Both options are the same, with the only difference being that the action changes. In deposit we will bring our money to Binance, to trade, make passive investments, participate in a Defi, or other options that exist on the exchange and in the withdraw option we will be taking our cryptoassets out of Binance.
Here we must pay a lot of attention when we enter the wallet addresses, because once the transaction is done we can not go back.
As we can see we can deposit cryptocurrencies or Fiat currency (legal tender) accepted by Binance.
We must pay close attention because the deposit or withdrawal of various currencies requires not only the address but also a memo, without which the funds will never be credited to our accounts and we may even run the risk of losing our funds.
It is always necessary to make our movements with peace of mind and if possible to verify the uploaded data several times in order not to run risks.
[Español]
Muy buenas noches querida #crypto-academy!
Ya estamos aquí a pleno con las clases de los Crypto Professors en la segunda semana! Por suerte pude completar en forma satisfactoria todos mis tareas, lo cual ha sido muy bueno ya que he podido conocer algunas cosas nuevas y he investigado y profundizado en otros temas que son muy interesantes.
En la tarea del día de hoy se nos solicitar una guía para principiantes para uno de los siguientes exchange donde explique cómo registrarnos, la verificación, el depósito de fondos, el retiro de fondos,
El exchange que he seleccionado para hacer mi guía es [Binance](https://www.binance.com/es/register?ref=44865713), por ser una de las exchange más importantes y en el cual encontraremos listadas gran cantidad de cryptomonedas.
Comenzaremos por hacer el registro de la cuenta, para lo cual deberán hacer click [aquí](https://www.binance.com/es/register?ref=44865713) y les desplegará la siguiente pantalla de registro.
Allí deberán ingresar una casilla de mail y una contraseña a la cual les aconsejo que utilicen letras, mayúsculas y minúsculas, números y signos para darle seguridad a nuestra cuenta. Tengan en cuenta que aquí tendremos depositados dinero y de la seguridad de nuestra contraseña dependerá la seguridad de nuestros fondos.
Una vez ingresada la contraseña la plataforma nos enviará un mail para confirmar el registro con código de activación para su cuenta.
El código de activación es un número de 6 dígitos y hay que tener en cuenta que ese código tiene una validez de 30 minutos. Si en ese plazo no ingresamos ese código de confirmación deberemos solicitar nuevamente el envio del mail.
Una vez que ingresamos dicho código la cuenta se encuentra en registrada, sin verificación de identidad.
Después de ello les aconsejo cerrar sesión y volver a abrirla. Cabe aclarar que el sistema automáticamente nos envia un código de autentificación por mail siempre que intentemos ingresar como un segundo factor de autentificación, pero tambien podremos agregar en el 2FA otra autentificación por mensaje de texto SMS a nuestro smartphone o bien una autenticación por el Google Autenticator.
Una vez que ingresamos el código que nos enviaron al mail entramos a la cuenta y lo próximo que deberenos hacer es configurar el 2FA de nuestra cuenta para darle aún mayor seguridad a nuestros fondos. En mi caso particular lo he hecho por el Google Autentificator y también por SMS a mi teléfono
Para ello deberemos hacer click en Verificar como indica la flecha roja de la captura de pantalla de abajo.
Una vez que ingresamos en verificación a modo de ejemplo seleccioné la opción de Google Autentificator y nos desplegará una nueva pantalla con todos los pasos que deberemos seguir para poder dejar activo este nuevo nivel de seguridad.
Como podrán ver las pantallas son muy simples y con la ayuda que nos brinda el sistema hace que todo sea muy intuitivo.
Una vez que tenemos el nivel de seguridad de nuestra cuenta al máximo comenzaremos a realizar la verificación de la identidad que nos pide Binance para comenzar a operar. Esta verificación consiste en brindar información básica de nuestra persona, como ser Nacionalidad, Nombre y apellido completo, fecha de nacimiento, dirección , ciudad en la que vivimos y nuestro código postal.
Una vez que nuestros datos son cargados el sistema nos solicitará que enviemos fotos de nuestro documento de identificación, pasaporte o licencia de conducir y un paso más adelante nos solicitarán que nos saquemos una selfie con nuestro documento en mano.
Una vez que realizamos estos pasos, Binance se toma unas horas para analizar nuestra carga de datos y una vez que nuestra cuenta esté verificada podremos comenzar a operar con Binance .
Una vez que tu billetera esté segura y verificada podremos seguir por completar las configuraciones menores como lo son el idioma y la moneda en la cual se reflejará tus tenencias de cryptomonedas.
Muy bien, haciendo un pequeño resumen hagamos un resumen de los puntos centrales vistos hasta aquí:
- Registro en Binance.
- Activación de factores de seguridad de nuestra Wallet.
- Verificación de nuestros datos personales.
- Configuración de idioma y moneda en que veremos nuestra wallet.
Ahora nos queda por ver como hacemos para depositar y retirar nuestros fondos, y lo haremos a la brevedad.
¿Cómo deposito o retiro fondos de Binance?
Lo primero que tenemos que hacer es ir a nuestra barra de opciones de la plataforma, ir a la sección Billetera y dentro de esta sección a Billetera Spot.
Una vez que ingresamos allí nos aparecerá una pantalla como la que abajo en la cual veremos dos grandes opciones:
- Depositar
- Retirar
Ambas opciones son iguales, con la única diferencia de que cambia la acción. En depositar traeremos nuestro dinero a Binance, para tradear, hacer inversiones pasivas, participar de alguna Defi, u otras opciones que existen a el exchange y en la opción retirar estaremos sacando nuestros cryptoactivos de Binance.
Aqui debemos prestar muchísima atención cuando ingresamos las direcciones de las billeteras, porque una vez que la transacción está hecha podemos no tiene vuelta atrás.
Como podemos ver podemos depositar cryptomonedas o bien moneda Fiat (moneda de curso legal) aceptadas por Binance.
Debemos prestar mucha atención porque el depósito o retiro de varias monedas no solo requiere de la dirección de sino también de un memo, sin el cual los fondos nunca se acreditarán en nuestras cuentas y hasta podemos correr el riesgo de perder nuestros fondos.
Siempre es necesario realizar nuestros movimientos con tranquilidad y de ser posible verificar los datos cargados varias veces para no correr riesgos.
Espero que mi pequeña guía les haya sido de utilidad.