 @Ozzyy
more from that month
@Ozzyy
more from that month
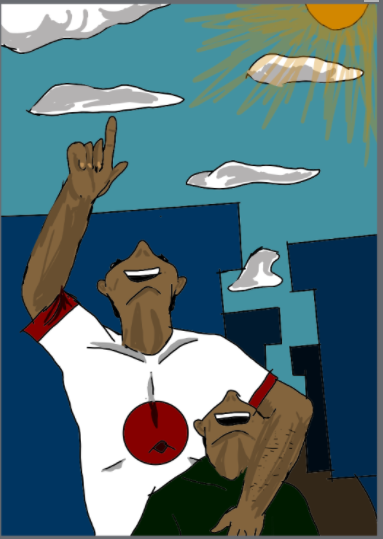
Digital Art: Brothers Hi guys! So, I showed my friend what I was able to do with the Medibang app he recommended, and he was pleased. He then asked me to do something based on my own inspiration - not fanart. https://read.cash/@Ozzyy/fanart-hidan-and-kakuzu-c606c871 This was a tricky one for me, but I decided to give it my all and I chose a memory I was fond of. When I was younger, my elder brother and I would go on walks around the neighborhood, and one time we saw an airplane while strolling. https://read.cash/@Ozzyy/the-outsider-94d6b7dc *Don't blame me, I was really fascinated by flying bird-shaped houses back then!* 😅 So he pointed it out to me and I remember us both looking at it and smiling, so I decided to make some art of this from a 3rd person perspective. The Sketch I set my drawing tool to a size of about 7px and then gave a little rough sketch of what I wanted to see on the final masterpiece in the first layer.
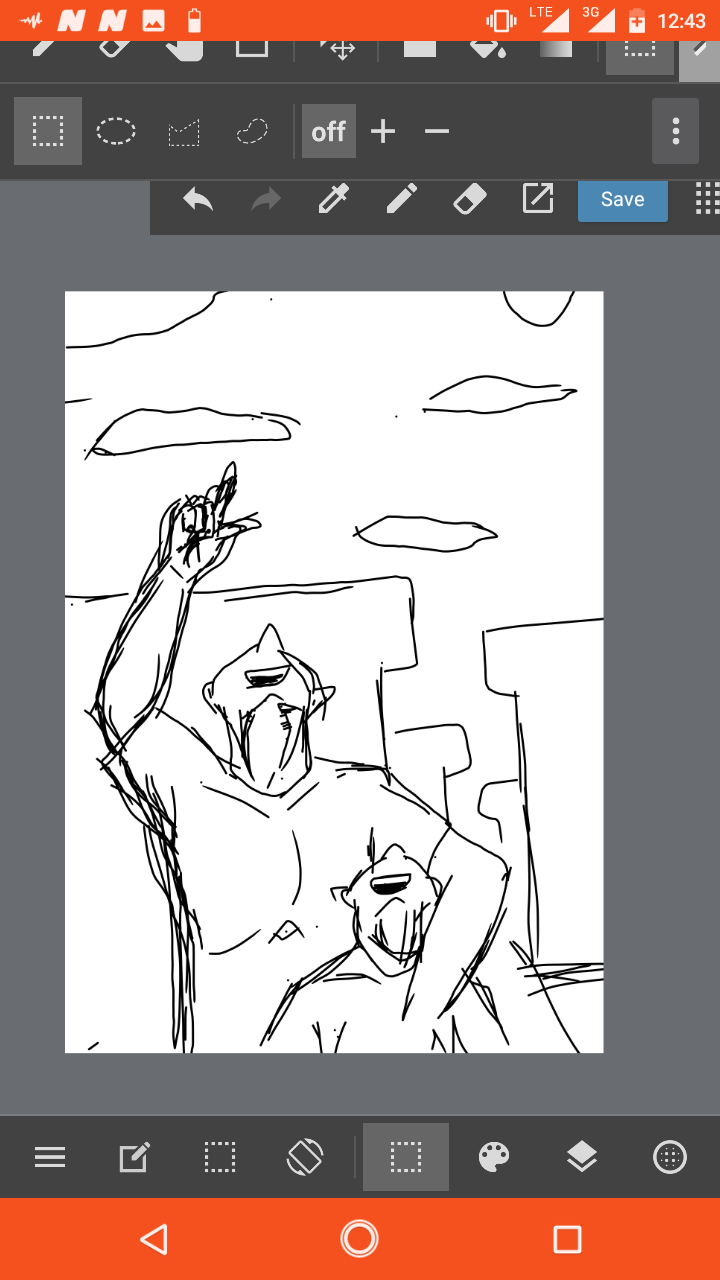
Lineart In the second layer, I began the Lineart. When I first started Digital Art, I wasn't very confident, so my line art would be rally jagged as a result of using multiple lines. But since then, I've become a lot more confident in my work, and this has shown in my Lineart.
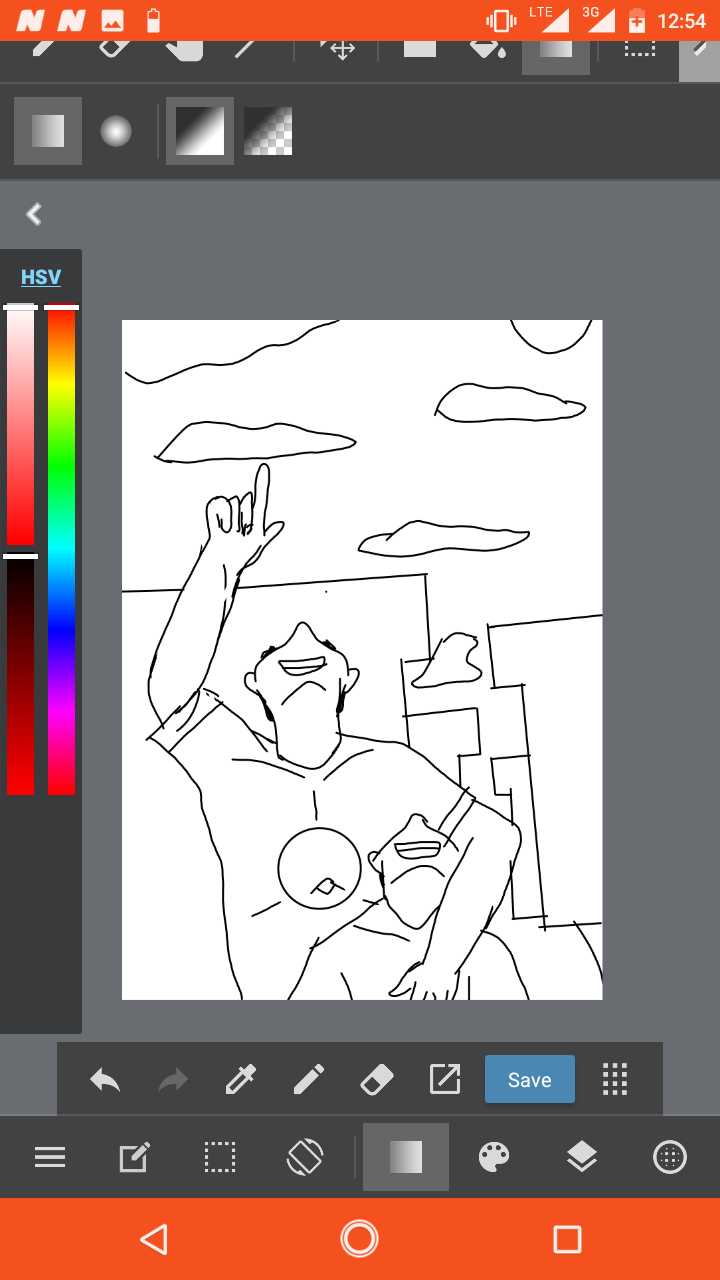
I created this with simple fluid movements, and I guess it was really a success. Also, during the Lineart, I remembered my brother's t-shirt had a design on it - even though I couldn't remember the finer details, I did remember a few things, so I added them. Coloring I think I really went for Gold on this artwork - I didn't forget to use layers. I started from the sky, trying to give it a sunset look. Then, I had this medieval vibe going on, so I gave the sun's rays a lot of sharp extravagance. *It took all my effort not to add a little face on the sun 😜.* Once that was done, I decided to settle the clouds by adding the little highlights they would need, and voila!
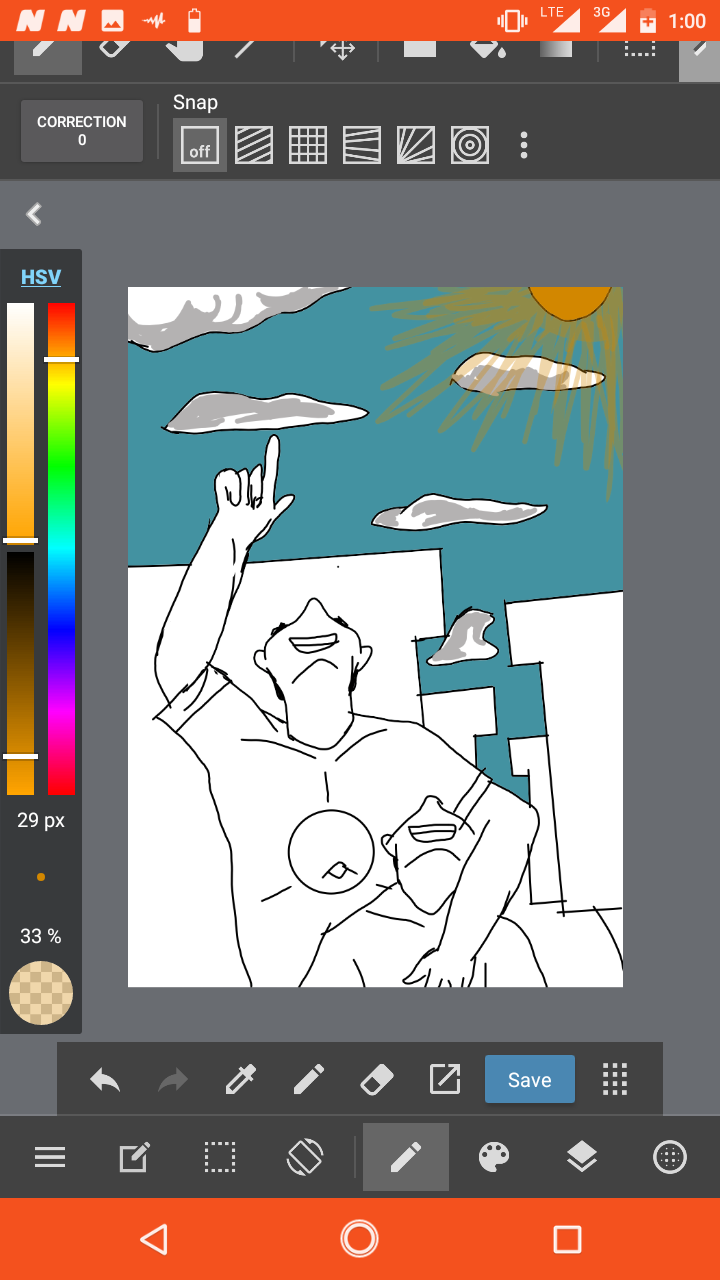
Then I decided to give the buildings a bluish color. I didn't really want to detail them, but I still wanted to add the effect of perspective and distance, so OI gave the closer buildings a lighter shade and the ones in the background a darker shade, and that brought about the desired effect.
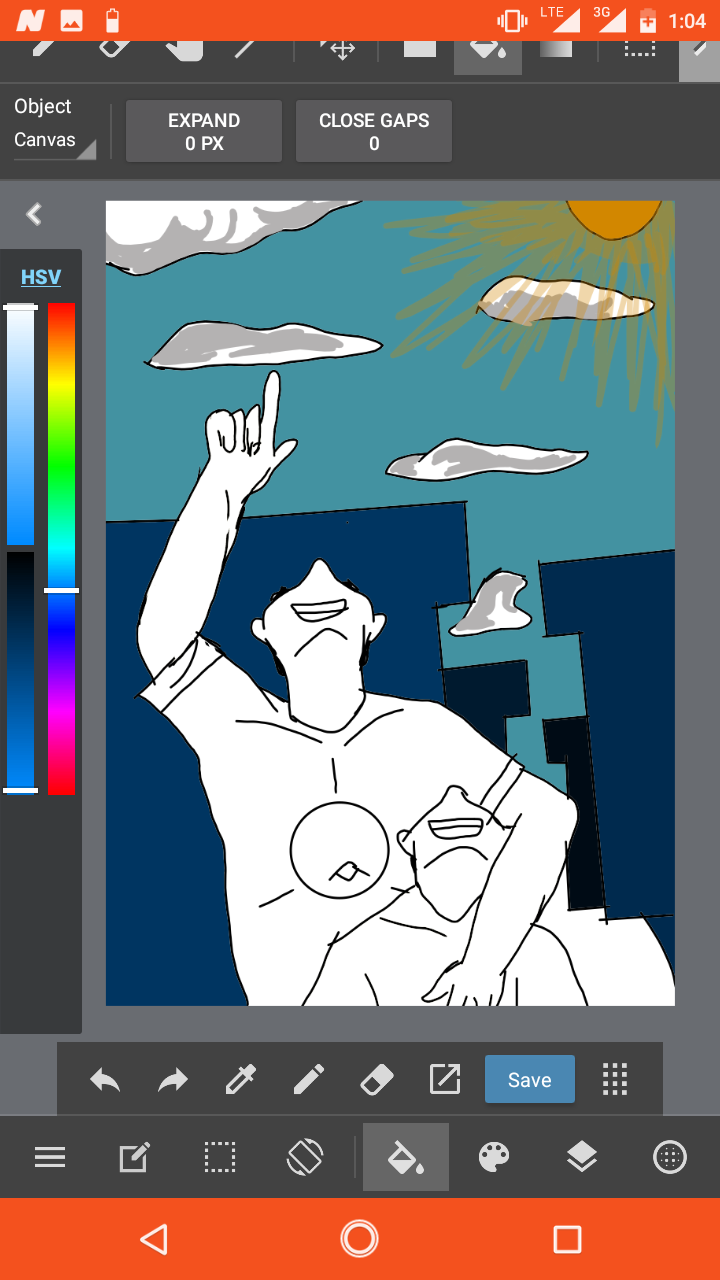
Then I had difficulty selecting the best tone for their skin, so I went on a lot of experimenting until I'd finally found what I wanted to work with and used it.
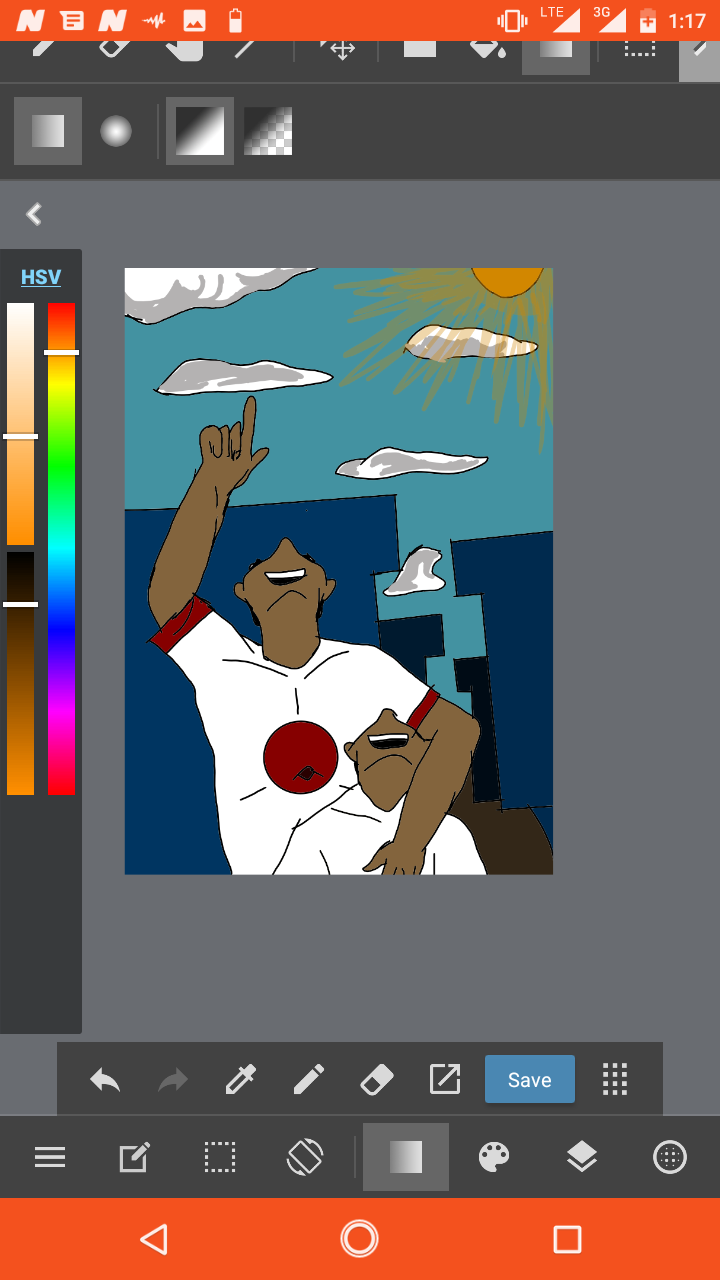
Highlights and Shading I was almost thinking the work lacked life until I realized I hadn't added the highlights. As usual, when I wanted to shade, I used the color picker to select the color of their skin and then moved the cursor till I got I slightly darker shade. I then proceeded to color all over the areas of skin.
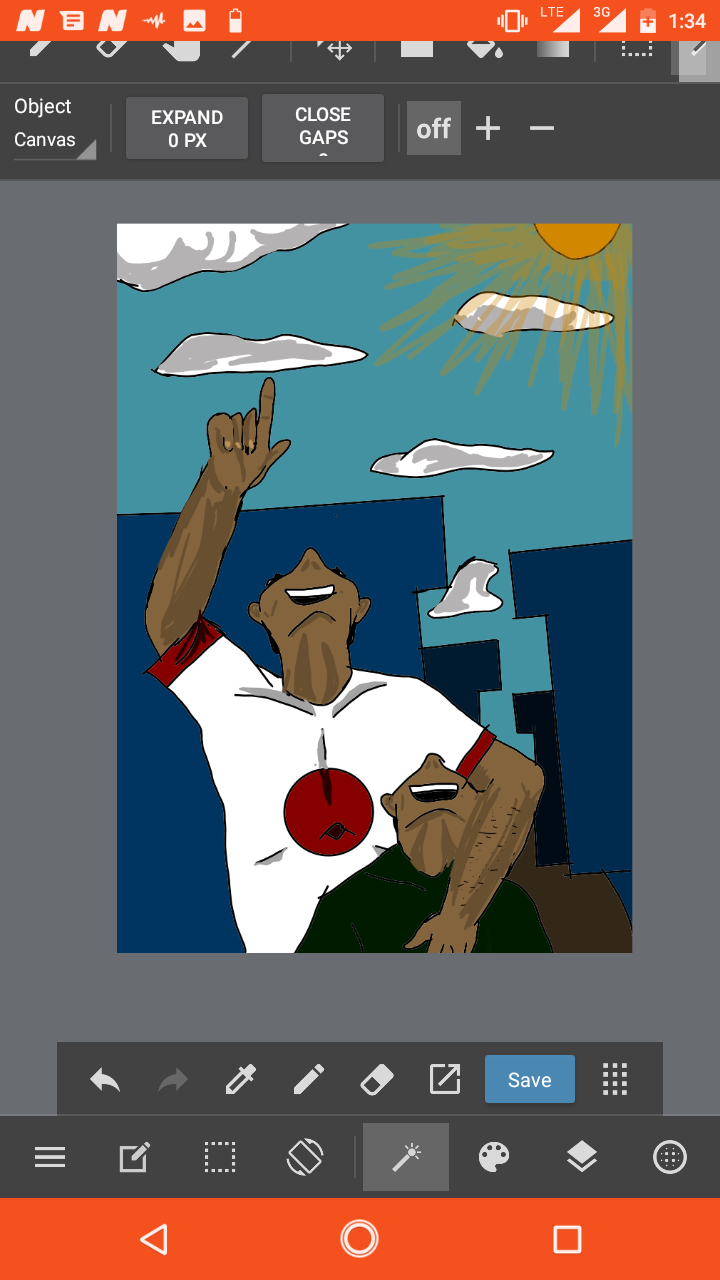
Then I remembered my brother was hairy - I wonder if he still is, - so I used the drawing tool, set at a thickness of 5px to give small dashes and dots on his left hand to make it look a bit hairy. *It worked, I think.* Then I used the same method for our clothes and then I was done! Enjoy the final masterpiece!
8 comments
Here's the link for the art contest, you may want to vote, you should've join. 😥 https://read.cash/@Jane/vote-for-your-best-artworks-now-47e30650
That's so cute, so that's you and your brother? Maybe I should do a sketch of my sisters too because they're the only people i have a family photo with 😂
😜😜 I haven't taken a family picture in over six years, if not more! Yes, please do one. I would have done one showing our faces, but I think I'd rather remain in the shadows on RC 😅
Lol what is family, i only have sisters left 😂 kinda shy to draw my sisters here because I'm not too fond of revealing photos of myself too much
Me too XD What about your parents?
Lol my parents are separated but mom stays with us
Okay I understand now. Anyway still looking forward to some Family Art, even if it's three years from now XD
I could work on that soon, though probably when I'm not as swamped as i am now