
- Introduction -
I decided to write another masternode manual for Pyrk, the reason - ihostmn.com does not support direct payment option. So I found another good masternode hosting platform, which allow direct payment with numerous altcoins, personally tested and after i found it works fine, I wrote this guide. I hope, it will be helpful to the Pyrk community and anyone interested in hosting a masternode on masternodes.biz. I made this guide very easy to use, step-by-step with screenshots. If you find this guide useful, you can support me in making my guides, manuals and articles - info is at the bottom of the guide.
- Masternode Setup Guide - Pyrk at masternodes.biz - for Windows 10 -
1. Go to https://www.pyrk.org and download a wallet for your operating system - must be the latest version of the wallet. Install a Pyrk wallet and wait for the wallet to fully synchronize with the network. In your PYRK wallet go to "Tools > Debug console"
- and type there - getnewaddress "MN2" - you create a new masternode address(MN2 is your Label for this address, you can use another alias if you like). Now save this address in a text file and then send exactly 2500 PYRK to this address(must be exactly that amount - 2500 PYRK, no more and no less). Wait for 15 confirmation on this transaction.
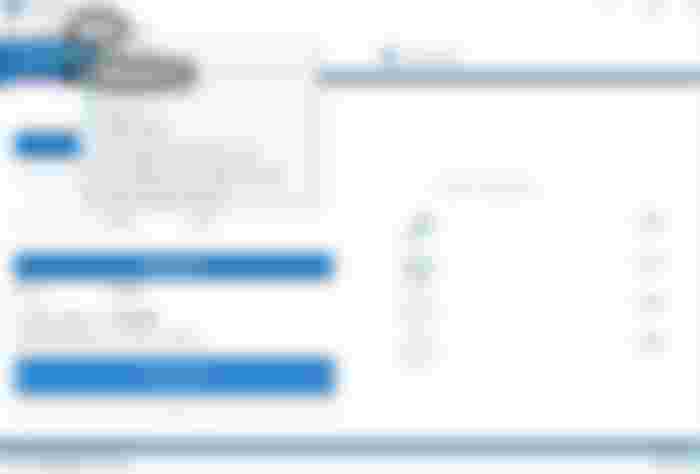
2. Register at masternodes.biz - https://masternodes.biz/, go to "Topup balance", select the coin, you want to pay with - click on "Show Address"


- you will receive an address for payment. Fund your account balance, you must have at least 0.80$ on your account balance, masternode hosting for one Pyrk masternode(IPV4) requires 0.80$ per 30 days.
If the account has sufficient balance, active masternodes will auto renew by default at the end of the 30-day period.
3. In your PYRK wallet go to "Tools > Debug console"
- type "masternode outputs"(without"") and press "enter" on your keyboard - you will get something similar to -
"57de4ce2c5299374y541u270ab8076a0fc755874f58b564a64d3cd4ec4c9e2a0": "1"
first long string - TxID, second string - Outup Index,
Now save this data in a text file.
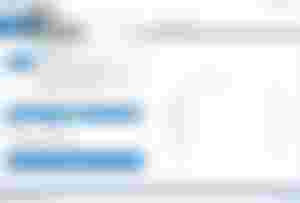
In masternodes.biz go to "Create a Node", find Pyrk there and click the "Create a Node" button.


Copy the data(without""), then put this data in the corresponding fields.
In the Alias field, type your masternode label(you chose your Alias=Label, when you created the masternode address in your local wallet - MN2 is used for this guide).


Then click the “Launch” button.
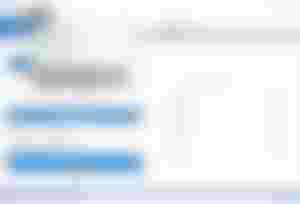
Wait a few minutes, the masternode status should change from "In Queue"


to "Synchronizing".


4. On masternodes.biz go to "List Nodes" and select your masternode there.


Copy masternode text to clipboard


then go to your local Pyrk wallet, go to "Tools > Open Masternode Configuration File"

in the opened text document paste the copied masternode text at the last line, then close and save the masternode config file. Now you must close the wallet and then restart the wallet for changes to apply.
5. Again, on masternodes.biz go to "List Nodes" and select your masternode there.
Copy text - masternode start-alias "MN2",


then go to your local Pyrk wallet, go to "Tools > Debug console",
paste the copied text there and press "enter" on the keyboard - you must see text message saying, that your masternode successfully started.
After few minutes, on masternodes.biz your masternode status should now be - "Online".


Congratulations! You have set up your Pyrk masternode and will begin to receive masternode rewards very soon(It may take up to 3 days for your first reward, after which the rewards will be regularly).
- Useful information, Tips & Tricks -
1. To create multiple masternodes, just follow all the steps again - create a different address with a different Label=Alias - e.g. "MN3", then send exactly 2500 PYRK to this new address, copy/paste new masternode outputs, add another new line to the masternode config file, e.t.c.
2.1 To spend coins locked in a masternode, you must first unlock them. First, in your PYRK wallet go to "Settings - Options - Wallet" and there check the "Enable coin control feature" box.


Now go to "Send", select "Choose Inputs", and there you can unlock locked coins.
2.2 Alternatively, to unlock coins in the masternode, stop the masternode first, then go to "Tools > Masternode config file", in the opened text document delete the text line of the masternode, which coins you want to unlock, then close and save the masternode config file. Now close the wallet and then restart the wallet, to unlock the coins of this masternode.
3. You can read my previous Masternode Setup Guide here - Pyrk at ihostmn.com -
4. You can read more about Pyrk at https://www.pyrk.org
5. 1 Masternode = 2500 Pyrk. Per month roughly = 15x30 = 450 Pyrk > +18% monthly. 450x12 month = 5400 Pyrk. So around +216% in a year per masternode. I'll talk more about that in the next article.
- If you find this guide useful, you can support me in making my guides, manuals and articles. I would appreciate a donation, no matter how small -
- Donation addresses -
Pyrk(PYRK) - PEwwwRHvCtkZu8VcmXuHEBJA6R5cmazz7d
Bitcoin(BTC) - 1LuA1HE3qJ9ZwxXt6rXJz1ShFbXF92wQii
Litecoin(LTC) - LV8RPgV6HnVrjiK8HPAVmWMB8jFHLJURH6
Dogecoin(DOGE) - DKtxmr6QzctTAScpR7HFj5SEwsKBXNQj2X
I hope, it will be helpful to the Pyrk community and anyone interested in hosting a masternode on masternodes.biz.