How to Create a Waiting List for your Upcoming NFT Drop


A big NFT drop coming out and you are looking to create a buzz around the same? Why not let your audience pre-register for the NFTs even before they are out? Yes, with the Waitlist feature, you can allow the NFT enthusiasts to get their wallets whitelisted for the drop. And all this can be done with just a few clicks from your own NFT marketplace.
The waitlist feature not only enables you to create a unique landing page for the NFT buyers to get themselves registered but also allows you to push the campaign through emails to your target audience. Therefore, create a hype around your soon-to-be-coming NFTs and let people register to become eligible for the upcoming drop.
Let us now learn how to create a waitlist for your NFT drop and some of the unique aspects of this feature –


In order to create a waiting list, visit the NFT Marketplace or store, and go to ‘Store Settings’.
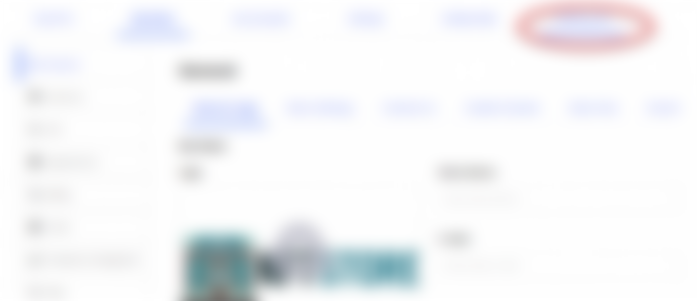

Once on the ‘Store Settings’ page, choose the ‘Waiting List’ from amongst different options on the top panel.

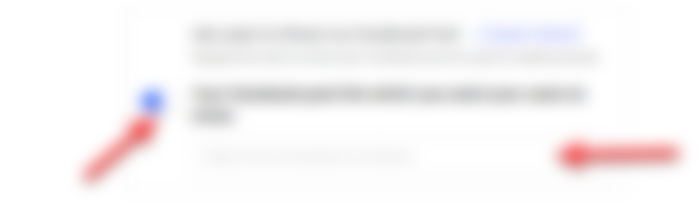
On the ‘Waiting List’ page, click on the ‘New Waiting List’ option to proceed ahead towards creating a new waiting list for your upcoming NFT drops.


When you will land on the creation page of the waiting list, the first step would be to give the name to the waiting list. This name will help in creating the URL slug for the Waiting List page.
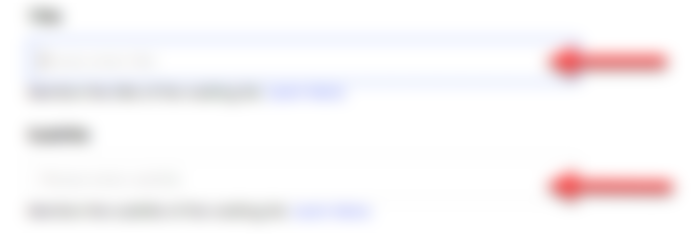

The next step is to give your waiting list a title and a subtitle. These will appear on the top of the Waiting List page. The title will help your audience understand which NFTs are coming their way and a subtitle can help in shedding light on the significance of the NFT drop. Therefore, give an appealing title and a meaningful subtitle for your Waiting List.


Now, you will be required to add a banner image for your Waiting List page. A banner image will help you add branding to the landing page along with making it more appealing to the visitors. Therefore, make sure to upload an attractive banner image to your Waiting List. The preferred size of the banner would be 1140 x 250 px.
Moving forward, the next step would be to upload an email list containing all the email addresses to which you want to send the invite to join the waiting list. Once you upload this list, the email will be sent to the respective address notifying the audience that the joining list is open to them. You can also connect business tools like Madmimi or Mailchimp to manage the email campaign effectively.
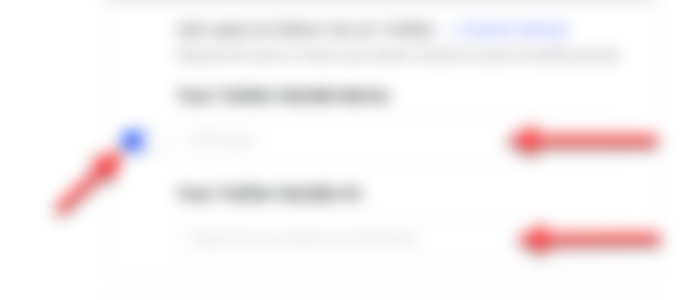

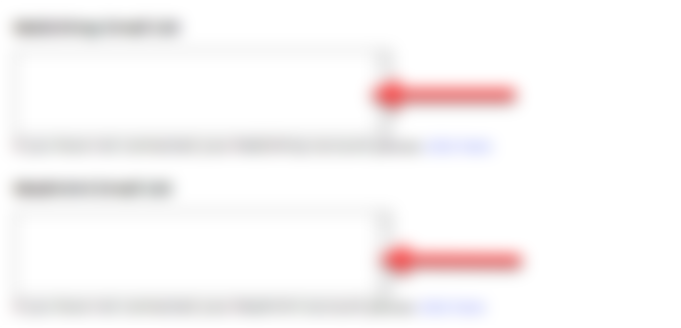
The following steps from here on will enable you to ask your visitors to promote your social media handles. The first request you can put across is to ask the users to follow your account on Twitter. For enabling this option, toggle it on and enter your Twitter handle name and Twitter handle URL in the given fields.


Next, you can ask or request users to join your Discord channel. For enabling that, toggle on the button and enter your Discord profile, along with your Twitter profile link in the respective fields.
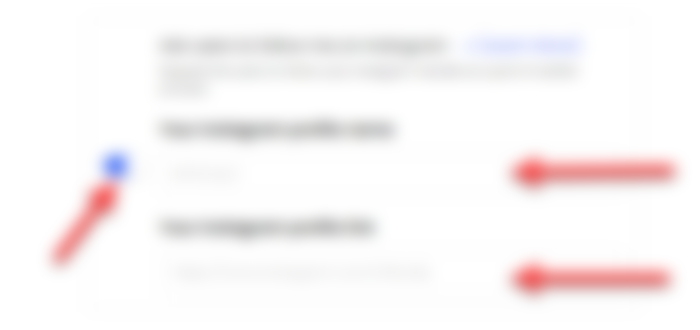

Additionally, you can also ask your users to follow you on Instagram. To allow your users to do that, toggle on the button on the side, and enter your Instagram profile name, along with your Instagram profile link in the respective box.
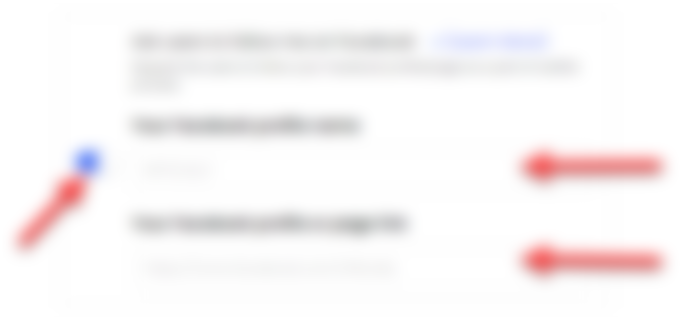

The same thing can be done for Facebook as well. All you need to do is to enable it by toggling it on, and then enter your Facebook profile name along with your Facebook profile or page link in the given fields.


Apart from asking your followers to follow your social media profiles, you can ask your users to promote some of your specific posts across different social media platforms. To begin with, you can start with a retweet of your tweet. To do so, enable the toggle button and then enter the tweet URL which you want your users to retweet.


Similarly, you can ask your users to share any specific Instagram post from your profile. To move ahead with it, toggle on the button and enter the Instagram post URL which you would like to be spread across.

Apart from these, you can also request the visitors on your waiting list page to share any specific post from your Facebook feed. To enable that, turn on the toggle button, and enter the post URL from your Facebook page.


Lastly, if you have some specific terms and conditions associated with the waiting list campaign, you can specify them in a document (PDF, Google Doc, or HTML page) and specify its link in the given box. This will help your users to understand the terms of the campaign before joining the list and hence would bring in transparency.
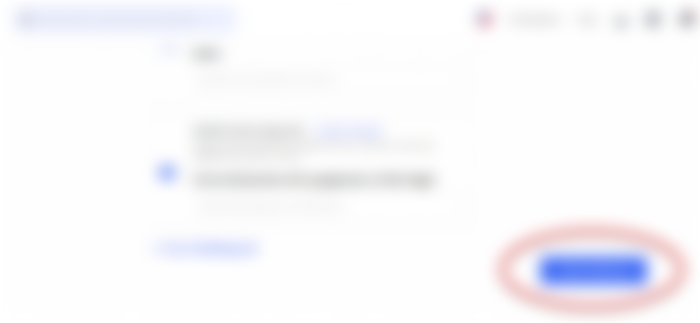

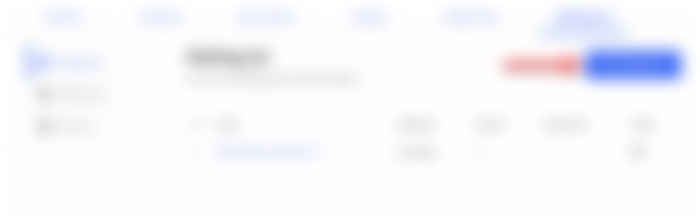
Once you have enabled all the required fields, the final step is to hit the ‘Create Waiting List’ button at the bottom of the page.


Once the waiting list has been created, you would be able to manage it from the waiting list page and if you want to make any changes to it, you can do so by going to the ‘Edit’ button from the drop-down menu.
This way you can create a unique waiting list page for your users and get them excited for the upcoming NFT drop by getting their wallets pre-registered.