

First off, let's start with what is an automatic plant watering machine. It's any machine that automatizes the work of watering the plants. It could be as simple as a bamboo lever contraption or as sophisticated as AI-powered robots. But, today we are going to learn how to build the simplest forms of coding instruction based automatic plant watering machine aka dumb robots. We are going to base our work on Arduino.
Why we should use it
Plant maintenance is very labour intensive work and with the increase of the overall world population, it's only going to get even harder. On the other hand, people are increasingly moving away from the sacred profession of farming as most people are becoming more city-bound. So, we need to automatize as much of the work as possible to feed our growing population and give much leisure as possible to farmers.
What can it do
Automatic plant watering machines with help of few sensors can determine the soil quality and the soil moisture level and water the plant as much as needed at just the right time. It can also give us an overview of the plant health
What we need to build
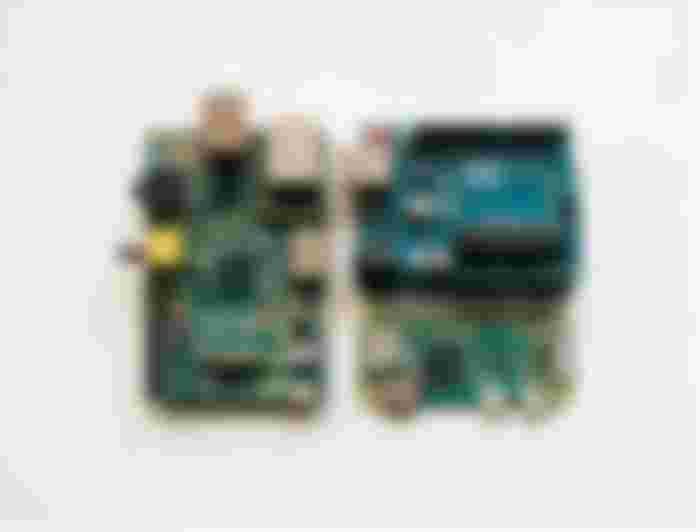
This is going to be an Arduino based project. So, the first thing we need is an Arduino Uno R3.
Depending on how many different pots or fields we want to water we can use a channel relay module.
We are going to need a few different soil sensors as we need to know the moisture to water the soil.
Pumps or solenoid valves for controlling the water flow.
Power adapter.
So in short, we need


Circuit Diagram


The Coding for Work
We need to use Arduino IDE software for the coding. We can use any language we want. I am going to use C++.
First, we need to set out the algorithm for the coding.
Algorithm
Set Arduino
Indicate sensor pin 1= A0 , sensor pin 2= A3
Define output value 1; output value 2;
Save sensor pin 1= output value 1; sensor pin 2=output value 2
display soil sensor 1 value; soil sensor 2 value
If output value1>800; Pin 4= high
If output value 2>800; Pin5=high
This is the basic algorithm that we needed for setting up a 2 field or 2 pot system. But, following this basic algorithm, we can also do much higher fields. As long as we increase the number of sensor pins, modules, output values and the number of channels in relay modules.
Technically you don't need to know how to code for this to work if you use the code that I am going to provide. But, you will need to know some basic coding if you want it to work for higher field numbers. But, it is still very simple as long as you follow my algorithm.
Code
int sensor_pin1 = A0;
int sensor_pin2 = A3;
int output_value1;
int output_value2;
void setup()
{
pinMode(4, OUTPUT);
pinMode(5,OUTPUT);
Serial.begin(9600);
Serial.println("Reading from the Moisture sensor…");
delay(1000);
}
void loop(){
output_value1= analogRead (sensor_pin1);
output_value2= analogRead (sensor_pin2);
//output_value1= map (output_value1,550,10,0,100);
//output_value2= map (output_value2,550,10,0,100);
Serial.println("Moisture for Soil Sensor 1: ");
Serial.print(output_value1);
//Serial.println("% ");
Serial.println(", ");
Serial.println("Moisture for Soil Sensor 2: ");
Serial.print(output_value2);
//Serial.println("% ");
Serial.println(" || ");
if (output_value1>800)
{
digitalWrite(4, LOW);
}
else{
digitalWrite (4,HIGH);
}
delay (1000);
if (output_value2>800)
{
digitalWrite(5, LOW);
}
else{
digitalWrite (5,HIGH);
}
delay (1000);
}
*You can use this code as is or make changes as you want for if you want different number of fields. The moisture value has already been calibrated but you can also change that depending on you crops water need or drought resistance. (It's the 800 value).
What can this device do?
This watering machine can perform a multitude of tasks and depending on how many accessories you use the tasks it can do can even go higher.
It can water your plants or fields at the right time without any human assistance.
It will also accurately give the needed amount and not more.
It can water your fields on time. (with a slight change of code)
It can also measure the amount of sunlight and plant health( With CDS photoresistor cell and soil temperature sensor.
It can also detect the amount of nutrient in the soil and provide needed nutrients. (With a soil nutrient sensor)
This can also be used to feed farm animals in time.( by replacing soil sensor with RTC module).
As you can see this thing has a lot of potentials and by attaching solar panels to it you can make the entire process carbon neutral. It is very efficient. So, if you don't want to water your roof garden anymore or don't want to worry about your plants when you are on vacation or to lessen your workload on your small farm this might be just the solution for you. So, get building.

Nice, how much is the power consumption? Here is my article about how to build your own food dehydrator: https://read.cash/@Gigamegs/easy-diy-hack-mod-food-dehydrator-out-of-the-sankoo-baby-bottle-sterilizer-and-dryer-machine-2ff1965a