

I am a fan of photobooks. Being a DIY traveler, a photography enthusiast, and a trying hard artist, I always wanted to look at my pictures in a tangible way. Printing each photo is not very handy plus it adds another dilemma - photo albums. Thus, I resort to printing them in a photobook.
Today, I would like to share with you how you can create your photobook as well using the Photobook.ph's desktop application.
Before diving into the tutorial, please do check some of my photobook flip throughs here:
Sipalay 2018
Davao 2019
Now that you had watched those videos, let's get into how to make one on your end.
With the Photobook Designer desktop version, you can create photo books on your desktop or Mac.
Install the software on your Windows or Mac computer. To download the application, visit this link:
Make sure to set the country correctly and hit the download button
Install and launch the application
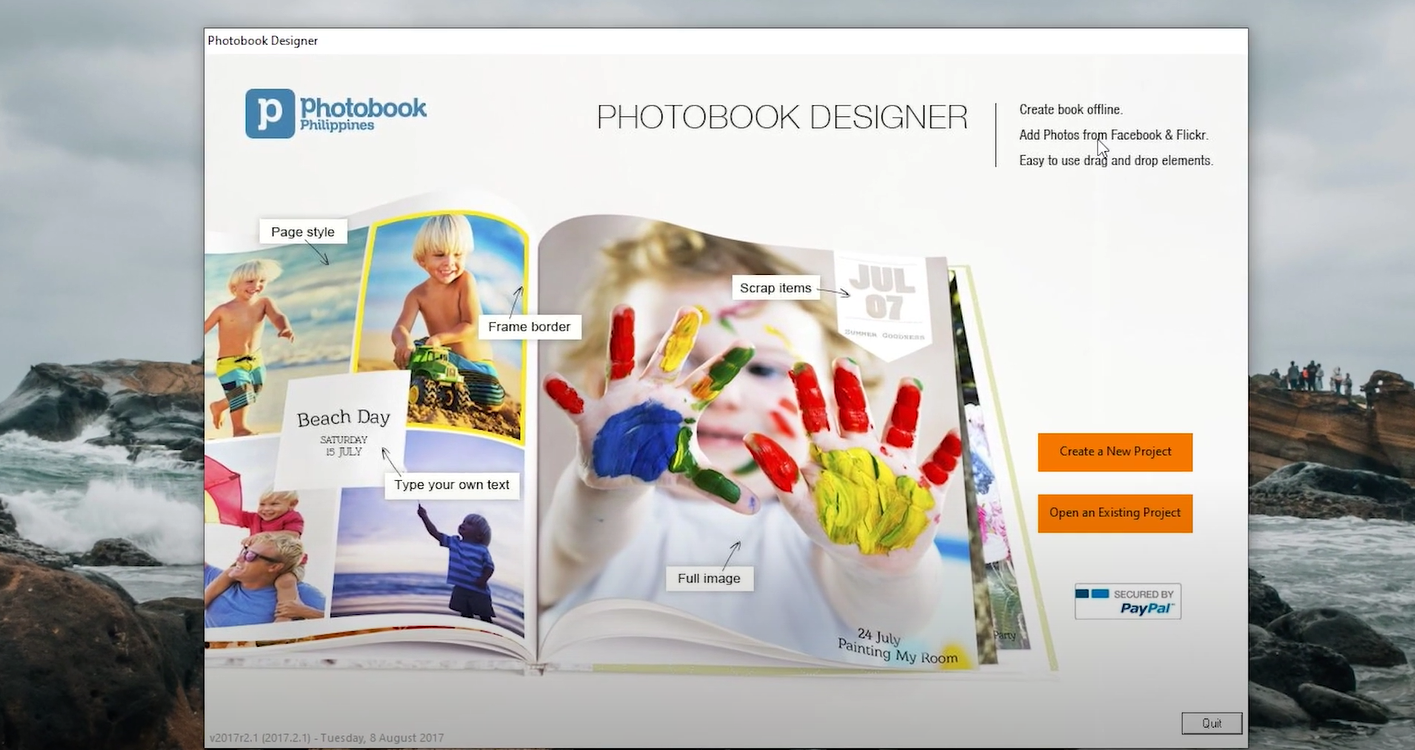
Click on the Create New Project button
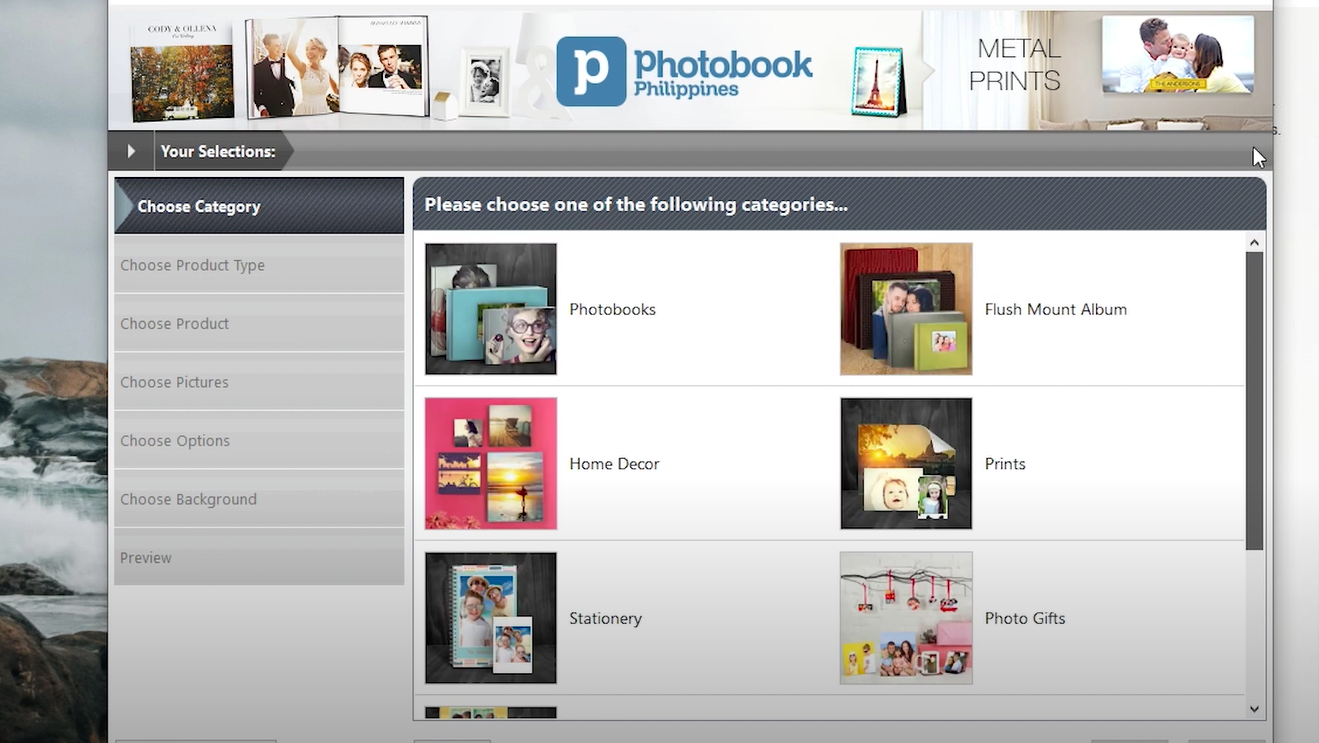
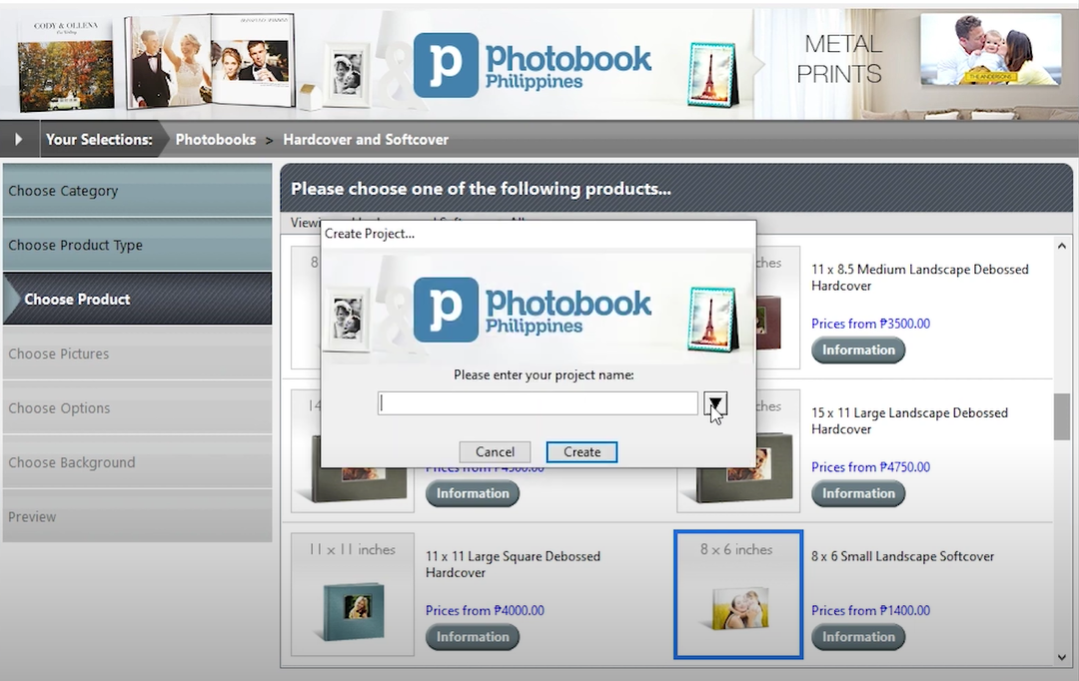
Select Photobooks on the list of available products
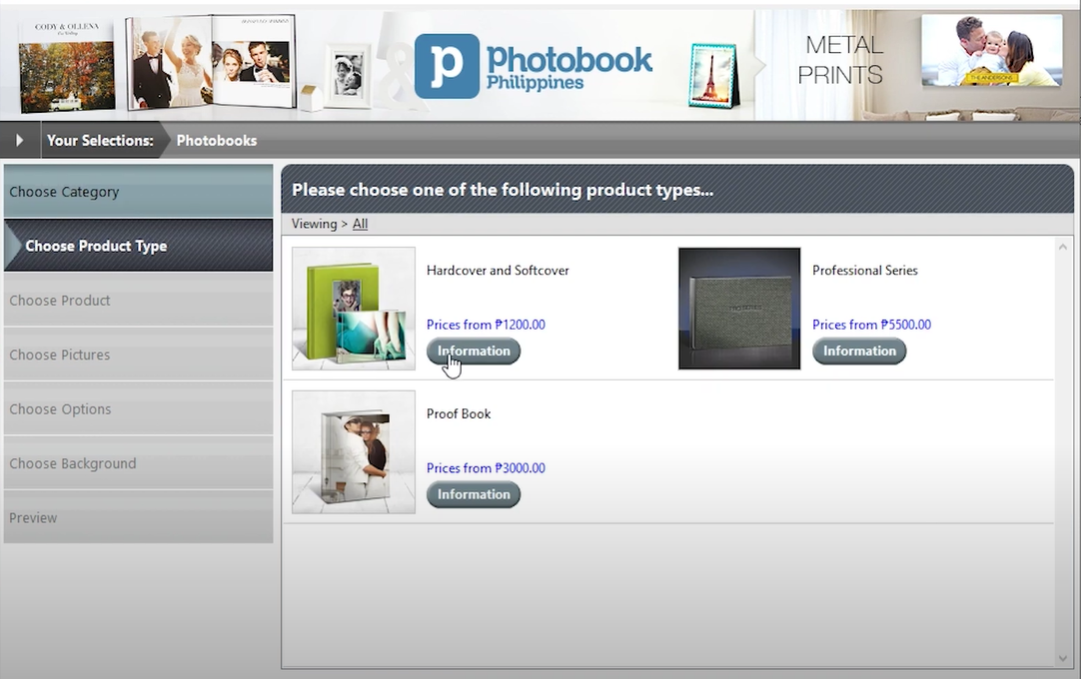
Now select the option for hardcover and softcover
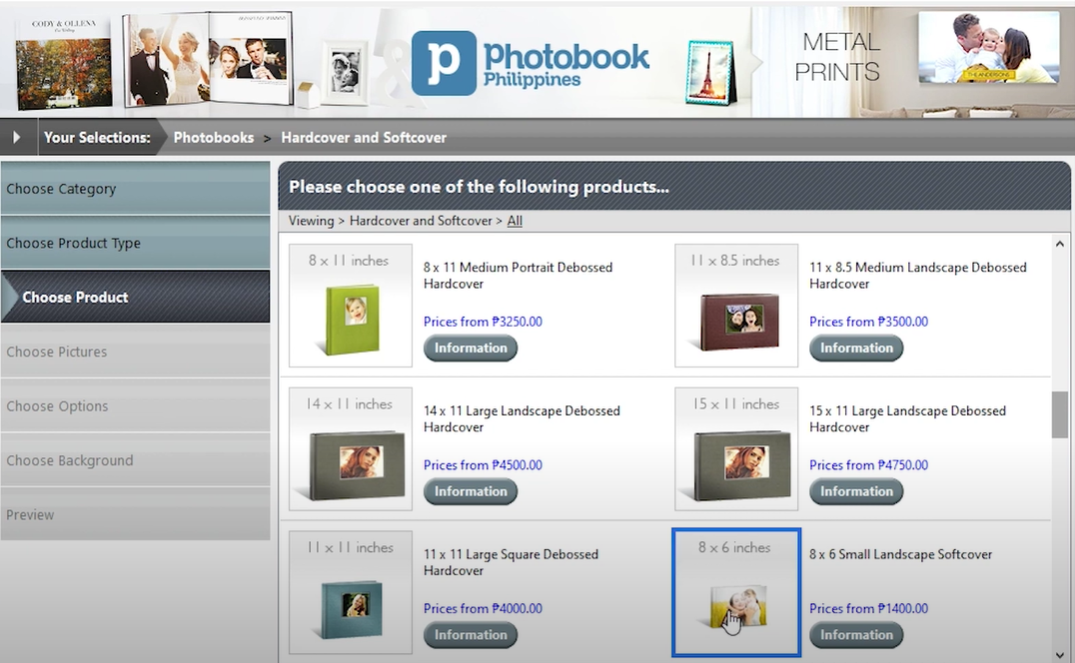
For this tutorial, we will select the 8x6 softcover photo book
Give the project a name and continue to create the project
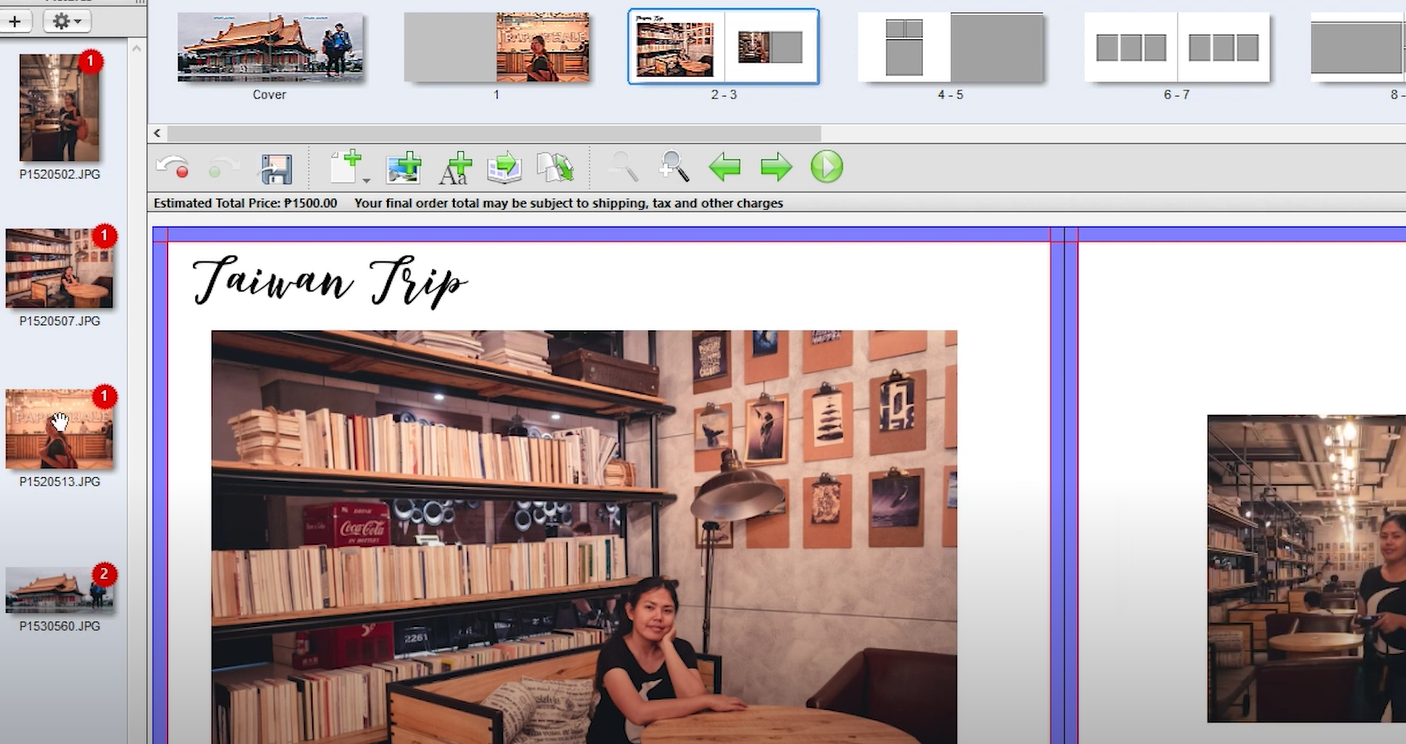
Familiarize the software interface

Top - photo book pages
Left - add photos, either from the computer or social media sites
Center - the photo book selected page preview where we can add photos and texts and other customization options
Bottom - templates and other essentials to make the photo book making easier
Right - texts, shapes, and other elements to add to the project pages
Add elements by drag and dropping them into the page
Always remember to save the project! The software is a little outdated as the site already has launched their online web application but still, you can use the desktop software which is pretty helpful if you have challenges with your internet connection.
Once done with the layout, you can proceed with ordering the photo book which requires an internet connection in order to pay and to upload the project!
This photobook was for our Taipei Trip, check the flip through here:
Taipei Taiwan
An equivalent video tutorial is available for you as well. Check it out here below:
xoxo,
mommy jean of momentswithmatti
Love harder than any pain you've ever felt.