
OSPF stands for open shortest path first in Computer Networks. This can be executed in the packet tracer such as cisco packet tracer.
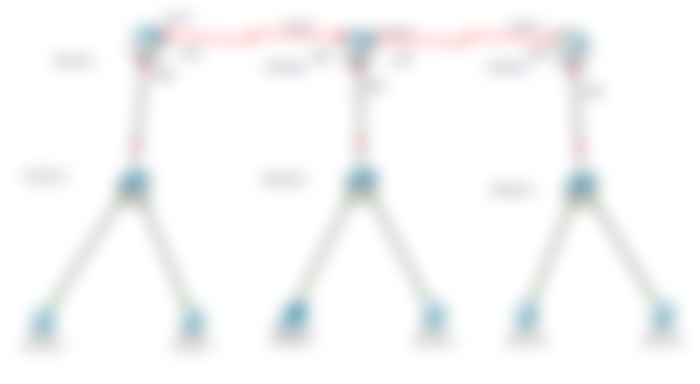
Now I am going to show the steps to do it. Here I am given a network and the ip addresses. I will use them and do command in CLI for the execution.
So very first I will open the cisco packet tracer of version 7.3. If you want to use another packet tracer that will be ok too. And now I will make different networks by using routers.


Like every time I am using the PT routers, switches and pcs since they are easy to deal with. The connections between two devices are always not with the same cable. So, for simplicity I will use the auto option and so the exact cable will be chosen automatically. So, now I am cabling.


Here as we can see only the PC-switch connections are established (the green signal means connection establishment). And the other connection has a red display on this that means the connections are yet to be built.
Now I will note the information like ip address, interface number beside the correspondent device.


I have put down the ip address of the router, the gateway of each network and also the network id. One thing I have also written is the fast ethernet and the serial numbers. This is not mandatory but I will recommend you if you are not at home in packet tracing.
At this stage I will put the ip address of the pc as their name. This ip address can be any id inside the network.

I am done with the notes and now I will configure the pc. By clicking on the pc I will get desktop and their will be option for changing IP address, subnet mask, gateway and dns server. I will only change the first three.


I have changed the first three only. The DNS server is 0.0.0.0 by default so it has taken it automatically.
Now I will do the LAN connections more specifically I will connect the end devices with the router. This have to be done in the router's CLI.
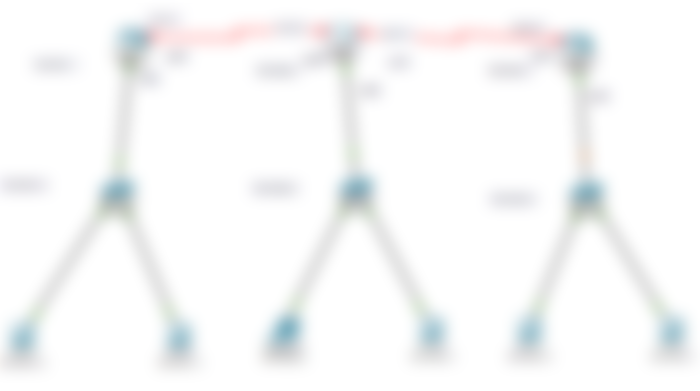

The connections between the router and the end devices are now established. The commands are for Router0:
Router>enable
Router#conf t
Enter configuration commands, one per line. End with CNTL/Z.
Router(config)#int fa0/0
Router(config-if)#ip add 192.168.1.1 255.255.255.0
Router(config-if)#no shut
Router(config-if)#
%LINK-5-CHANGED: Interface FastEthernet0/0, changed state to up
%LINEPROTO-5-UPDOWN: Line protocol on Interface FastEthernet0/0, changed state to up
The other two router should be commanded in this way. You have to put the gateway address as the ip address and the subnet mask will be of the gateways' class subnet mask.
Now I will make the WAN connections established.


The WAN connections are now established too. The commands for the Router 1:
For s2/0:
Router#conf t
Enter configuration commands, one per line. End with CNTL/Z.
Router(config)#int s2/0
Router(config-if)#ip add 10.0.0.2 255.0.0.0
Router(config-if)#no shut
Router(config-if)#
%LINK-5-CHANGED: Interface Serial2/0, changed state to up
end
For s3/0:
Router#conf t
%LINEPROTO-5-UPDOWN: Line protocol on Interface Serial2/0, changed state to up
Enter configuration commands, one per line. End with CNTL/Z.
Router(config)#int s3/0
Router(config-if)#ip add 20.0.0.1 255.0.0.0
Router(config-if)#no shut
%LINK-5-CHANGED: Interface Serial3/0, changed state to down
Router(config-if)#end
Now I will do the main task and that is I will now do the OSPF to the router.
Here the CLI command is:
Router#conf t
Enter configuration commands, one per line. End with CNTL/Z.
Router(config)#router ospf 1
Router(config-router)#network 192.168.1.0 0.255.255.255 area 0
Router(config-router)#network 10.0.0.0 0.0.0.255 area 0
Router(config-router)#end
Here the 'ospf 1' is the process id number of OSPF. We have to write down the networks that are directly connected with the router. And every where we have used subnet mask after ip address. But here in OSPF we need to put the wildcard mask instead. It's quite opposite to the subnet mask. If a subnet mask is 255.255.255.0 the wildcard mask will be 0.255.255.255. In a word, we have to put all the 0 octet first and then the 255 octets. Here area is 0 because for the same network it is taken 0 by default for all the area.
Now it's time to check whether the OSPF works properly. For this I will write the command 'show ip route' or 'show router ospf'.
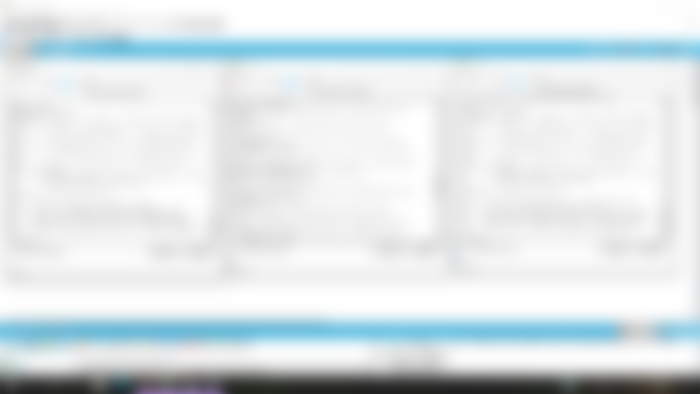

Here see the output. It shows all the networks are connected. Now if I want to pass message it firstly will show fail and then if I pass by deleting the previous result it will show successful.


Now I will delete this and will pass the message again.


Look all are working properly. And now if I want to ping and check if any packet is lost, I will simply go to the pc's command prompt and ping the targeted pc.
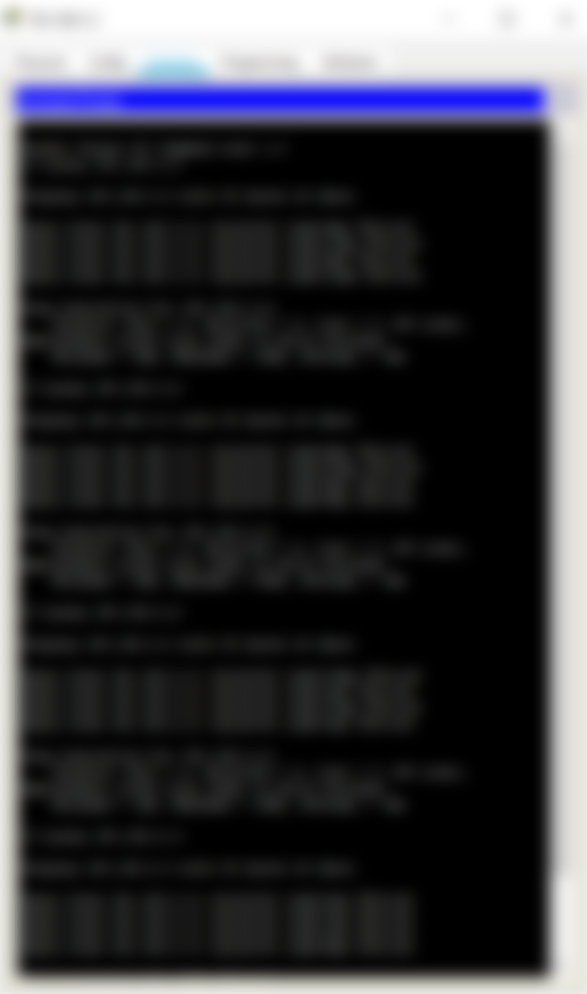
As you can see every packet is sent successfully and no packet is lost. So, the execution of the OSPF in this way works properly.
This is mostly for the beginners. I have tried to discuss every issues broadly. Hope it will clear the concept of OSPF.

that was great, helpful, we can learn something here