
Today I am going to share a step by step process of removing background in photoshop. By following the procedures you can do it professionally all by yourself.
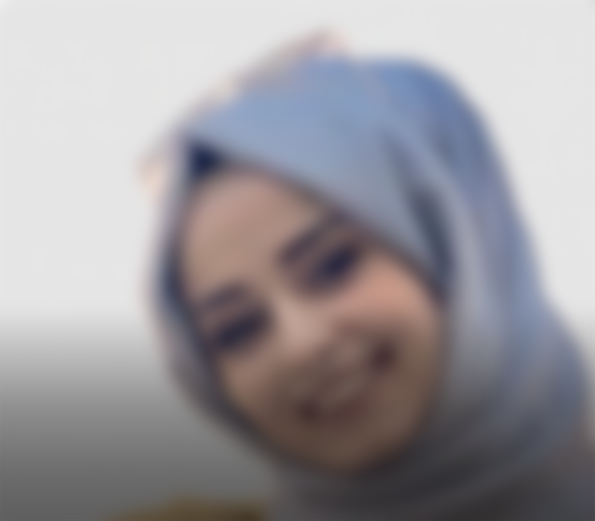
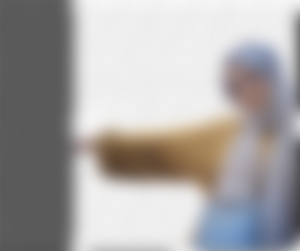
Here I have got two images from google. I will use the first one's girl to be set on the second one's background.


First I have to open the images in the photoshop. Now the task is to remove the girl from its background. For this I am going to use the quick selection tool from the toolbars left.


Then I will select the girl using this. I will do zoom in and out for several times so the the selection is perfect. You can also use the pen tool or other selection tool if it works better for you.

After a good selection of the object, I will go to the layer panel and there I will see a option named add a mask. As soon as I will click it, the background outside the selected object will be removed.

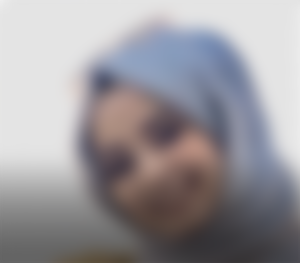
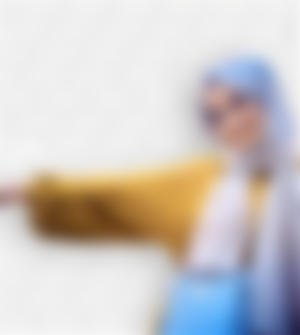
The background is removed but not perfectly. If I zoom it in I can still see some unremoved part. Look at the picture below. Here the parts under the glass has not yet been removed. So, now I have to follow another tricks to remove them.
I will again go to the layer panel and will click on the layer mask thumbnail. It will lead me to the refine mask. There I will have to select the exact brush tool named refine edge brush tool.

Then if you want to change any properties you can do it from the right side of the window. You can change the view mode. I always prefer to keep it on black. Then you can change the radius, feather and some others if you want. Then I will drag the brush over the area that should be removed and once I dragged it, instantly it will be removed.
Then the last thing in refine mask I wish to do is to decontaminate colors. I prefer to keep it at 80%. And then I will press ok.


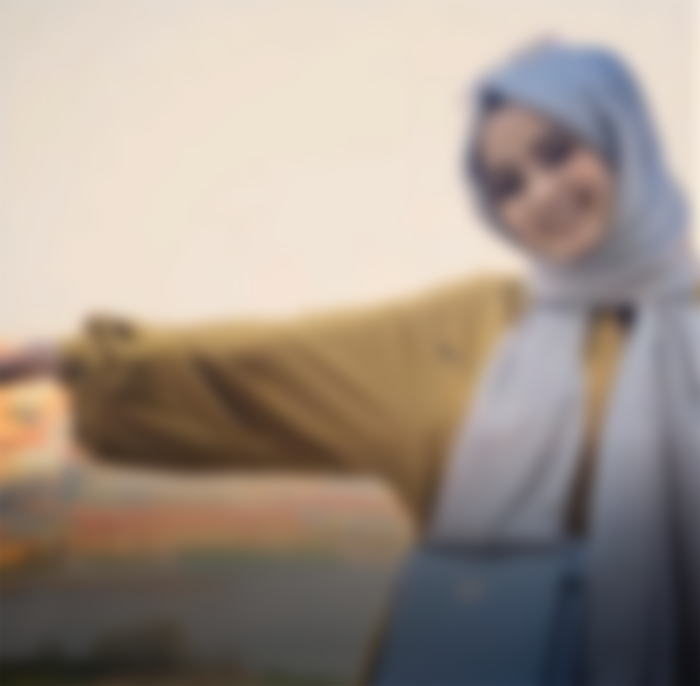
Now the object is perfectly removed from the background and can freely be moved anywhere. Now I will place the cursor on the object and press the left button and hold it. I will drag it to the white brick wall background where I want to set it.
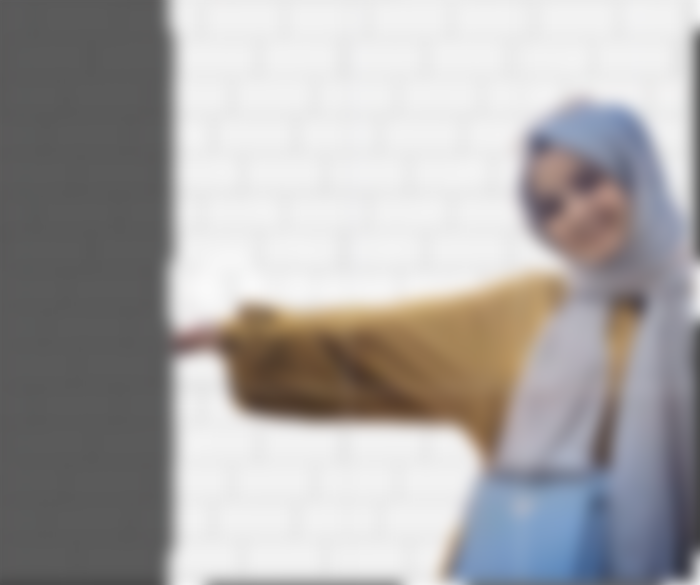
After putting it on the background I will set it in the right place and crop the parts that is not needed.
Now see the image background and the girl in front are not in the same color contrast. The background is much brighter than the girl. So, I will edit the object so that it can adjust with the background.
I will go to the image-->adjustments-->brightness/contrast.

From here I will increase the brightness and reduce the contrast a little bit. If you want to add some black effects on the picture you can go to the level and increase it.
I also like to go to the vibrance and increase it. Increasing it will make the image color brighter and deep too. It's one of my most favourite settings for image editing. Then I will decrease the saturation a little bit.
I also go to the exposure and increase it very little and decrease offset and also the gamma correction a little bit. This settings is good if you can handle because it's very sensitive and if you increase or decrease it too much, it will destroy the look and feel of your image.
Then I will go to the selective color and edit the color that are present in my image. Here I have edited yellow, cyan and magenta.
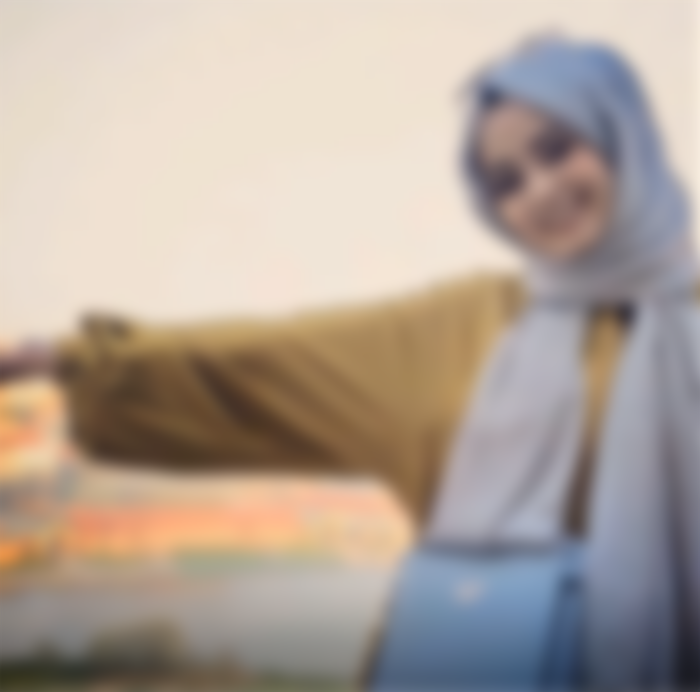
After these editings I will get a image like this.


Now I will go to the next step. Here the girl has edges that are not blended with the background. This doesn't make a real feel in the whole image. So, from the tool bar I will select the blur tool and drag the mouse over the edges of the girl.

Now we are on the last stage of realistic background remove. Look at the background and the girl. It doesn't seem that the girl is actually standing in front of the wall because she has no shadows. So, now I will put shadows of the girl.
For this I will again go to the layer panel and double click on the corresponding layer. Here the layer is the girl's layer.

Now I will see the blending option at the top of the pop up menus. If I click the blending option, I will find the drop shadow option at the lower side. Then I will check the preview and then will edit the distance, spread and size according to my image.


And then as you can see the image has got a realistic look and feel. By following this four step you can edit most of the images professionally.

So, if I summarize the whole step it will be:
Remove the desired object from its background
Place the object in the expected background and edit the color contrast so that they can be of same.
Use blur tool to remove the rough edges of the object.
Drop a shadow of the object so that there be a realistic look and feel.
If if are beginner, hope that you'll follow the steps and be better in your background remove editings.