Today is the second day I was washing a bunch of clothes. I used to wash outside facing the garden while enjoying the wind. Leaves were falling from trees and this made me think I have to do something creative out of these natural resources. Green has been a relaxing color to me. I badly need it especially when I am too exposed to the computer.
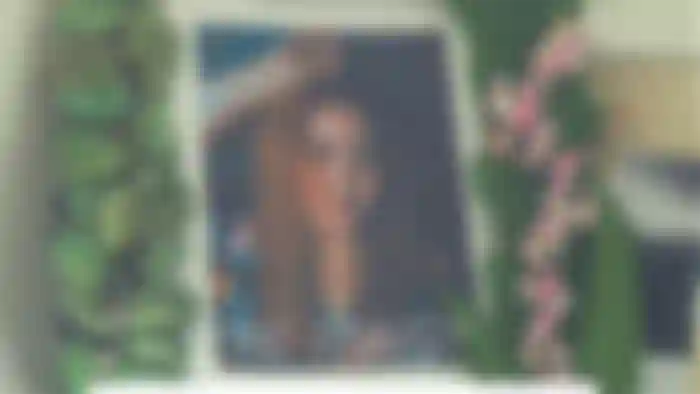


You have to find a photo that you like the most or any person who is important in your life. It can be your parents, best friends or grandparents. We love to see them displayed on the wall or place on top of the tables. By looking at their photo, we will be motivated and reminded of all the good times we had with them. I found an old photo of mine. This shot was taken last 2019. This was my first solo portrait. This is memorable and I missed my long curly hair.


I suggest you find any available box from your house that you don't longer use. We need a hard texture that's why we are using hard paper to keep the frame stand and can hold to whatever decorations you will put into it. Kindly measure first the size of the photo and trace it on the board. Once you are done, start cutting the middle space for where you will place the picture.
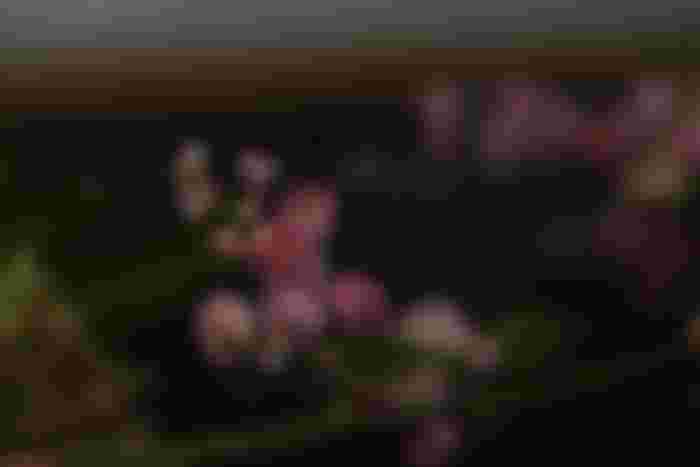
DECORATIONS TO USE


STEPS ON HOW TO MAKE THE PERFECT "FOREST" THEME FRAME
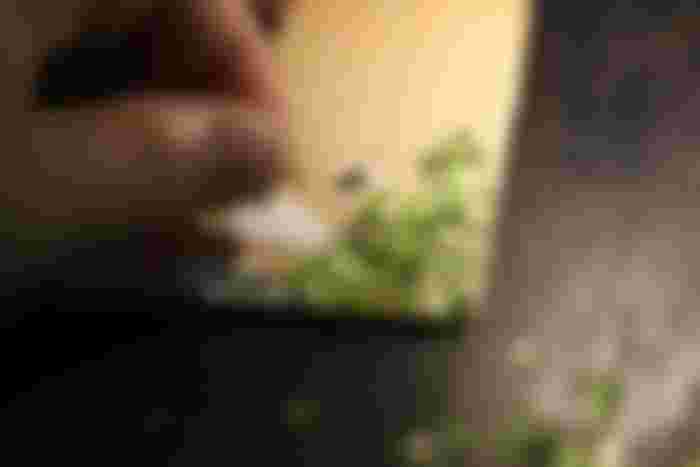
STEP 1: Scatter the glue on the hard paper. Control how you apply it to avoid overspill.


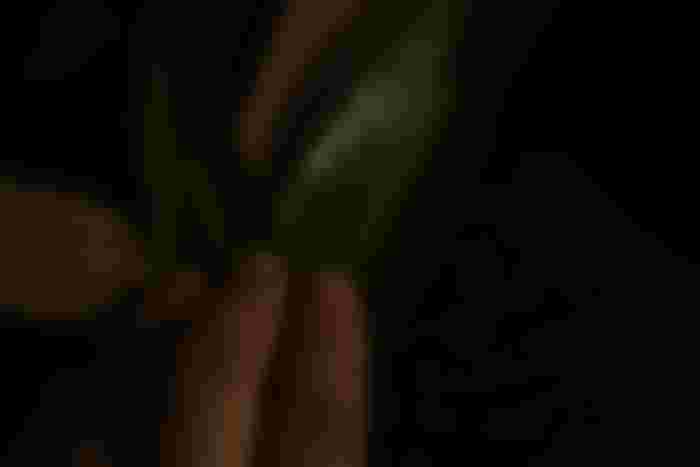

Step 2: Cut the end of the leaf and place it on the lower right edge. Press harder to stick the leaves with the glue. Leave for 2 minutes or put a heavy object on the top of the leaves to press it.


All photos are shots by @Donnabel8.-