A couple of days ago I decide to withdraw my BAT token from Binance exchange platform to my desktop Exodus wallet.It was not my first withdrawal from Binance to Exodus so I was thinking it's going to be smooth operation with no problems.WRONG!
I don't know is it was accidentally or I was blinded by the high Ethereum transfer fees so I select the wrong transfer network and the funds/crypto never arrived in my wallet.
Here is the problem

After getting some gray hair lines and almost quit I finaly manage to get back my BAT coins after fliping every stone on the internet searching for solution.
If you ask how this rookie mistake could happen, the explanition is provided by the Exodus support team in few sentences:
"Binance recently released their BEP2 token standard on the Binance chain network as well as the BEP20 token standard on the Binance Smart Chain network.What this means is that it is possible to accidentally choose the wrong network when withdrawing your asset out of Binance to your Exodus wallet address, even though we don't support the Binance network for these new BEP2 and BEP20 assets.With this introduction came many assets that have a BEP2 and a BEP20 version that you can withdraw from Binance."
So, if you are in similar situation here is a couple of steps to recover your funds if you send your cryptocoins to wrong transfer network.
Note: This is only if you are using Binance exchange platform and Exodus desktop wallet.
Step 1
Don't Panic!
Your Binance assets are here and it's not lost,they are just stuck in some corner of the crypto universe.
Step 2
Get a Metamask wallet if you don't have it.You can download it from their official site.
Step 3
Open your Exodus wallet, and open the asset that you accidentally sent from Binance.
Step 4
Export the private key from the wallet inside of Exodus.
Step 5
Copy your Exodus Private Key.
Step 6
Open Metamask.
Step 7
There is a big circle icon at the top right corner of your MetaMask next to the network name click it.
Step 8
Select Import Account.


Step 9
Paste Your Private Keys (Step 5)
Step 10
After importing your Private Key, click on Main Ethereum Network at the top of the Metamask wallet screen and select Custom RPC.

Step 11
Copy and paste these details in the relevant blank fields and click Safe.
1. Network Name: Binance Network
2. RPC: https://bsc-dataseed.binance.org/
3. ChainID: 56
4. Symbol: BNB
5. Block Explorer: https://bscscan.com


Step 12
Now go back to the main wallet balance page by clicking the big X in the top right of Metamask.
Step 13
Go to the bottom and click on Add Token.


Step 14
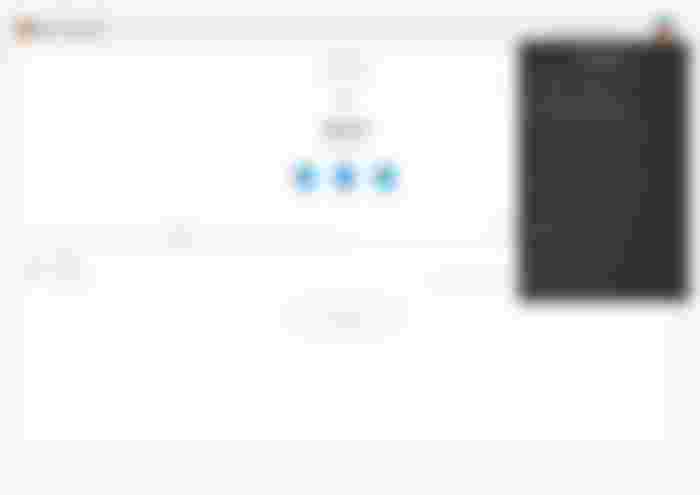
When you click on Custom Token you will be asked for a Token Contract Address. To find this contract address you need to do :
Open the BSC token list and find the asset you accidentally sent to and click on it.


The contract address you will find in the top right corner as on the picture below (green arrow)


Step 15
Go Back in Metamask and paste in the contract address and click Next.


Step 16
You should now see your BSC tokens , then just click Add Tokens.


Step 17
At the end, send your BSC funds back to Binance.
Important: If you want to send your funds out of Metamask you will need small amount of Smart Chain BNB in the wallet .(10-15$ of BNB will be enough).
When the funds are back in Binance, please select the asset's you want to withdraw to your Exodus wallet, but be careful (not BEP2 or BEP20).


Important: When withdrawing BNB to your Metamask wallet, please select the BEP20 version of BNB to send from Binance to Metamask.
In the future always double check the deposit address and the transfer network before you send your funds to your wallet.
I hope you'll find this article helpful.
Thank You
This article was first publish on www.publish0x.com