In recent times I have received several messages asking me for help on how to use the P2P channel of Bundle Wallet. As we all know that there has been a ban on any crypto dealings in Nigeria and most African countries, this has necessitated the call for help by those who are still finding it difficult to make use of the Bundle wallet. For those of us who have been making use of Bundle wallet and other wallets to carry out P2P transactions, we will understand that there is a high level of risk one can encounter while making use of P2P platforms. I have heard and read articles where users of Binance P2P were complaining about how they were scammed and this got me thinking because I believe that we are here for each other. No one will be happy to lose his/her hard-earned crypto to some scammer who has devised a means to scam others through P2P trading. It is common knowledge that P2P trading was the first form of crypto trading platforms that were used in the early stage of cryptocurrency in the world, but the ban made financial institutions shut down their services which was the only way people could convert their assets to fiat. This ban gave rise to the usage of P2P platforms again.
I understand that there are a whole lot of wallets and platforms where P2P can be carried out but I am here just to talk about the one I have been using for quite some time now. I must confess that this wallet has proven to be more secure when it comes to P2P trading because I have never heard of any form of scam since they started. I am talking about the P2P Channel of the Bundle Wallet. For those who are using android mobile phones, you can download it through the Google Play store while those who are using IOS phones can get it from Apple Store.
Having said all of these, I will go into what I call a systematic detail on how to use the Bundle Wallet P2P channel. Please I will urge you to read this article with care and if it will be easy for you, try and share with others because you might be helping out someone in need especially those in Africa and newbies.
Bundle Wallet (P2P Platform Processes)
First, you must understand that you are dealing with another individual who needs either fiat (local currency) or who wants to fund his account by way of depositing money into his account through P2P.
· You must have a fully verified account in i.e. you must have downloaded and completed all your verification processes.
· This verification may require you to input your email address, mobile phone number, bank details for funding and withdrawal through P2P processes.
· You must understand that your login password is different from your four-digit transaction pin which you will be asked to create on the process of carrying out any transaction.
· This verification is in two levels. Level one will give a daily limit of $65 while level two will give a daily limit of $12,500.
I would not go into other features of this amazing Bundle wallet because the most important part is to talk about P2P and other ways by which you can convert either your crypto to fiat or how you can fund your account. In this wallet, there are two major channels one can use to carry out transactions that concern conversion of fiat or funding of the account. These two channels are known as Cash Link and P2PExpress in the Bundle wallet. They are referred to as Third-party because they are both platforms where you carry out transactions with another person other than Bundle wallet. What happens is that the Bundle wallet serves as the middle man between you and the other user, this is why it is called a third-party channel.
Steps to Follow
Once you log into your Bundle wallet you will see a page bearing this slide shown below.

At the bottom part of your screen just as you can see in the slide above you will see Wallet, Profile, Stories, Update and Apps. Click on the Apps, you will be directed to this slide.
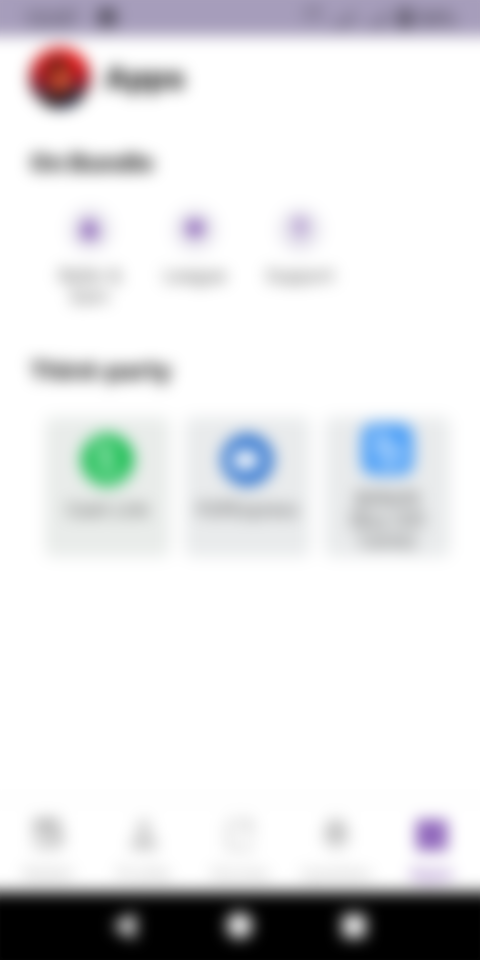
Once you get to this slide, you will see Third-party written in bolded black and under it, you will see Cash Link, P2PExpress and BitRefill (Buy Gift Cards). Since I am not talking about the BitRefill, I will ignore it and go straight to discuss Cash Link and its Processes.
Cash Link Step 1
You must understand that for you to use the cash link channel, you would have sold your crypto to your local fiat. Once this is done you can now proceed by clicking withdraw on the top of your wallet just as shown in the slide below.

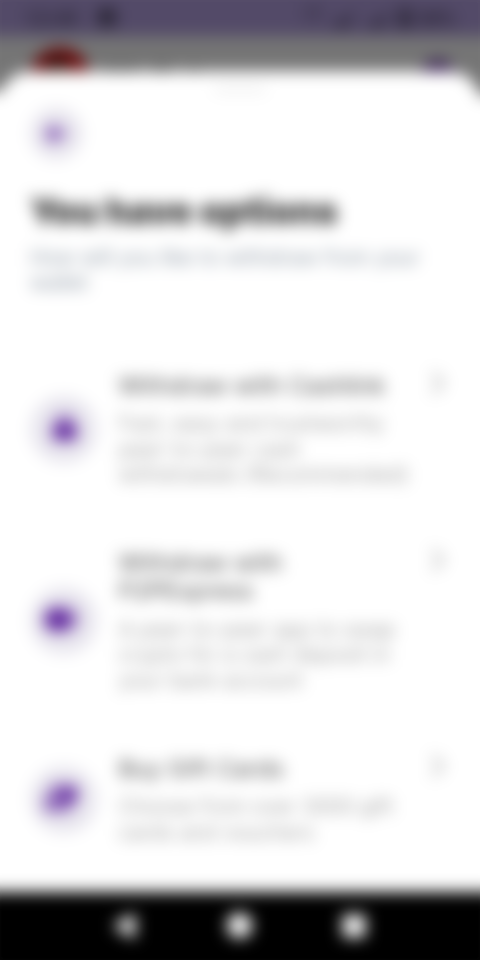
You will see withdraw with Cashlink and withdraw with P2PExpress, click on withdraw with cashlink. Once you do that, you will see this slide below.

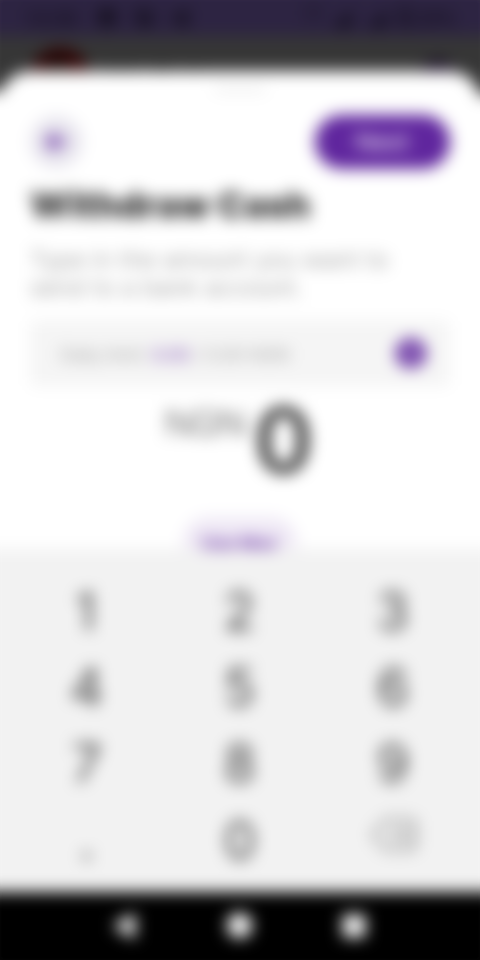
In the slide, you will be asked to input the amount you want to withdraw or you can click on the max to withdraw everything. Once you have done that, click on next at the top right side of your screen. This will take you to the next slide where you will input the four-digit pin which you created while you were verifying your account and this pin is used for confirmation of transactions. See below…

The next slide you will see will be the payment method i.e. where you would want the money to be sent. This is shown below… remember you must have registered your bank account during your verification process but if you did not, you will see Add a new method, click on it. Once you have done that you will see Payment options which contain:
· Bank Transfer
· Abeg wallet (App)
· Carbon
· Chipper Cash
· Get Barter
· Kuda Bank
· OPay
· Paga
· Wallets Africa.
Select the payment options of your choice and continue. (I am making use of Bank transfer as a payment option). As you have done that, you will see this slide below.

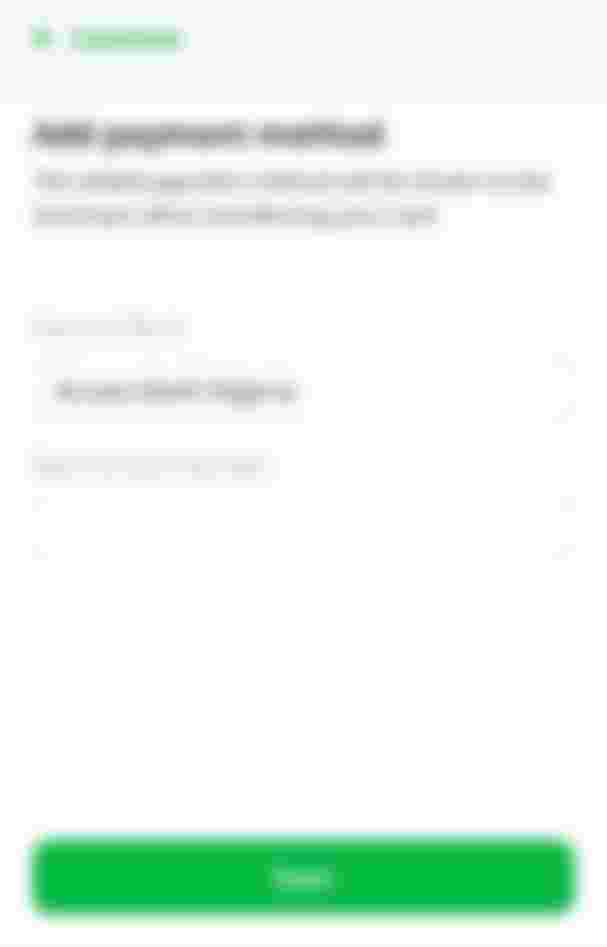
Fill in the necessary bank details and save, you will be asked to input your Bundle pin. Once you have done that, you have completed the setting of your Payment Option. You will continue by clicking on the bank details you saved, you will be redirected to the slides below.

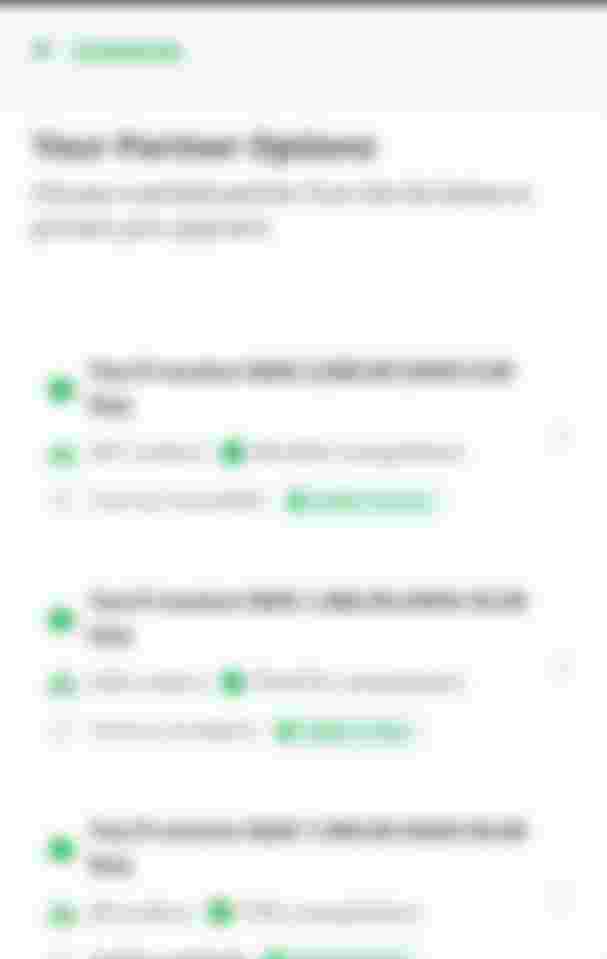
This is where the Cashlink transaction is handled because you will be expected to check the list of available agents for the transaction you want to do. Mind you, you must make sure to check the list so that you can select an agent whose method of transaction is comfortable for you. After the selection, you will see a confirmation slide bearing the request you have made. See below…

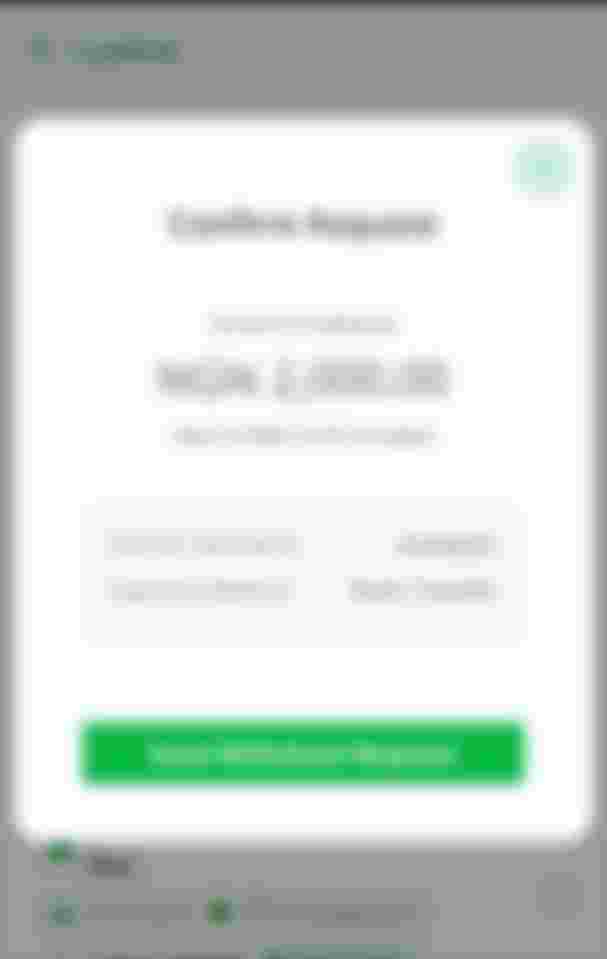
Once that is done, you will be asked to send withdrawal request and if you click on it, you will see the next slide bearing the information of your request. This includes the name of sender, the bank the money will be sent to, the fee the will be charged and the duration for the transaction. You will see cancel and received written below the request form. You must take absolute care not to click on received when you have not received the money in your bank account. Do not make the mistake of clicking received because if you do, you have authorised Bundle wallet to complete the transaction by paying the other person the USDT worth of the money you requested. When you have successfully received the money, try not to delay in clicking received otherwise Bundle wallet will contact you through email, SMS or even phone call. Mind you, while this request is going on, both you and the other person’s accounts will be frozen until the transaction is completed. It will be in your interest to comply by clicking on received once you have confirmed the money in your local bank account.
In a case where the person who is meant to send you the fund does not respond after a given time, you can call the person on the mobile phone which you will see in the request form. I would not encourage you to call the person rather what you can do is cancel the order by clicking on the cancel below. Bundle wallet will send you an email regarding this cancellation. Follow the direction and complete the reporting process. Don’t feel too lazy about this because any little mistake will amount to the loss of assets.
I will end this article here to allow my readers to go through this judiciously. Please you can help others by sharing this article. The second part will come soon.
I love you.
The entire images used in this article except the lead image are screenshots from my mobile phone.

Nice one bro