How To Buy Your First Domain In Namecheap Using Bitcoin Cash?[Basic Guide]
In my latest article, Buy Your First Domain With Bitcoin Cash Using Namecheap . We discovered that there is domain service provider that accepts cryptocurrency as mode of payment using that the selected Cryptocurrency Bitcoin and Bitcoin Cash apart from the other mode of payment paypal, and cards options.
In this new article, we go jump to the tutorial on how to buy your first domain in Namecheap using your Bitcoin Cash especially for the BitcoinCashers out there. Prepare your codes and design fellas! Your hosting journey will start here.
Things to Prepare:
1.Bitcoin Cash for the payment
Make sure that your balance to send can cover the exact amount of the domain price and the small fee.
2.Bitcoin Cash Wallet (Bitcoin.com Wallet is recommended)
3.Namecheap Acount
Note: Creating your namecheap account can take up to 30minutes since it is necessary to provide all your information.
4.Laptop/PC, Smartphone obviously lol.
Procedure:
1.In the Namecheap landing page, see the screenshot below. Search your desired domain and find the best price for you and the desired domain extension for your website/project(e.g .net, .com, .xyg etc).

In the screenshot above, you can see the prices listed. Select the best price that suit to your need and project. Now click the add to cart.
After clicking the Add to cart button, check your cart buy clicking the upper left icon of the cart in your profile then click View Cart. See the image below:

2. Confirm Your Order
Check all the necessary things first before confirming your order. This will include the SSL purchasing option for the security of your website, adding professional email and web hosting services. This will require separated price aside from your domain. Now click Confirm Order.
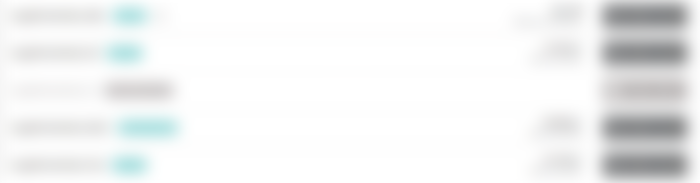
Then, done! you have now successfully purchased your first domain. Namecheap will send you the receipt of your purchase through your email or during purchase. See the sample receipt below.


2.1 Fund Your Namecheap Wallet
Considering that your wallet has no balance yet and Namecheap ask you to fund your wallet to complete the transaction. Now fund it using Bitcoin.com wallet or any BCH related wallets.
During the billing process that can be seen in the screenshot below, you have to choose your desired payment method. Just click the orange arrow and then hit continue.


After you clicked that, this message will show. That means, you are now required to fund your wallet first. Click the "Add Funds".


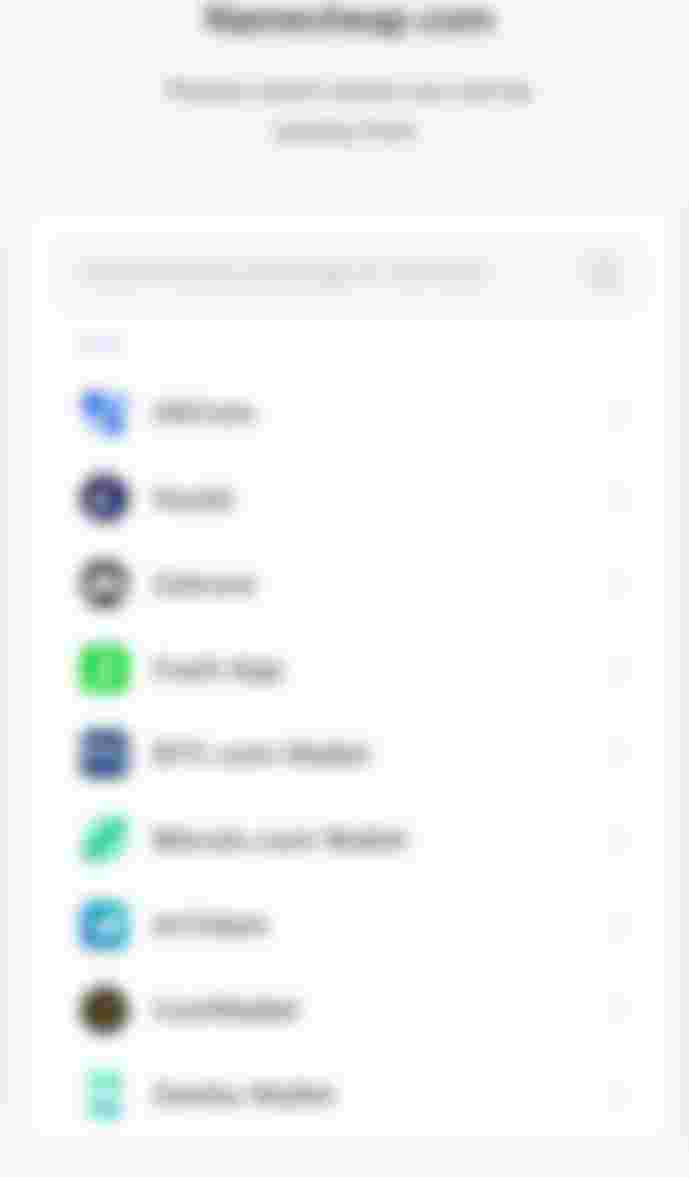
After that, this next page will show. Just click the Bitcoin and Bitcoin Cash option then hit "Next".


Add the exact amount you want to send or just click the displayed amount then choice between Bitpay or BTCPay. Choose Bitpay for Bitcoin Cash and BTCPay for Bitcoin (BTC). Then click "Add Funds".


In the next page, choose your wallet on where your funds came from. There are plenty of available wallet you can use. Just scroll down the list and find Bitcoin.com Wallet.
Another page will pop-up then click Bitcoin Cash. Enter your email as contact information in the next page and click "Submit".


Finally, your QR code wallet will show where you can send your Bitcoin Cash. See the screenshot below. You can either scan or pay it in wallet directly.
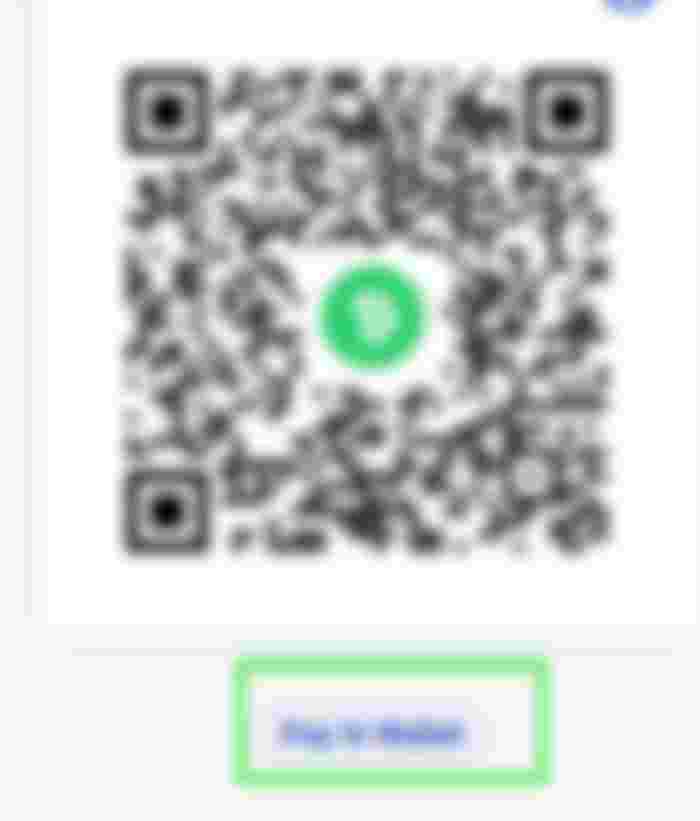

Scan that QR code of yours using Bitcoin.com wallet then slide the arrow to pay. Just put in mind that the payment will arrive usually less than 10minutes due to confirmation of the Bitcoin Cash network.
Then there you have it! You have now funded your Namecheap wallet using Bitcoin Cash!. Congratulations!
Note: If you experience error upon paying from your Bitcoin.com wallet, just keep on sliding that arrow until it proceed. That due to the confirmation process of the Bitcoin Cash network.