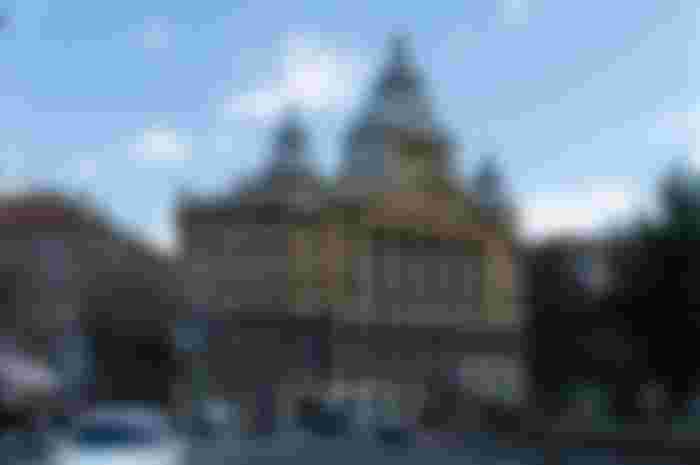
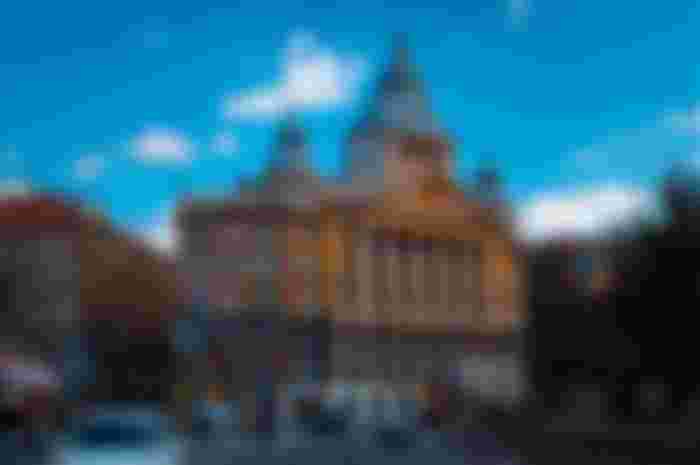
In this short article I will show you how I edited these picture of Erzsebet Square in Budapest.
Main Settings/Idea :
In this photo you can see the Erzsebet Square in Budapest. In the original shot you can see that it is slightly overexposed. I tend to take my pictures a little brighter. This often allows details to be preserved that would only be captured as black by the sensor if the exposure was too low. With the right software, it's relatively easy to adjust this.
I changed the color of the building minimally and added slight red tones, which makes the building look a bit orange, which I personally like better than the yellow cast.
I have largely dispensed with focus effects etc.. I only sharpened the main building a bit and darkened the surroundings slightly. By the aperture 11 I had it in mind to take as much as possible sharp and this I did not want to change artificially.
This image was processed using Lightroom from Adobe.
Before:
After:
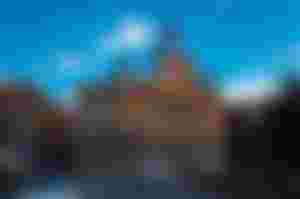
For people who like to see how things transform, I include timelapse footage of the editing process.
Attached are the settings of each slider I used:



Reminder:
This article is intended for people who already have experience in photoediting.
Articles that explain exactly which slider has which function or beginner tutorials are already available. I want to address those who may be looking for a specific editing style or presets.
I myself like to look at edited images from other photographers and try to understand which main features they have changed from the image. Any further explanations make the information harder to find.
Programmers also like to look only at examples of partial code without an article having to explain every little thing to them over and over again.
