Hi guys, here we are at the last appointment dedicated to the Summoners of the WATER element you are Summoner six beautiful pictures and today I present to you precisely the sixth.
Today this saga of the WATER element ends but we know for everything that ends a beginning and so it will be since we will soon start with the always Summoner but of the FIRE element, finally a change of colour from blue/light blue we pass to a beautiful red fire!!
Today I will show you all the steps taken to create this painting, from the materials used to the development step by step trying not to neglect anything, for any doubt or uncertainty do not hesitate to contact me in the comments I will be happy to clarify or clarify my inaccuracies :).
Shall we start with the works? Certain! but first, let me introduce this new SUmmoner in its features !!
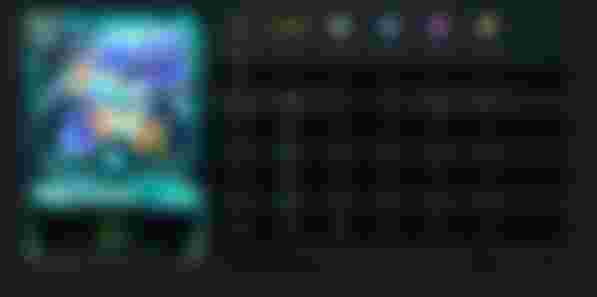

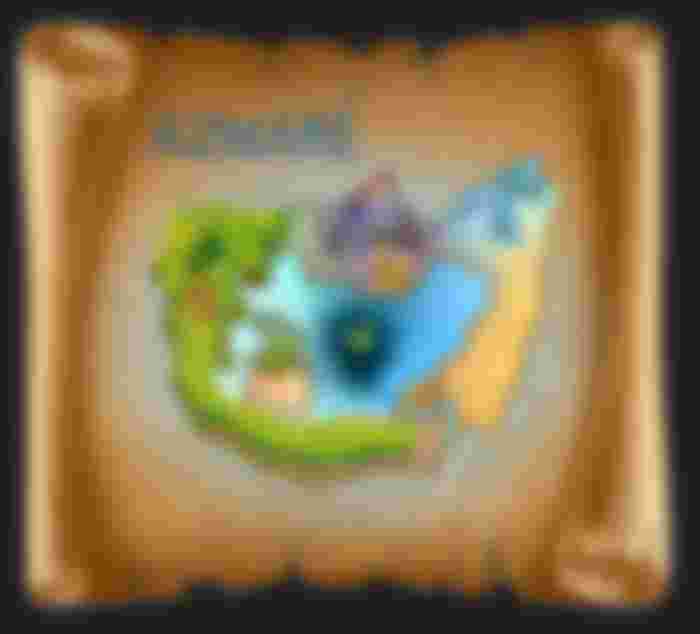
Today I present to you the sixth Summoner that concludes our journey on the island of water, AZMARE 'but you know friends for every end there is a new beginning and we will start with a new story dedicated to the FIRE element and to the Summoners that make up this island but we will see this later today we talk about VERA SALACIA!
This Summoner from the DICE collection is a RARE monster and has a MANA cost of three.
VERA SALACIA! If cleared, it grants SNARE power to all friendly cards, this power removes the FLYING power from enemy cards hit !.
After this brief introduction, we are going to make our painting with the subject VERA SALACIA! ,
what we need is a wooden board, nails, white paint, blue string to recall the colours of the WATER element, protective paint and the image of our Summoner printed on paper with the lowest possible weight (I used the 30 grams) to make our decoupage.
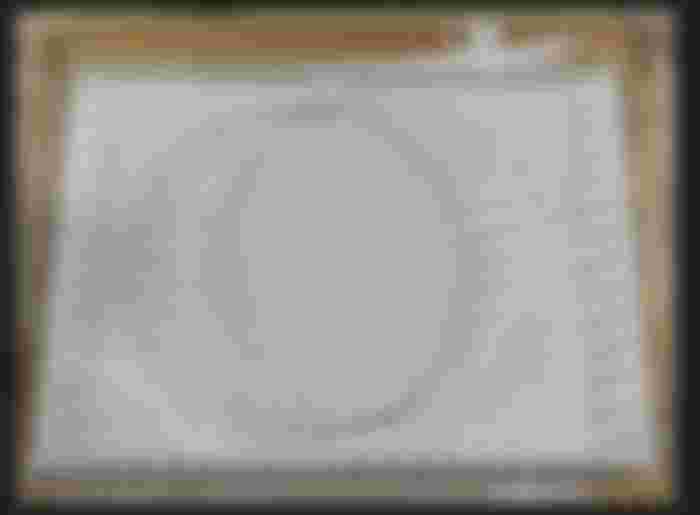
STEP 1
We find the centre of the table, I used a table with measures 31 x 22 centimetres.
Once we have found the centre we make a circle that contains our image, our Summoner must be glued inside the circle so be careful not to make the circle too small.
Once the circle has been made, we draw a frame half a centimetre from the edge on all sides, it will serve as a trace so as not to go too close to the edge, with the nails you risk breaking the board on the edge that is more fragile, half a centimetre from the edge is enough so as not to damage the table.
Traced the circle and the frame we mark the points where we will plant the nails, helping you with cardboard we measure 1.5 centimetres and we begin to mark the points both on the circle and on the frame to have the nails all equidistant.
STEP 2
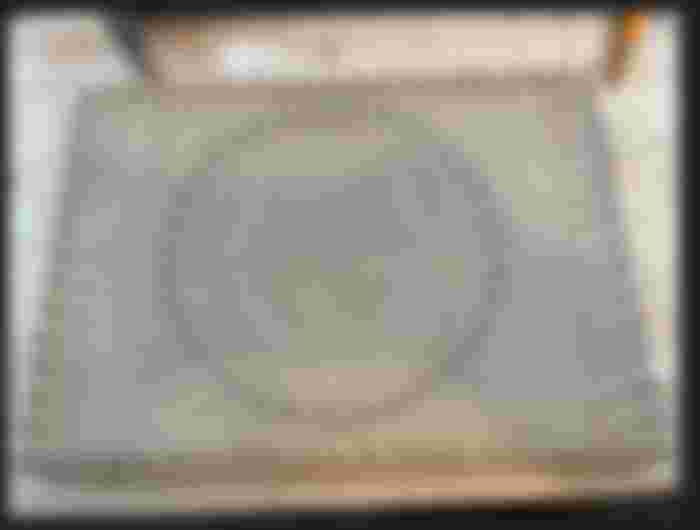
We nail !!! once all the points have been cut, we just have to start driving the nails on them.
I have never bothered to plant them straight and at the same height since they will almost all be hidden by the string that we will insert more advanced.
Armed with patience and BEWARE YOUR FINGERS !!, we drive the nails on all points as in the figure below.
STEP 3
How are the fingers? :-) I'm still cursing a little bit for some wrong hammer on my thumb hahaha
Go on! finished with the nails we varnish the whole nail board including white, I use white because it hides the paper better, even if you use very thin paper in the print with another colour other than white you would see.
We give a coat of white, let it dry and give a second coat of white to make everything more uniform and wait for it to dry.

STEP 4
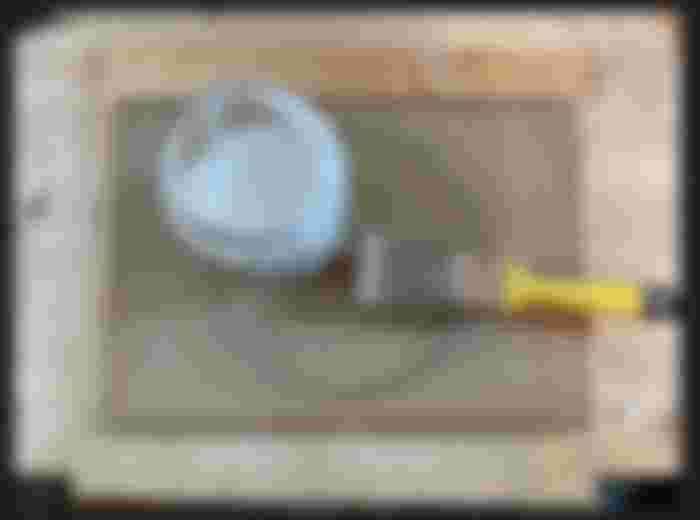
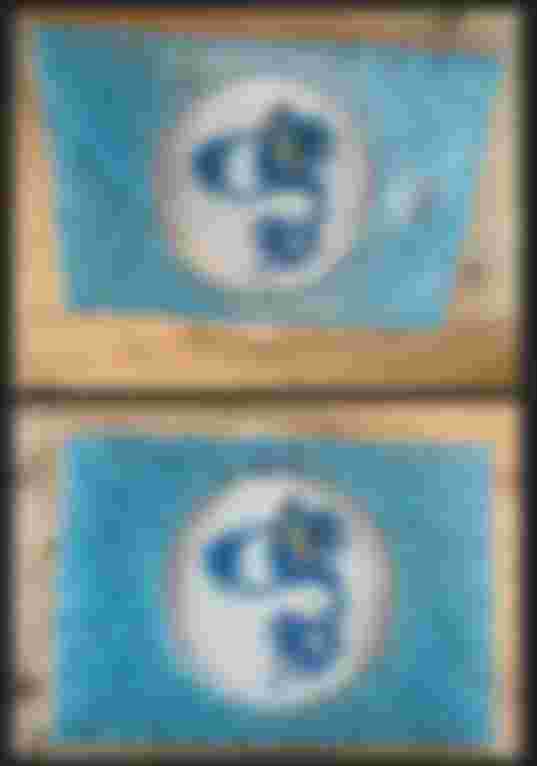
We cut out our image and prepare it to be pasted inside our circle once the paint is completely dry.
I made a reference circle to cut out the image to cover the entire inside of the circle and arrive with the edges of the sheet to the nails all over the circle so as not to leave steps in the middle of the circle visible and a little annoying.
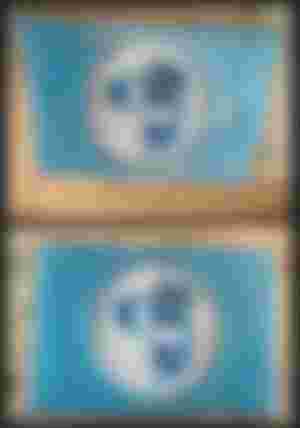
Once cut to the size of the circle inside this, spread the vinyl glue over the entire area and slowly being careful not to make wrinkles in the image, spread it inside, gently removing any bubbles formed here and there.
Let the glue dry and with a brush, we spread a layer of protective paint on the photo, this will make it brighter and impermeable to liquids as well as making the colours more resistant to light.
STEP 5
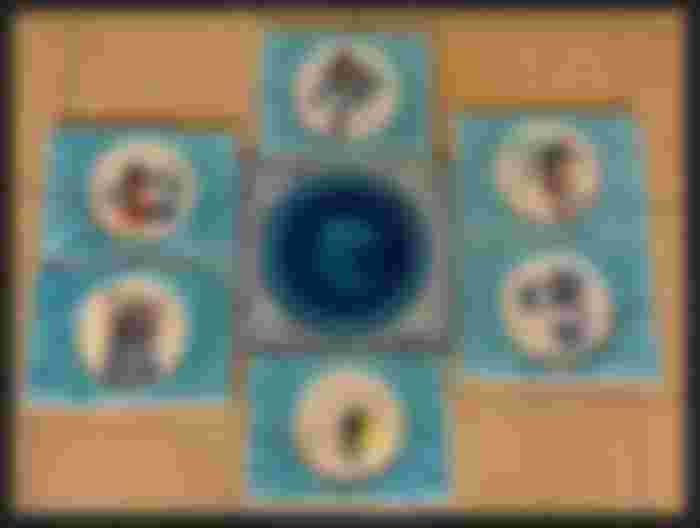
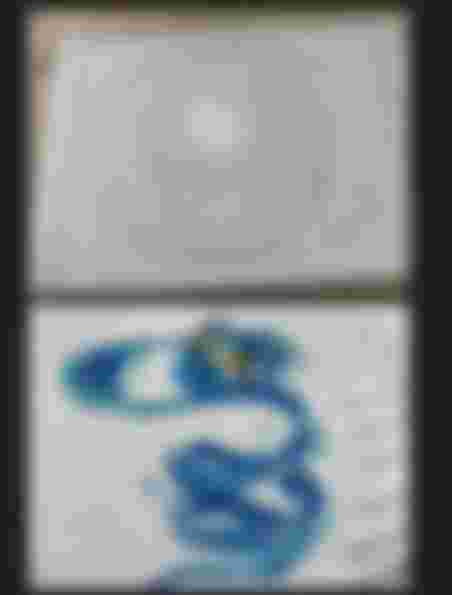
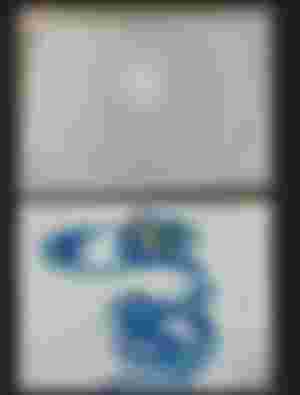
We have almost reached the end of our work, here we need the string and a lot of patience !.
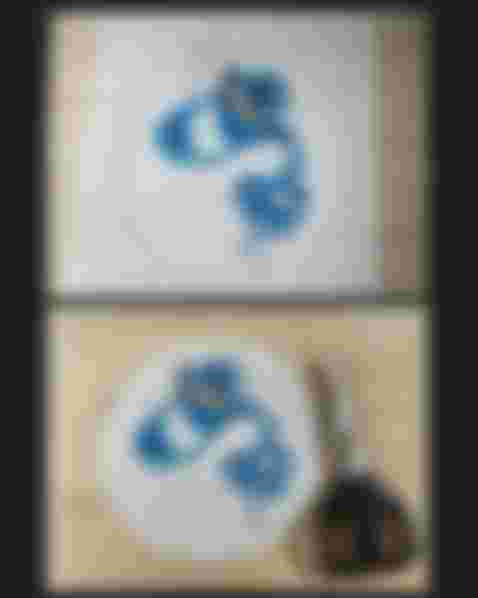
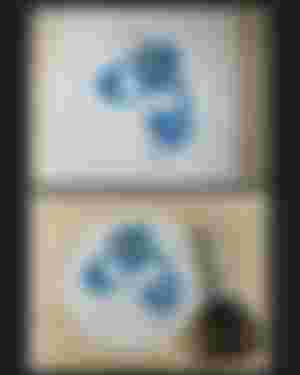
We knot the string to any nail and start pulling it from nail to nail, forming circles first counterclockwise on all the nails then once we have done the whole frame of the edges and the circle we repeat the operation always on all the nails but in a clockwise direction. extinguishing the twine to the base of the nail as in this figure.
Once the edge has been made, you can indulge yourself as one wants to cover the whole board outside the circle by pulling as much twine as possible between nail and nail at will and feeling.
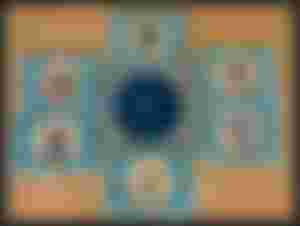
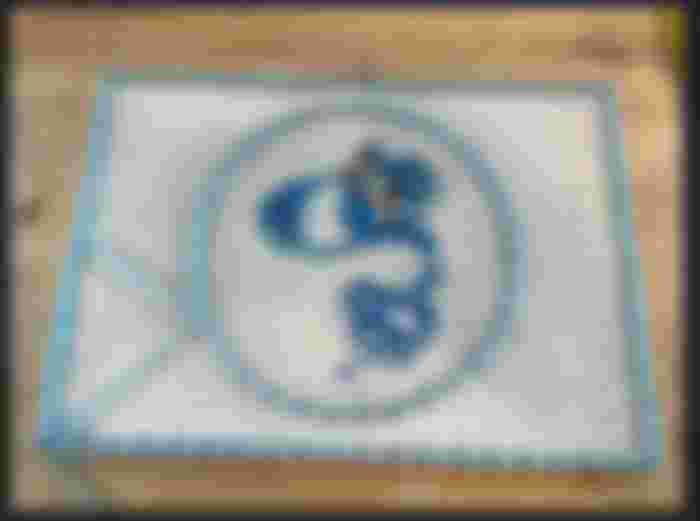
Here is my final result, there is also the sixth Summoner.
If you haven't tried this game yet my advice is to do it this is my link referral you can use the link if you like it or not but the point is always the one game to try! :-)
https://splinterlands.com?ref=blumela
If you don't like using it;) below !.
Have fun and see you in Battle !!
The photos are taken by the author and images from the Splinterlands game or Splinterlands source unless otherwise indicated.

