Hi guys, today it rains and when it rains I get bored to death ...
browsing in my toolbox I find everything I need to have fun at least ten minutes, there is nothing more beautiful than a stimulus that takes you back in time, today I found everything I need to build a hen!
You have a hen few objects, no difficulty and little time (unfortunately) to make these nice hens for decoration or for play, if you have children or grandchildren these little hens are really fantastic.
Don't take them as the law! in the sense that I will show you how I made them but you can vary with the colours you want even if a hen is a hen and the colours can only be those ... but if you want, why not transform them into other cute little animals such as a dove or a turkey!? ... Seriously here is the full video of my construction and below the steps, I followed to make these cute little animals!
Let's start 3..2..1 ... LEEET'S GOOO!
And here's what we need to make them:
Yellow card
Red card
White cardboard
a plastic spoon
two make-up remover pads
googly eyes (in absence they can be drawn)
glue and a black marker.
Let's start with making our hen!
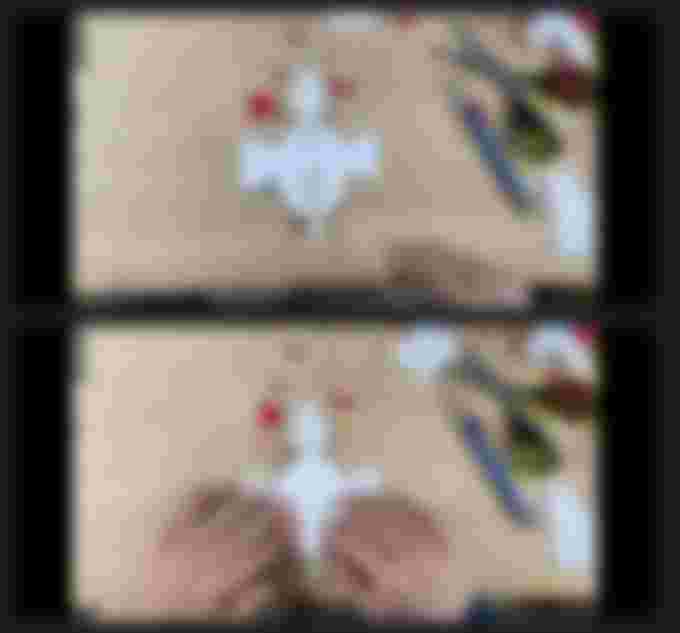
STEP 1
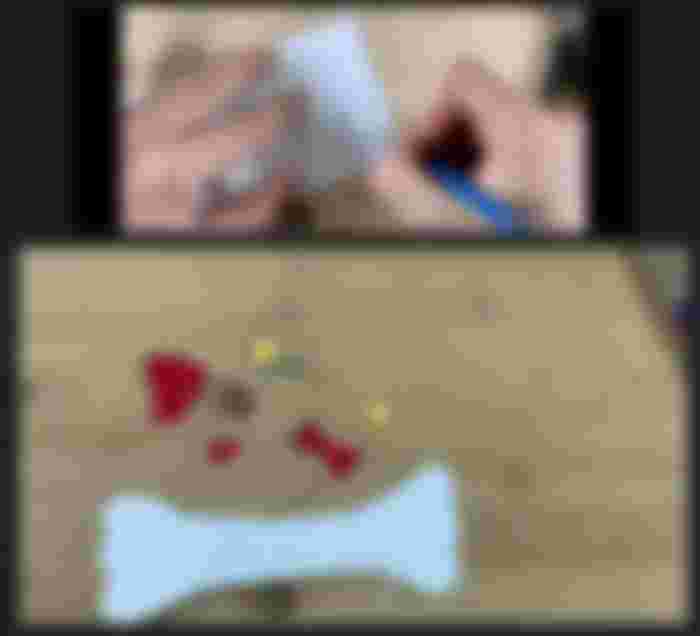
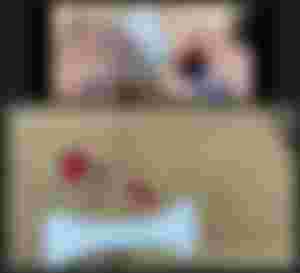
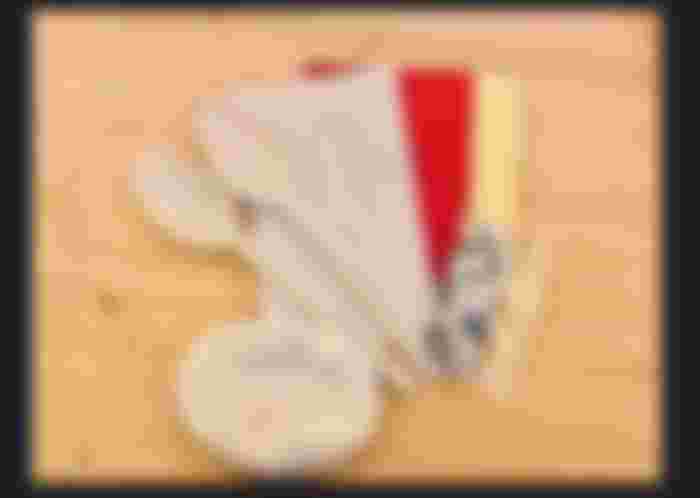
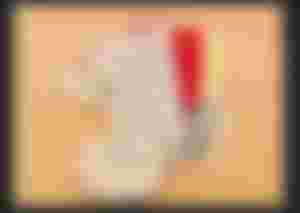
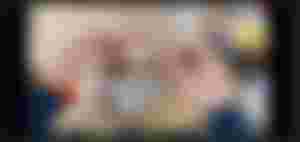
From the red cardboard, we cut out a hen's crest, a triangular beak and a bow tie, in the photo you can see how I made them sure that you will do better :)
With the yellow cardboard, we will make two buttons that will serve exactly as buttons for our hen's dress.
With the white card, we make a kind of bone, they will be the hen's wings and you can measure the right length by placing the make-up remover disk on the card and draw the wings so that they are proportionate.
STEP 2

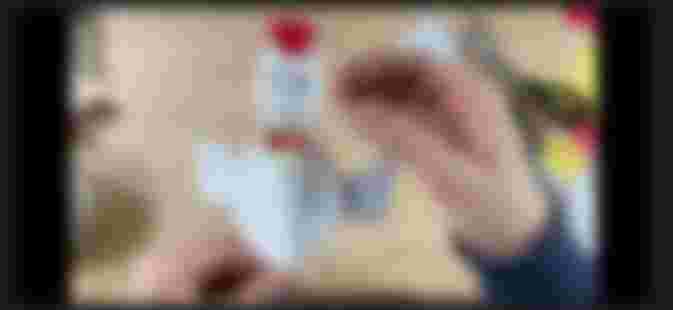
We take a make-up remover disk, glue the spoon on top, leaving the upper part of the flowers as shown in the figure, glue our bone ... I meant wings over the spoon and close it all with a second make-up remover disk.
STEP 3
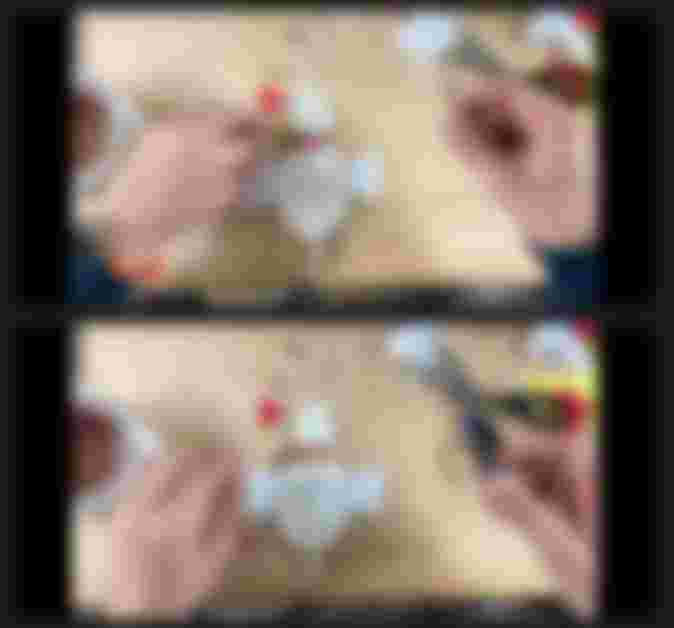
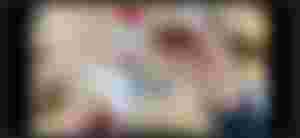
We glue the bow tie to the base of the spoon where in theory, in practice, there will be the neck of the hen and we attach the two yellow buttons one near the bow tie the other just below.
(you can indulge your imagination isn't it a rule)
STEP 4
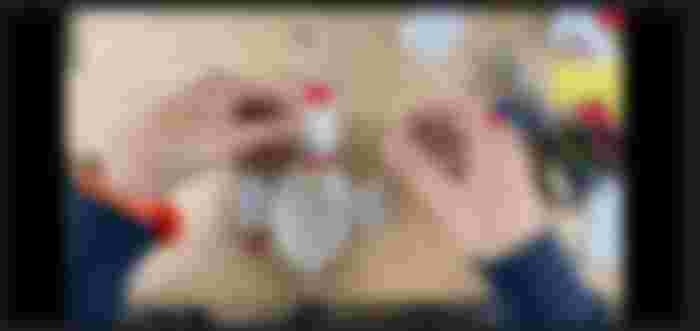
Here we are at the last part of our hen, the head!
We take the red crest made previously and glue it to the apex of the spoon
If you managed to find the plastic eyes, glue them under the crest, if you don't have them with a black marker, just draw them.

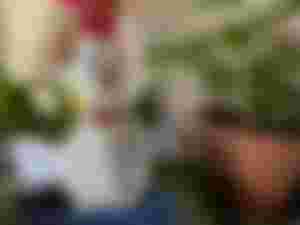
And finally, we recover the red triangle that will become the beak of the hen, glue it under the eyes and here is ready our "Furiosa" hen not the same but fun and easy to make, ten minutes are enough and you can use it in various ways. I slipped into a vase as decoration, the others made for my granddaughters fly here and there to the sound of laughter and jumps! :-)
In the video recorded and edited by me, there is the whole procedure in full version, the music is the sample of the application and is free music, while the images are all by the author.
Have fun and if you find the time to make them your hen is welcome in the comments!
See your next adventure!

