
DeFi has now almost become a place exclusive for whales with a much larger budget than the average retail investor.
What do we do about it though? What if I were to tell you that there is a solution to this problem? And it is not too difficult to implement either.
Polygon (Formerly Matic)
The Matic network, a company that has rebranded to Polygon provides a very simple solution to the problem of Ethereum fees. The solution is to use their Layer 2 solution. Which is simply to switch over to their network called “Matic” from the Ethereum network and swap the tokens using their equivalent of Uniswap; QuickSwap.
Disclaimer: going through this whole process costed $25 in total roughly. But once this bridging process was complete I benefitted from virtually zero fees transactions. However, nowadays when roughly even one Uniswap transaction costs at least $30, this process pays off for itself very soon.
Step 1: Bridge your tokens
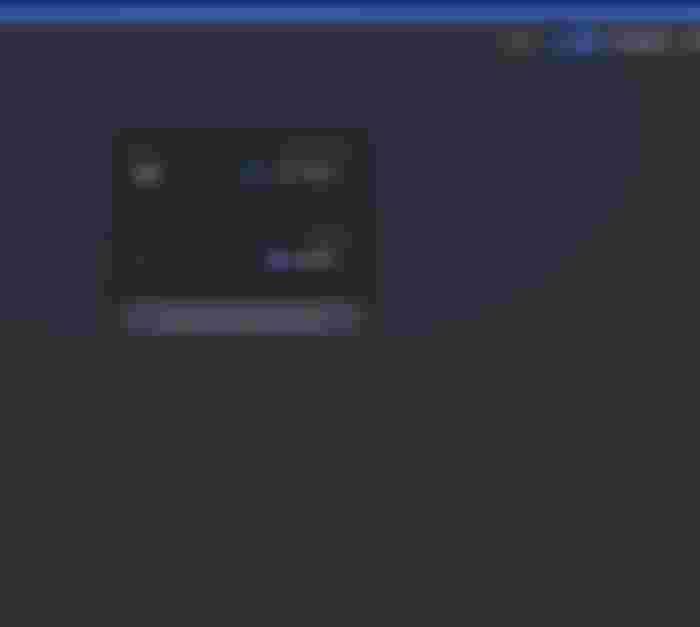
Transfer some of your USDT, USDC or DAI to the Matic network using this url: https://wallet.matic.network/bridge/. Note: you can use some other cryptocurrency but I would suggest to use these 3 as they have good liquidity on the QuickSwap DEX. Ethereum also has good liquidity on QuickSwap but after you bridge the ETH tokens, they will be converted into their MATIC counterparts. The reason I’m suggesting you to not use their native MATIC token yet is because I know a way that you will be able to get 0.1 MATIC for free. And since a transaction the Matic network usually costs 0.001, this 0.1 MATIC will last you a long time. Apart from ETH and the 3 stable coins mentioned before (USDT, USDC & DAI), there can also be a chance that you may not have enough liquidity to swap your selected token for the trade. This is the issue I ran into after transferring POLS (Polkastarter coins) to the Matic network as seen in the screenshot below:

Note: After accepting the transactions to bridge your USDC, USDT or DAI tokens from Ethereum to Matic, it will take 7–8 minutes for the transfer to complete. Meanwhile, you can move over to step 2.


Step 2: View/confirm your tokens
While waiting for the bridging for your tokens to complete, you can switch over to the Matic network. You can do this the “hard” way by looking for Matic network’s RPC address or by simply going to the QuickSwap url and letting the web app do the magic for you. Here is the url for the QuickSwap website. Once on the website, clicking on the top right will let you switch over to the Matic network:

Once here though you will notice that you can still not see your tokens yet. This is because Metamask and other wallets don’t show all your token balances. However, you can add to your Metamask or any other wallet by adding a custom token. All you need is the contract address of your token’s Matic network equivalent. You can find that here: https://mapper.matic.today/. You can then find your coin in the list and then copy its “Matic address” into your wallet. Here’s how it looks:


Step 3: Claim your free MATIC!
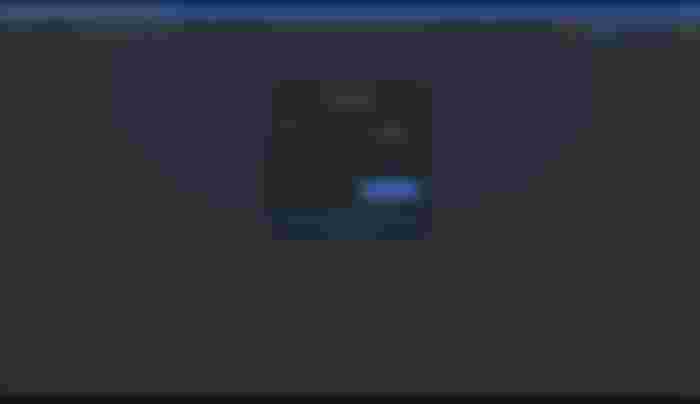
After doing this and waiting for a few more minutes until your tokens have reached your wallet. You will now see the tokens in your wallet. Now let’s head back over to QuickSwap to claim your free Matic! Now that you are here, simply click on the top right on the “Claim Matic” button and get your free 0.1 Matic:

Step 4: Do your trades!
Now that you have claimed your free 0.1 Matic, some of which (very little) you will use to actually to pay the fees for your QuickSwap transactions, you can actually do the trades. You can simply use the QuickSwap interface like you do with Uniswap but the only difference here will be that you will not be paying ridiculous $$$’s just to swap your tokens. You can now keep more of your hard earned tokens, enjoy! 😁
Ending Note:.
Hopefully you found this helpful and I wish you the best of luck with your trades!