Introduction:
In Blogging there is a phrase that says "Content is King" and I truly agree with those phrase but aside from content of our blog, we should also try to learn a little bit of designing to add some professional look of our newly-minted blog.
Designing our blog is not that hard as what most people think of at first, because there are lots of free blogger template websites available online and as a blogger, I recommend to use Sora Templates from soratemplates.com as our own source of free templates to be used on our blog.

Image Source: Sora Templates
Choosing the Right Template:
At first we should decide the theme of our website or the topics we are going to discuss and it should coincide with the templates that we are going to be downloaded for free from Sora Templates.
Sora Templates is considered as one of the most popular provider of free Blogger Template particularly those who are using the free platform from Google. Most of my blogs from Blogger.com got their templates from this website.
There are lots of categories to choose from among the templates provided by Sora Templates. Everything are free but with some limitations but we can also buy their templates but we are here looking for free things, so we will choose the free one.
How to Setup Sora Blogger Templates:

Image Source: Sora Templates
Now that you have already decided on what Blogger templates to use, all you have to do is to visit the download page of your chosen template and click "Download Now Free Version." If you have some money to spend, you can also opt to buy the premium version of the said template at around $9.95.
After downloading the zip files of the blog template of your choice, make sure to locate the file somewhere on your computer or through the Download Folder.
You have to unzip the file and look for the .xml file that will be used to install to our new blog.

Here's a Simple Guide on How to Install Blogger Templates:
1. After downloading the unzip file, you need to Log in to your Blogger Dashboard.
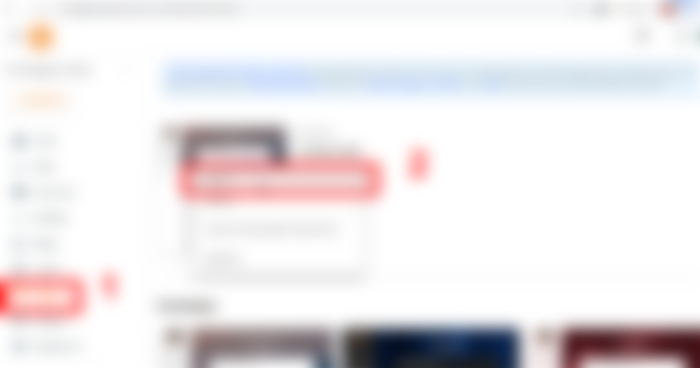
2. Go to Template Section and tick Backup/Restore Button.

3. Click on Download Full Template to Backup your previous template and to use it in case we encounter some problems with our new template.
4. Open the .xml file using an available Text Editor like NotePad or WordPad or something like that on your computer.

5. In the Text Editor, Press CTRL+A & then CTRL+C to copy all and select all codes.
6. Open the HTML Editor on Blogger Dashboard and click "Edit HTML" Button.
7. Then Click anywhere in the HTML Editor. Now press CTRL+A & CTRL+V to Select All coding and Replaced selected coding with copied template coding).

8. Finally click "Save Theme" Button. That's it, you have already uploaded your new professional looking template that could compete against WordPress templates.
Most website providing templates have their own documentation on how to install the themes and they are provided for free. Although some websites offered a premium templates but as a newbie blogger, we should settle for the less expensive themes.
This is the new design of our Blog with the updated Template:

Image Source: FreeBloggingTutor.Blogspot.com
After designing our blog to have a more professional look and can now compete against other blogs with expensive themes, the next thing we are going to discuss is, on how to edit our themes that suits our needs or our readers appetite.
Until our next tutorials on how to Setup our Blog using the free platform from Google.com.
At Your Service,
Phil NewSome
Blogger at PhilNews.XYZ


Hey friends, website designing and development require a lot of processes and steps. It is not as easy as you think. But for the website designs, I can suggest you the website MasterBundles which can help you in finding designs Here you will find the font designs that you can choose as per your requirements.