 @JousefMJousef
Is there light at the end of the tunnel!! I do not know It's been a long time since noise cash no longer exists And I don't know what to do with this medal after today
Joined 7 January 2022 · 4 posts
120 KT
0 KT · 29¢ received · 0 KT · 18¢ given
@JousefMJousef
Is there light at the end of the tunnel!! I do not know It's been a long time since noise cash no longer exists And I don't know what to do with this medal after today
@JousefMJousef
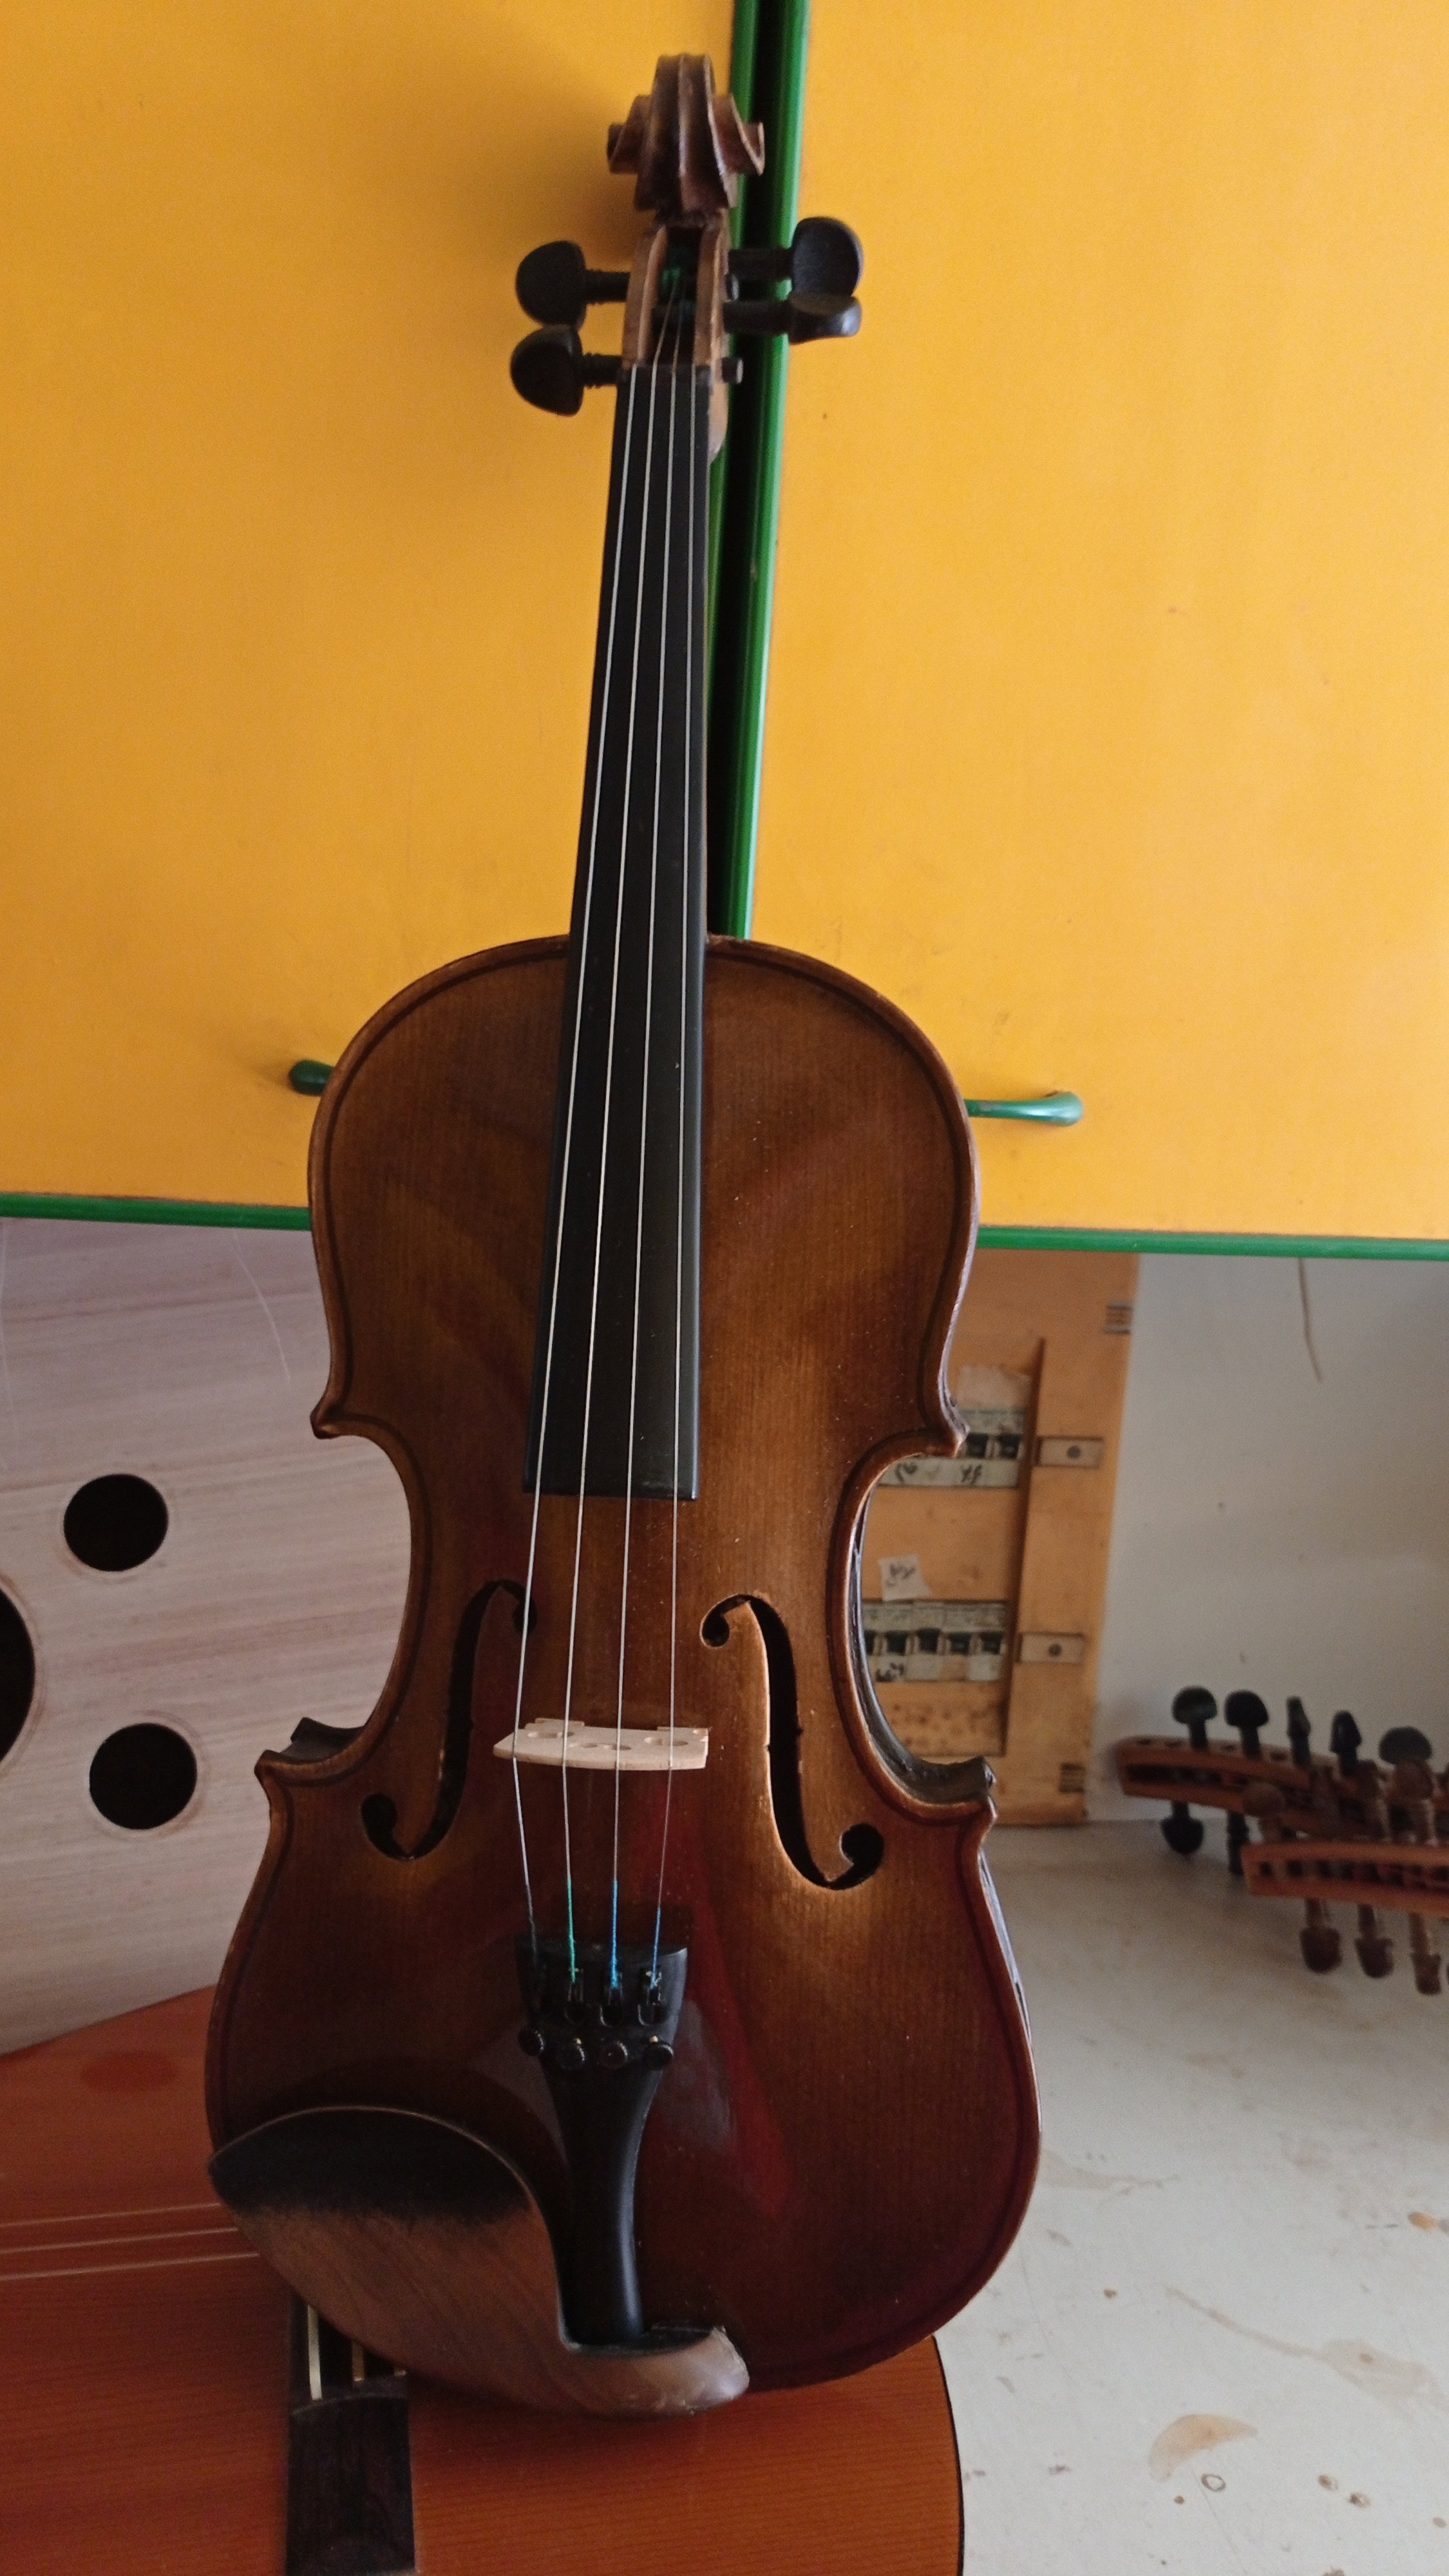
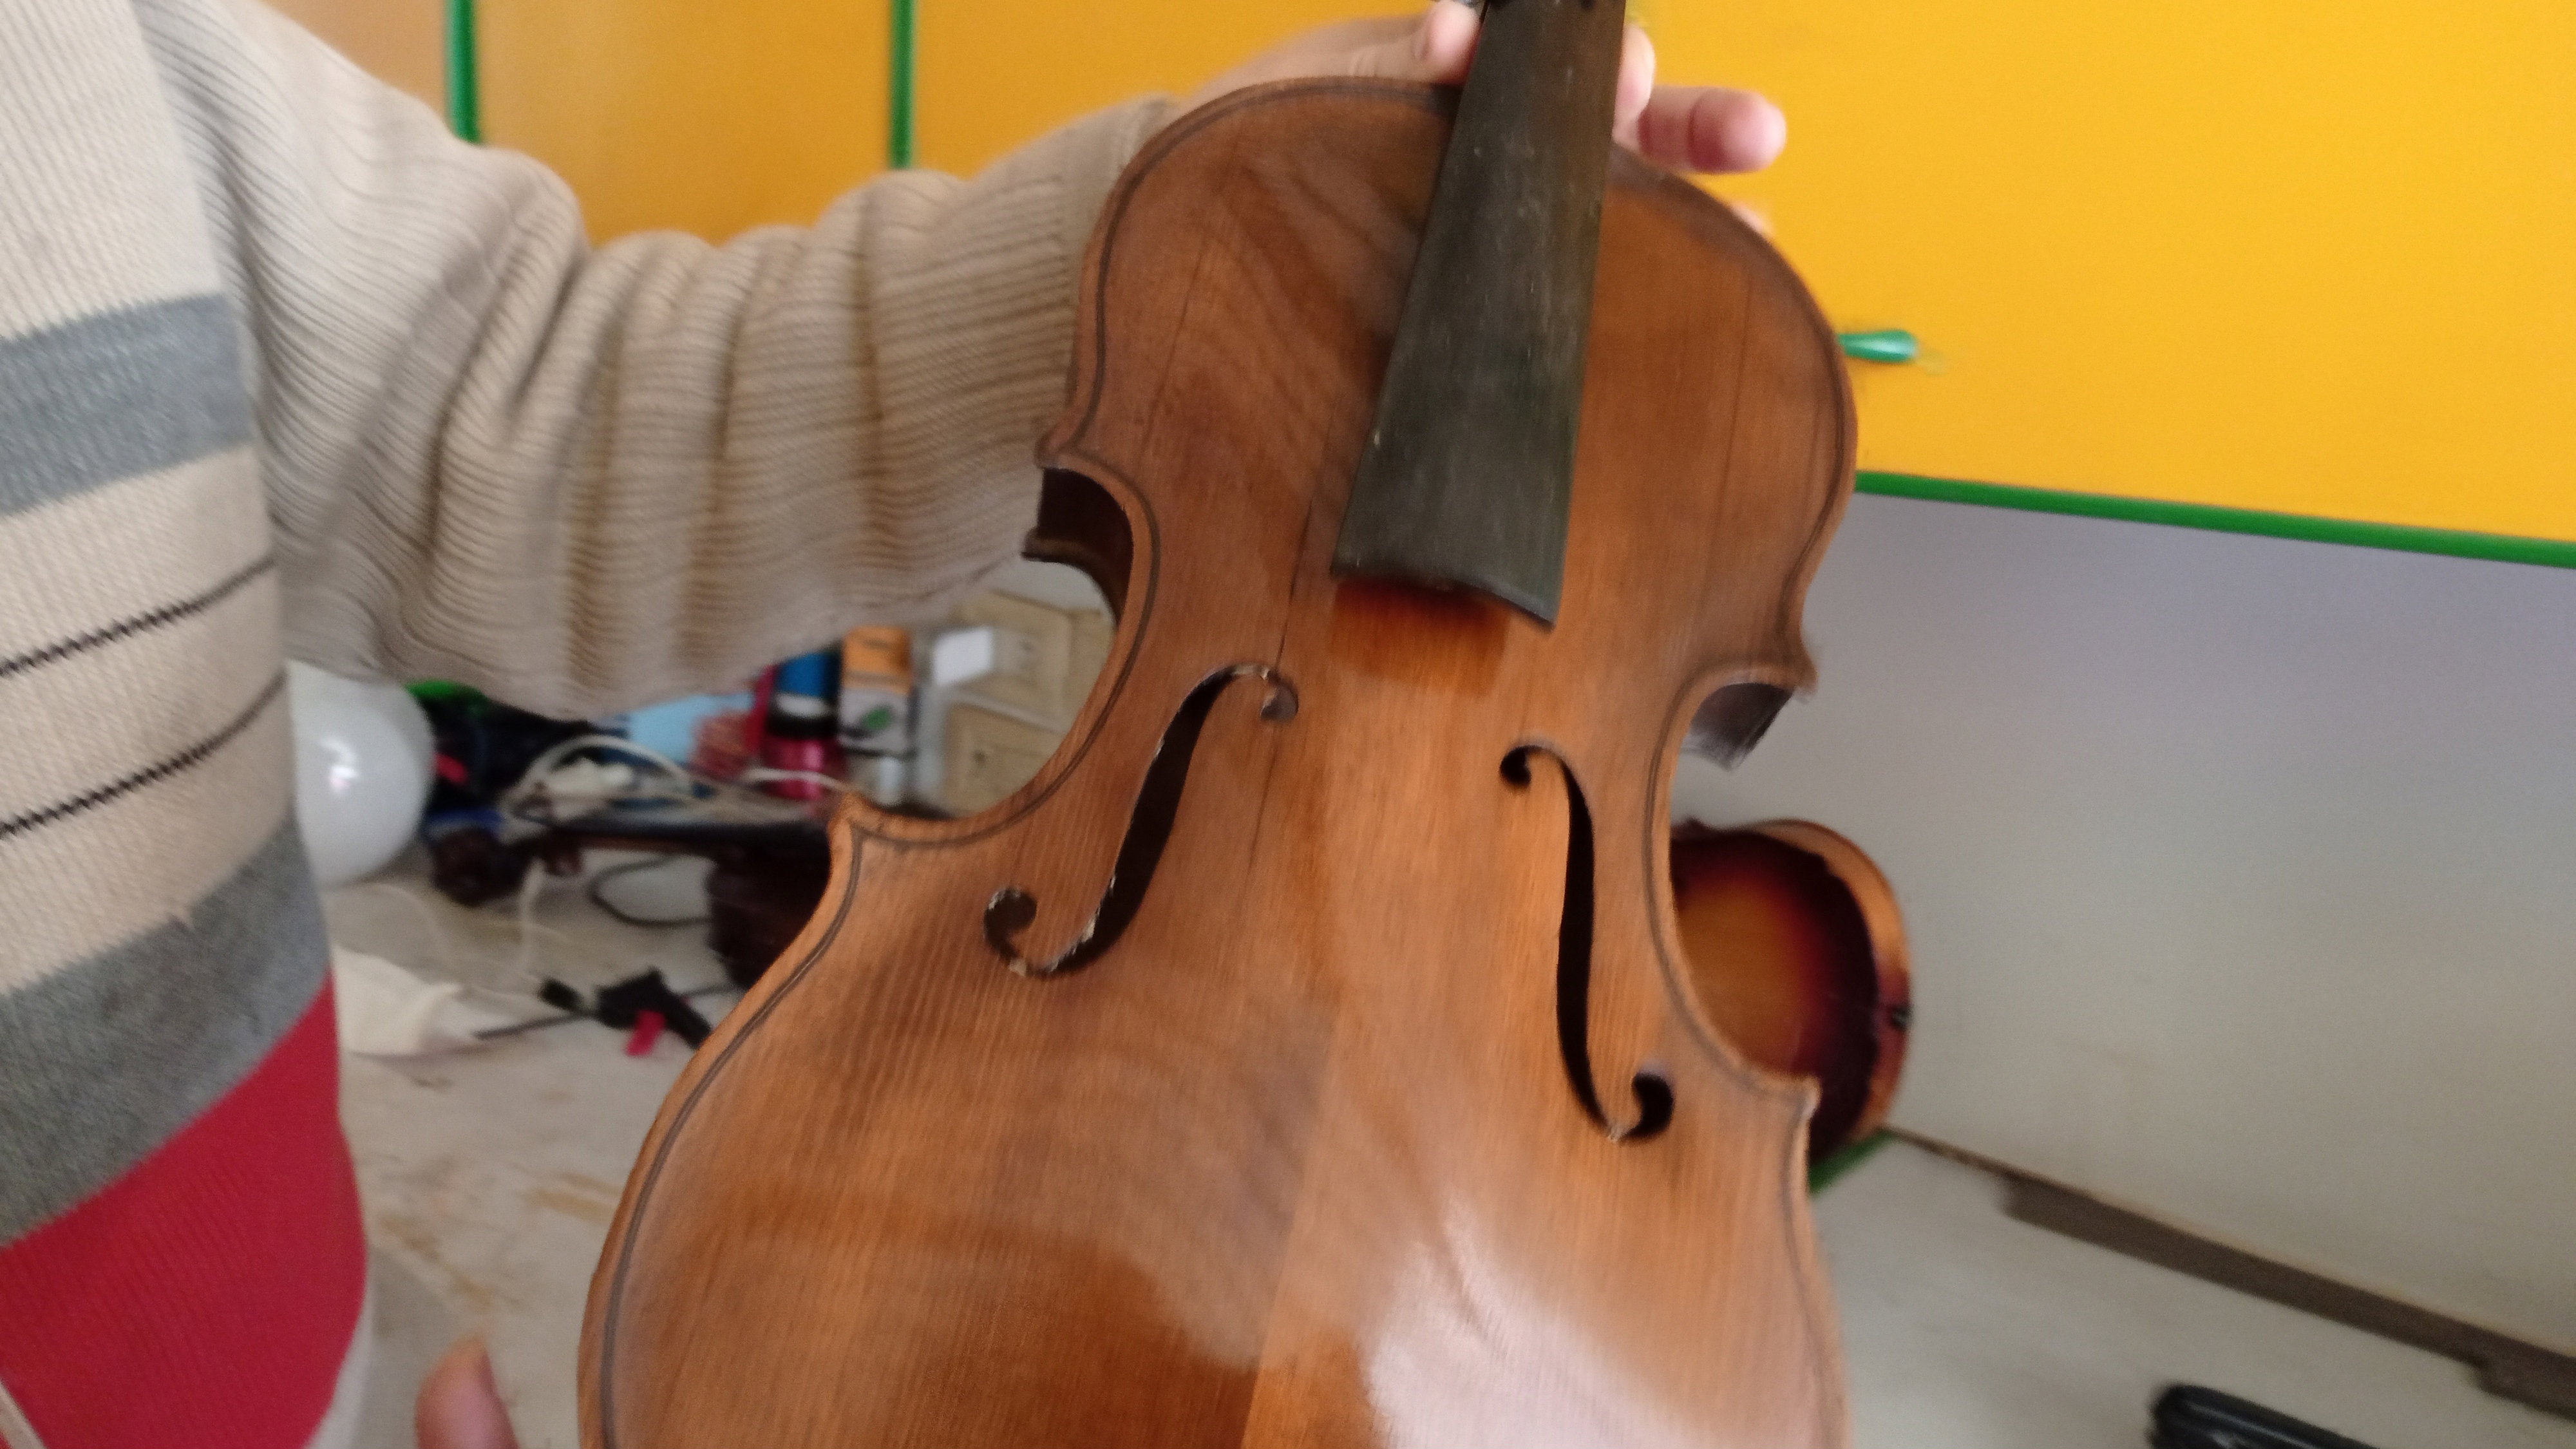
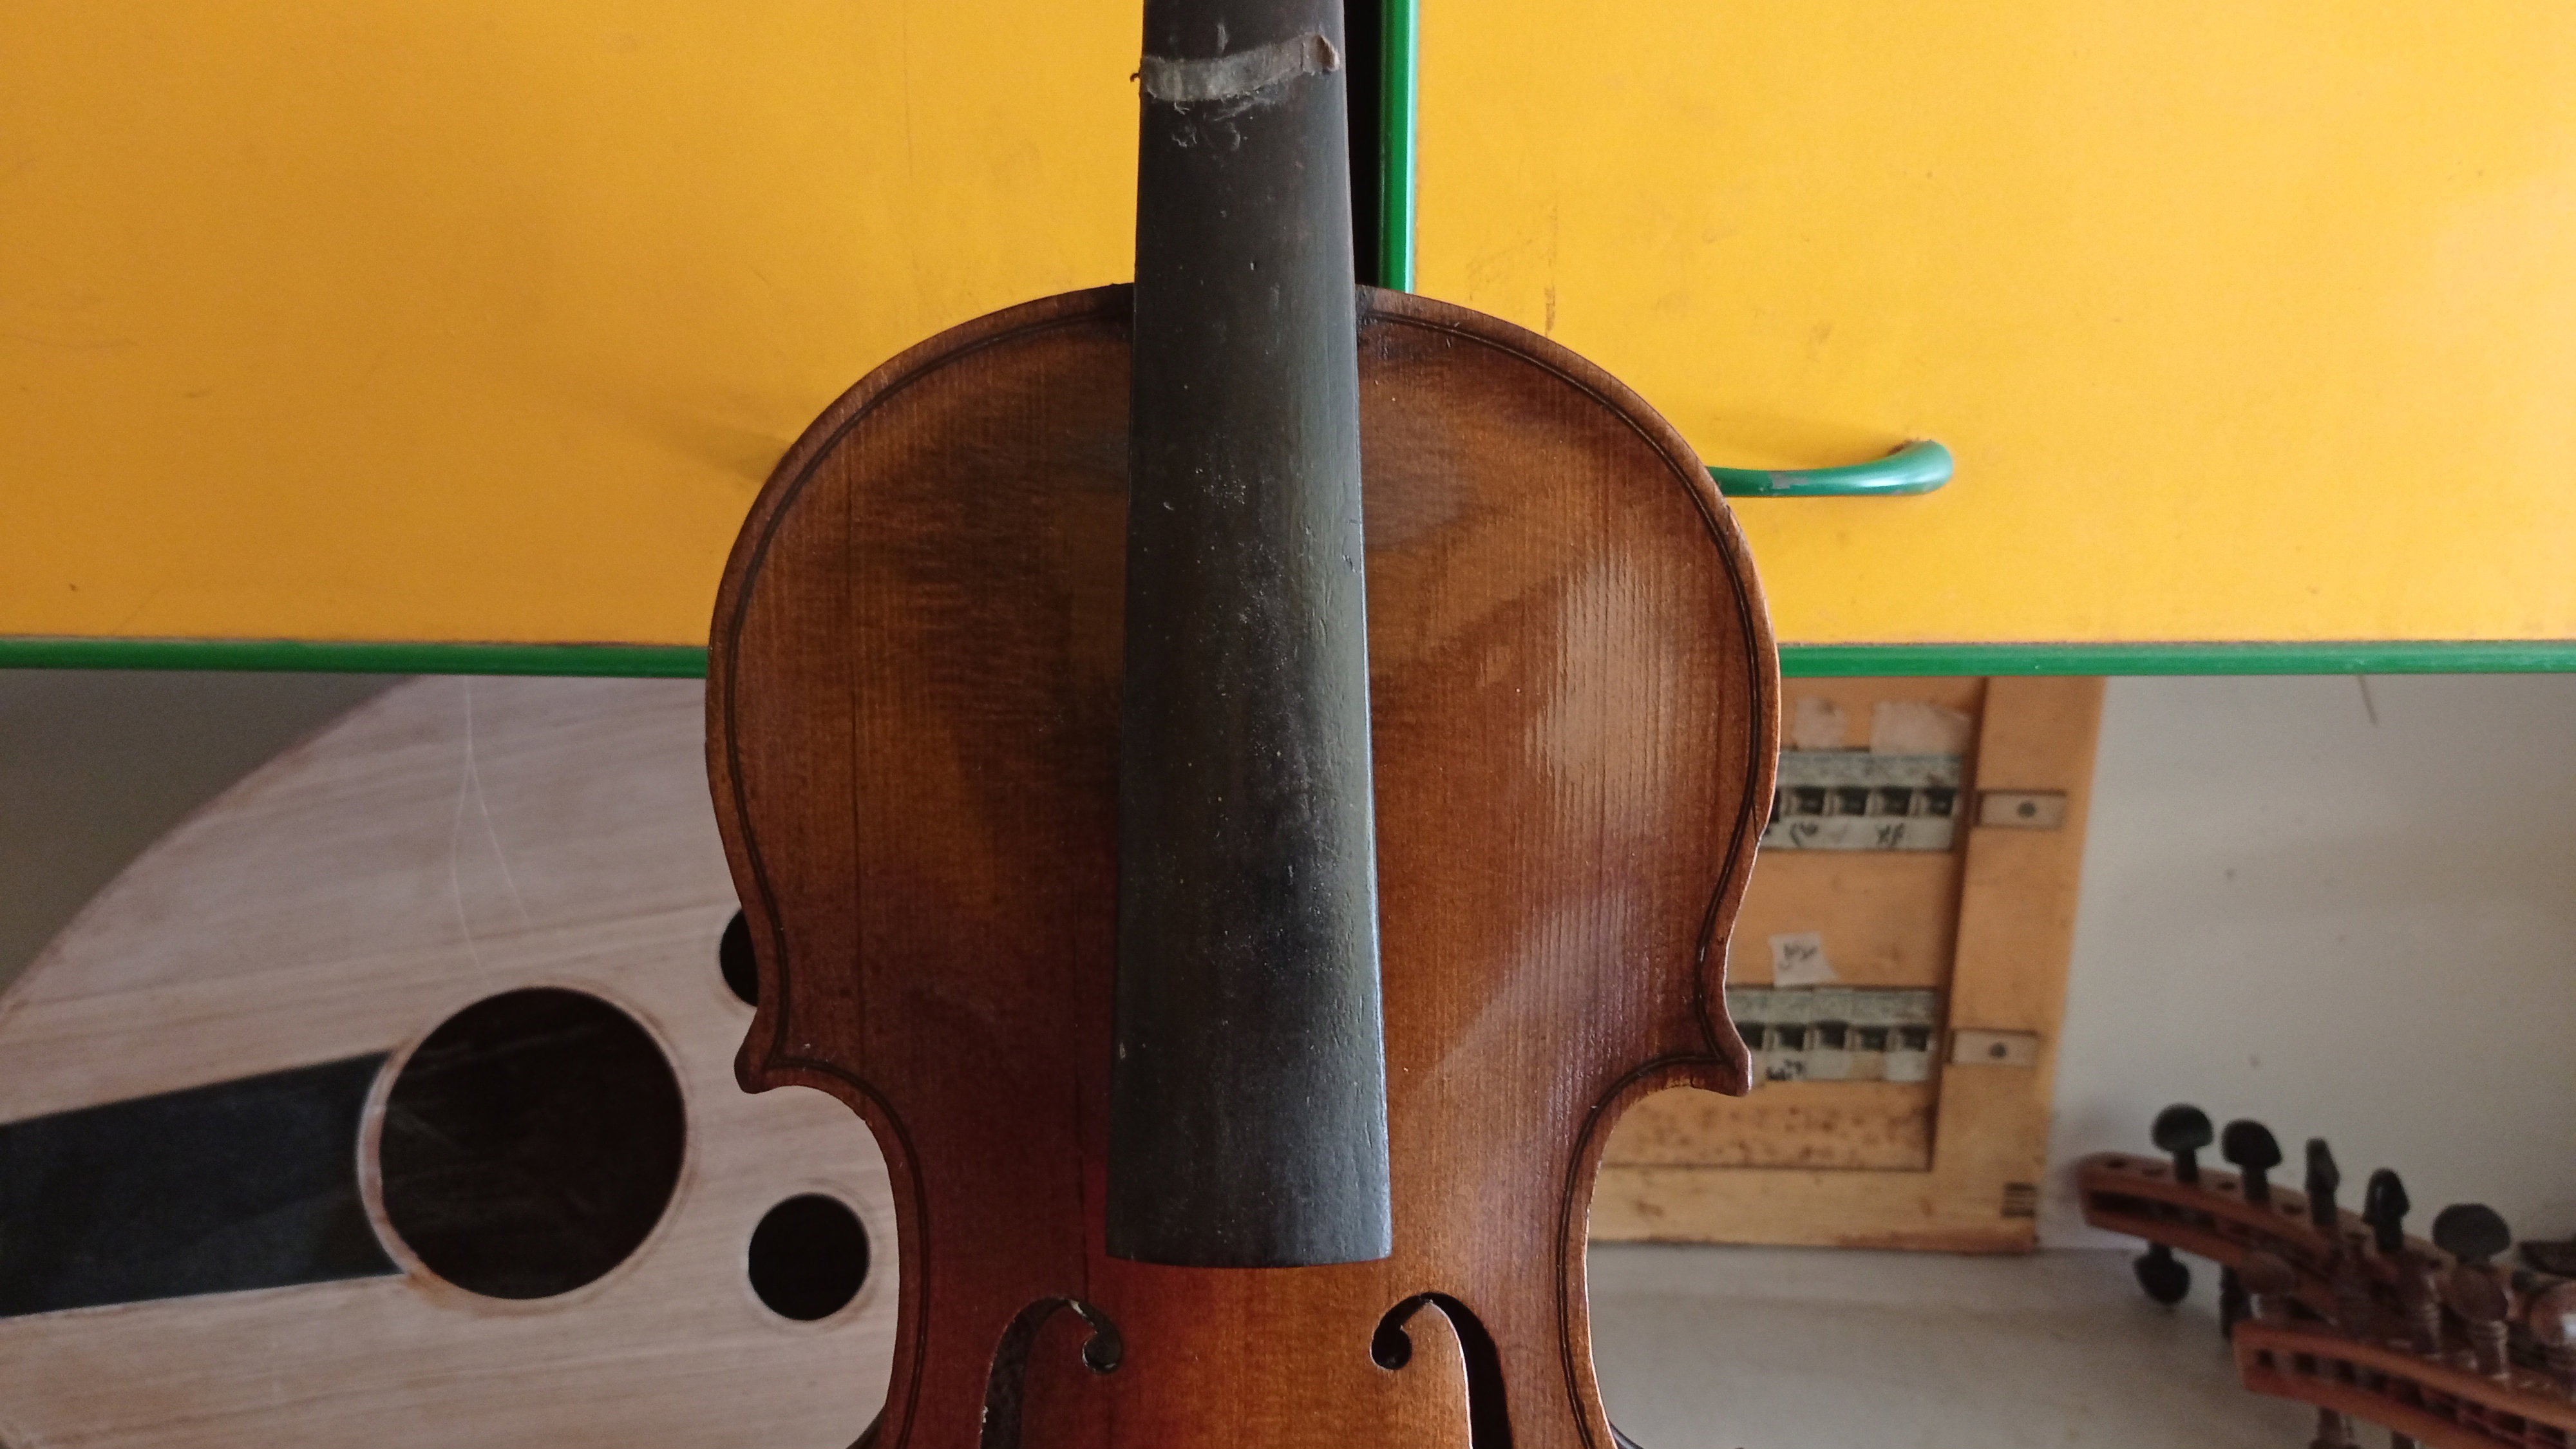
violin industry Today I visited Mr. Jack's center, and Mr. Jack is a famous violin maker in our region. We talked about the violin industry and he told me some secrets about this industry that I will write in this article. Mr. Jack told me that a group of types of wood are used in the manufacture of the violin.’ Each type has special specifications. The largest part of it is made of pine wood. The violin is made in stages. The work begins with carving the head and neck from a single piece of wood, followed by the back and then the sides are made of six Independent cortical pieces, three to the right and three to the left. Before assembling these parts, the maker adjusts the sound of the backstrap, which is the most important part of the violin, and this tuning is one of the secrets of the beautiful sound that distinguishes each violin. Mr. Jack told me an important note: The trigger, keys and knobs are solid black ebony, and ebony is distinguished by its high hardness and resistance to the pressure of the fingers and is not affected by it for decades of use. Useful note: Ebony is a very heavy wood, so it is not used in shipbuilding. As for the four strings of the violin, they are made of special metal, and they are tightened by the keys installed in the head of the violin. All wooden pieces of the violin are fixed with an adhesive substance. Metal nails are not used in them so as not to affect the sound. It takes about a month to make a single violin. Regards, Joseph
+1 more
@JousefMJousef
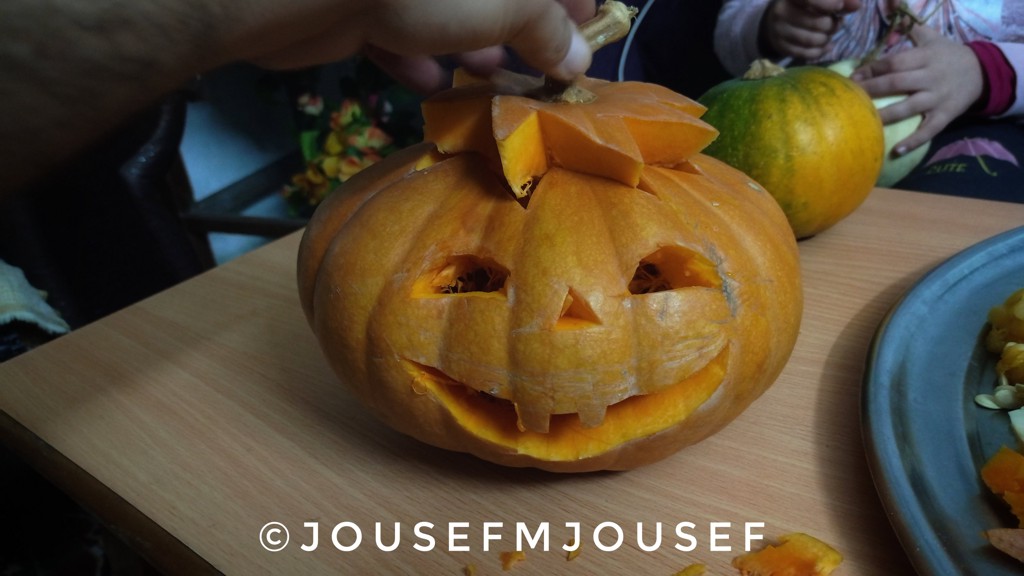
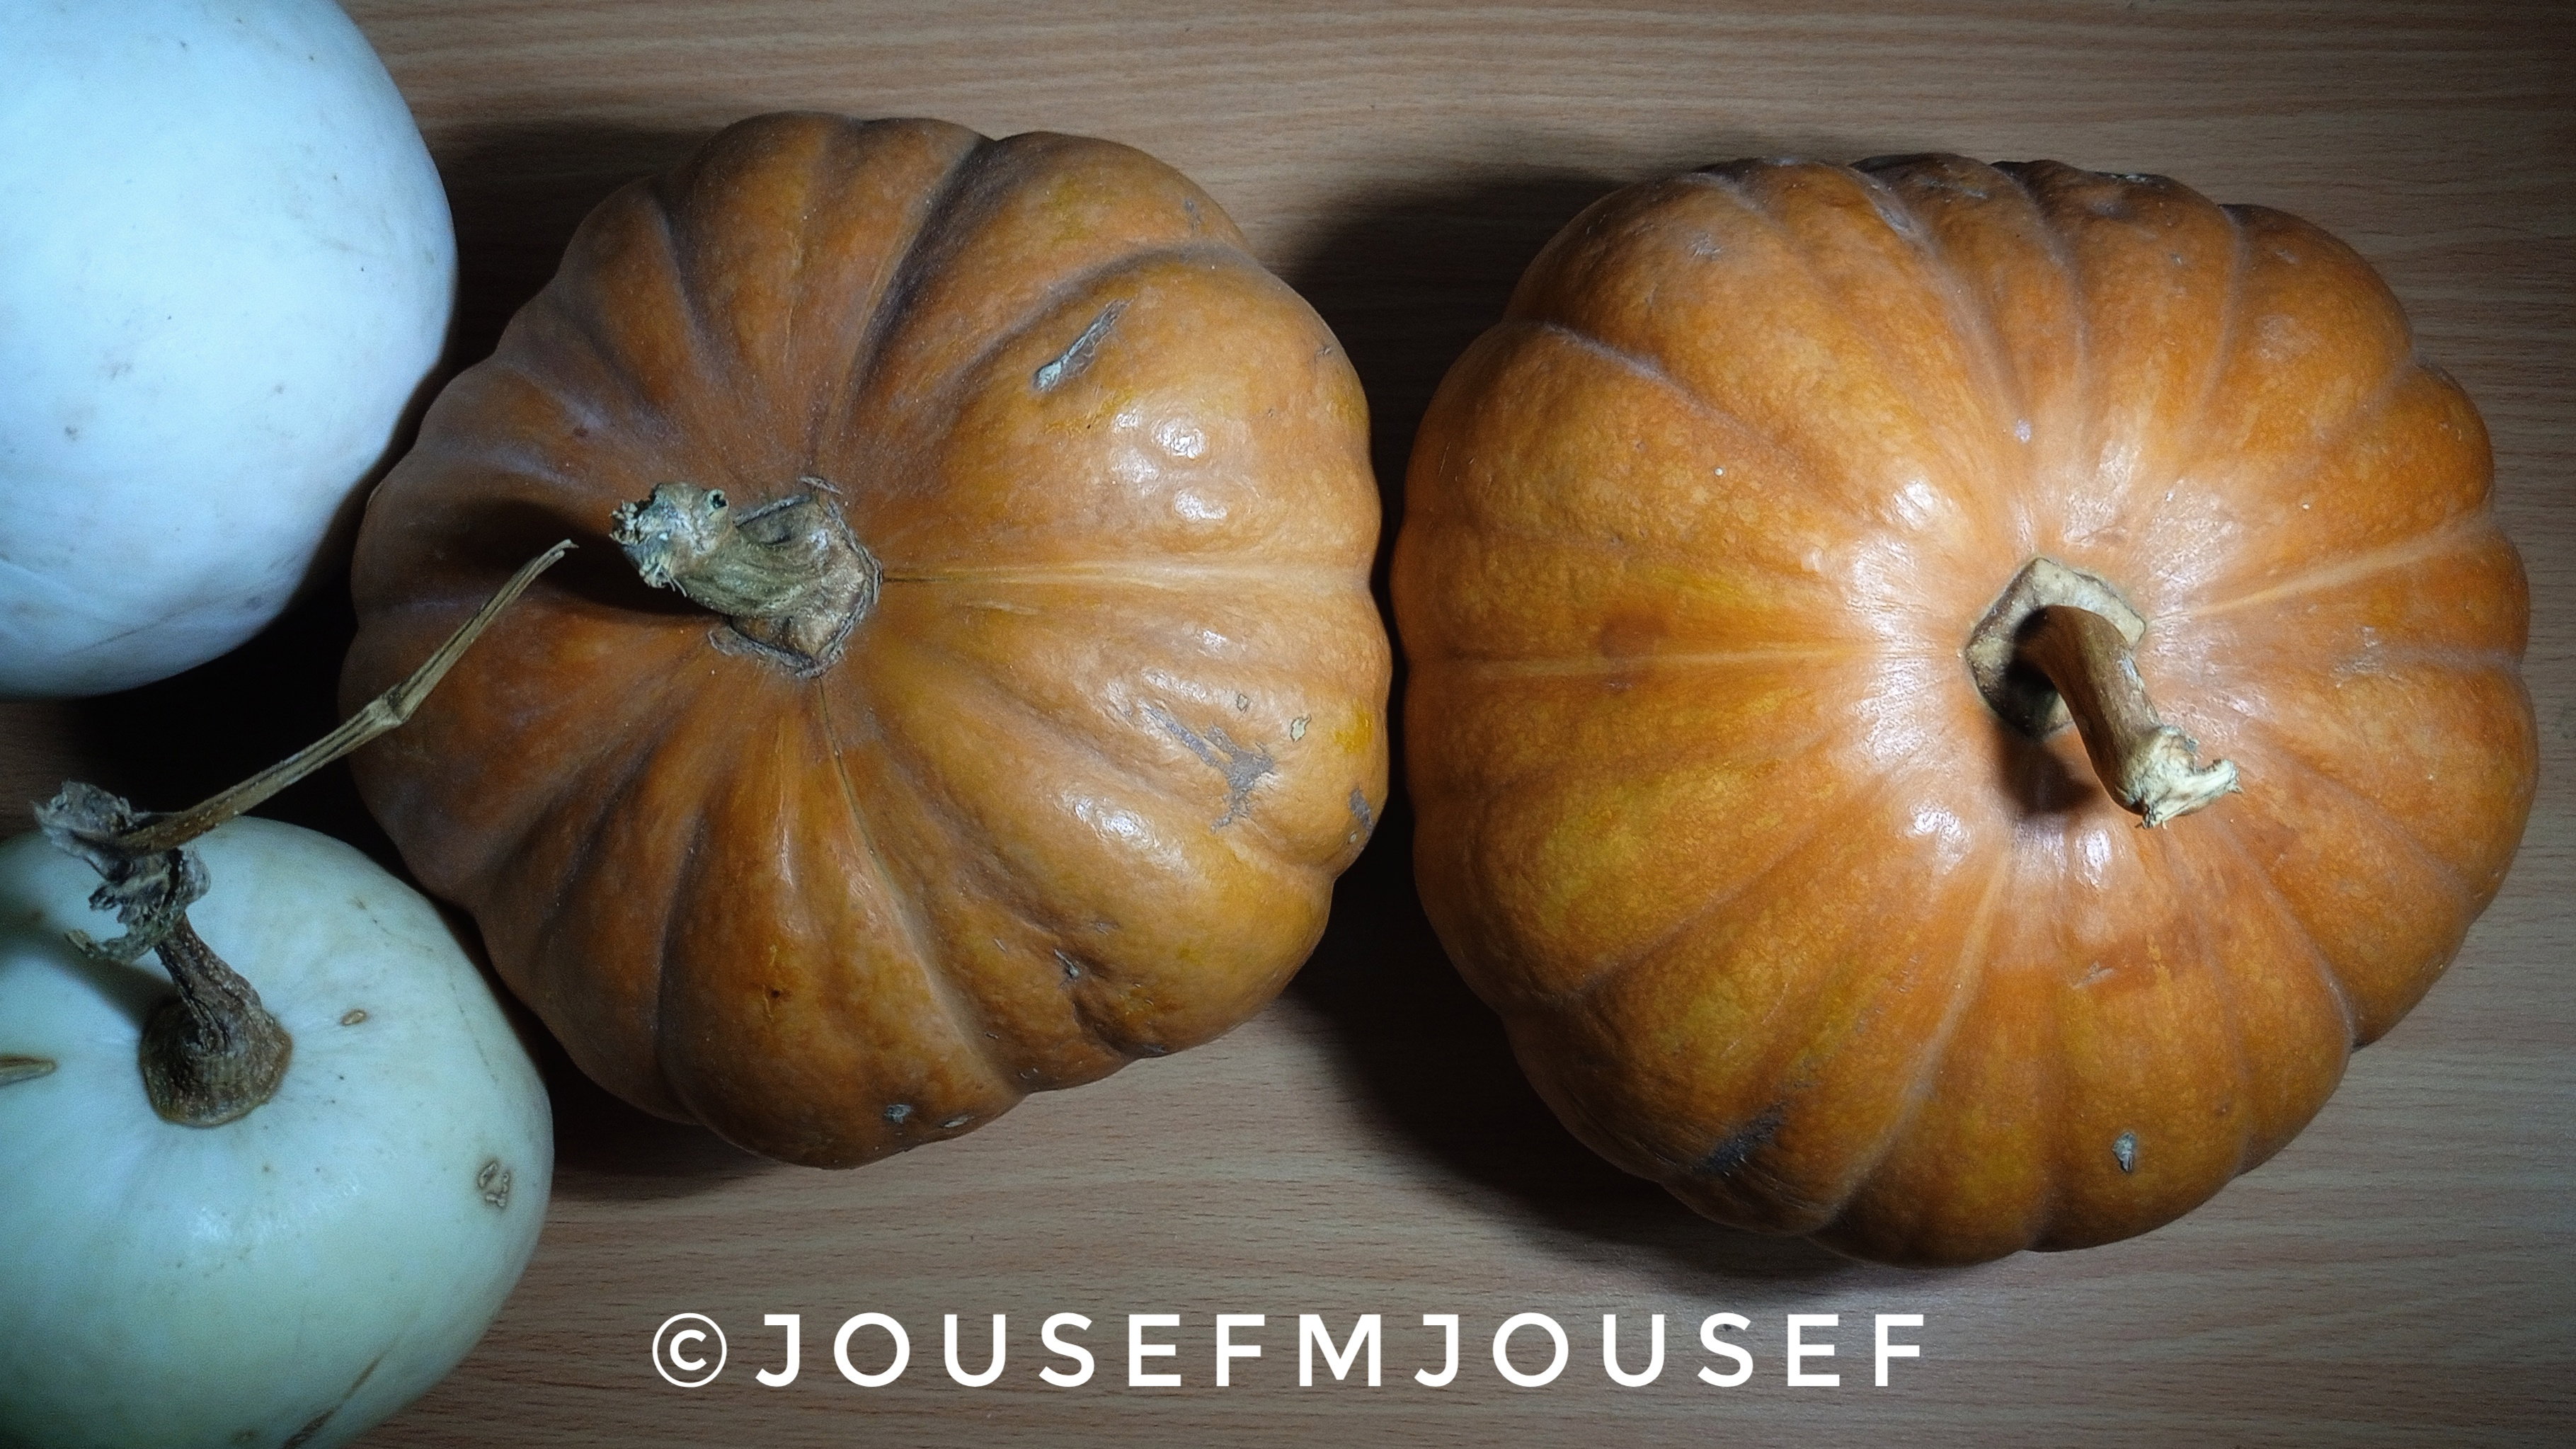
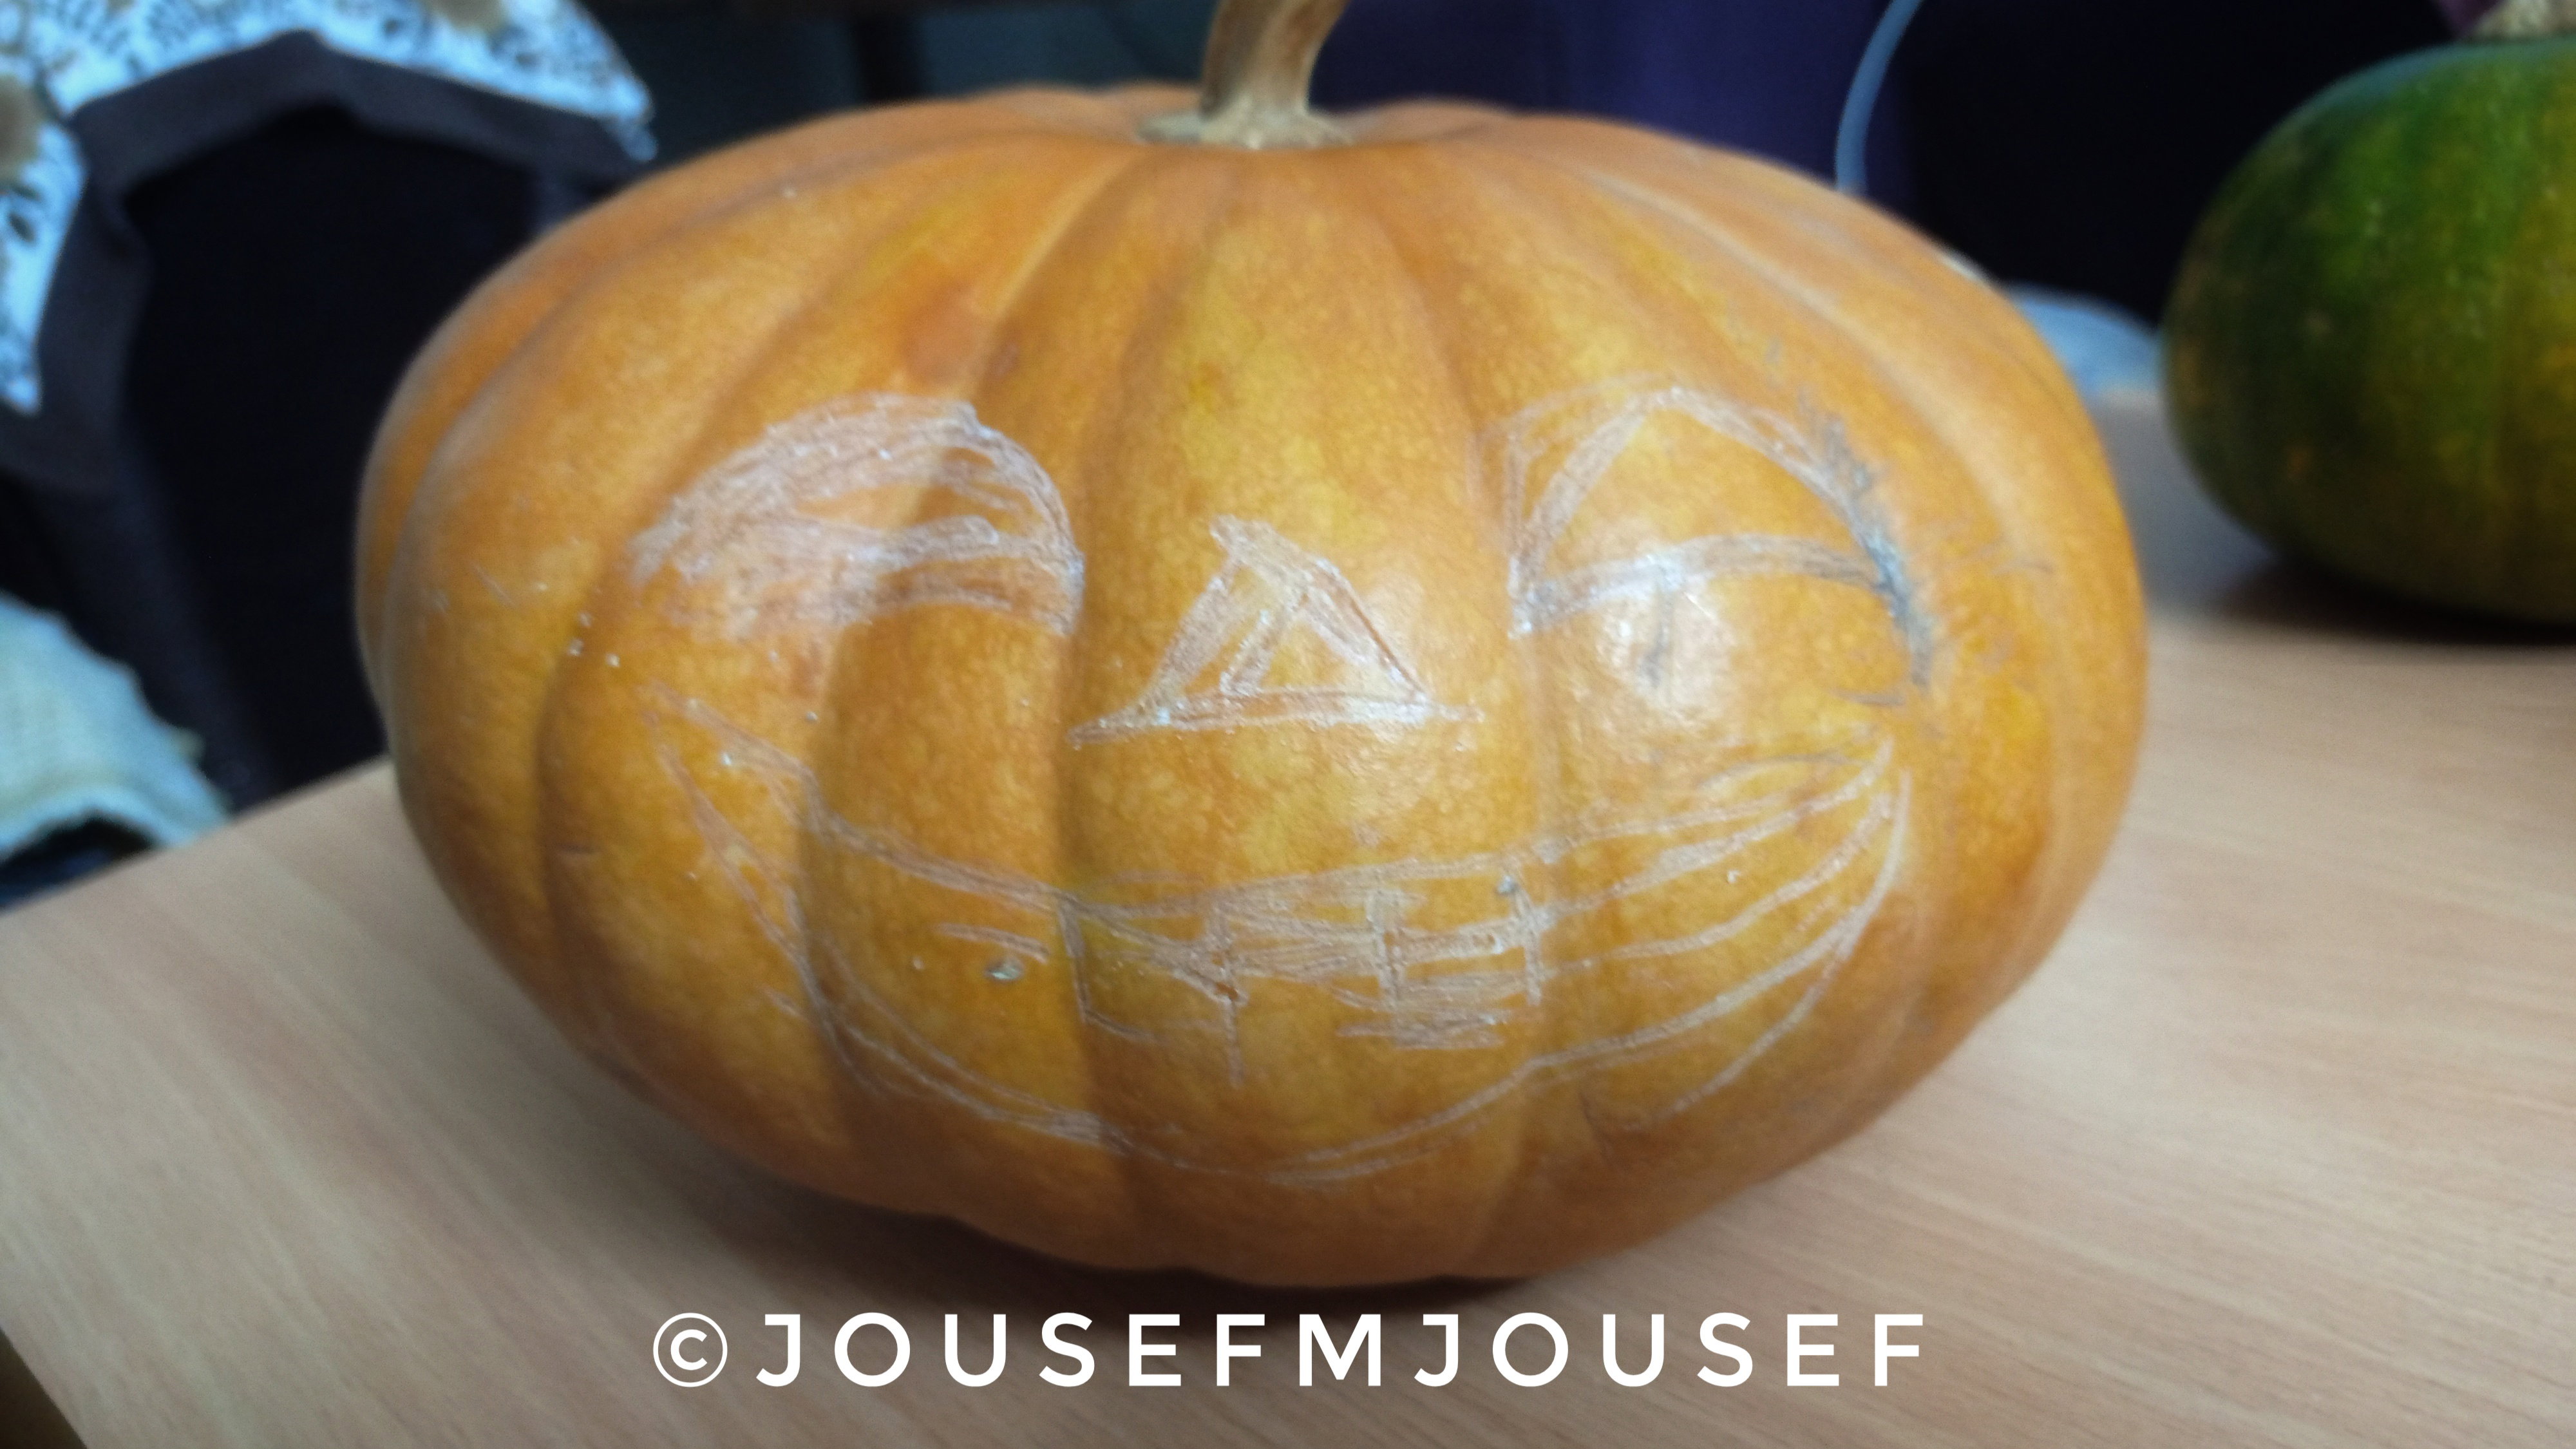
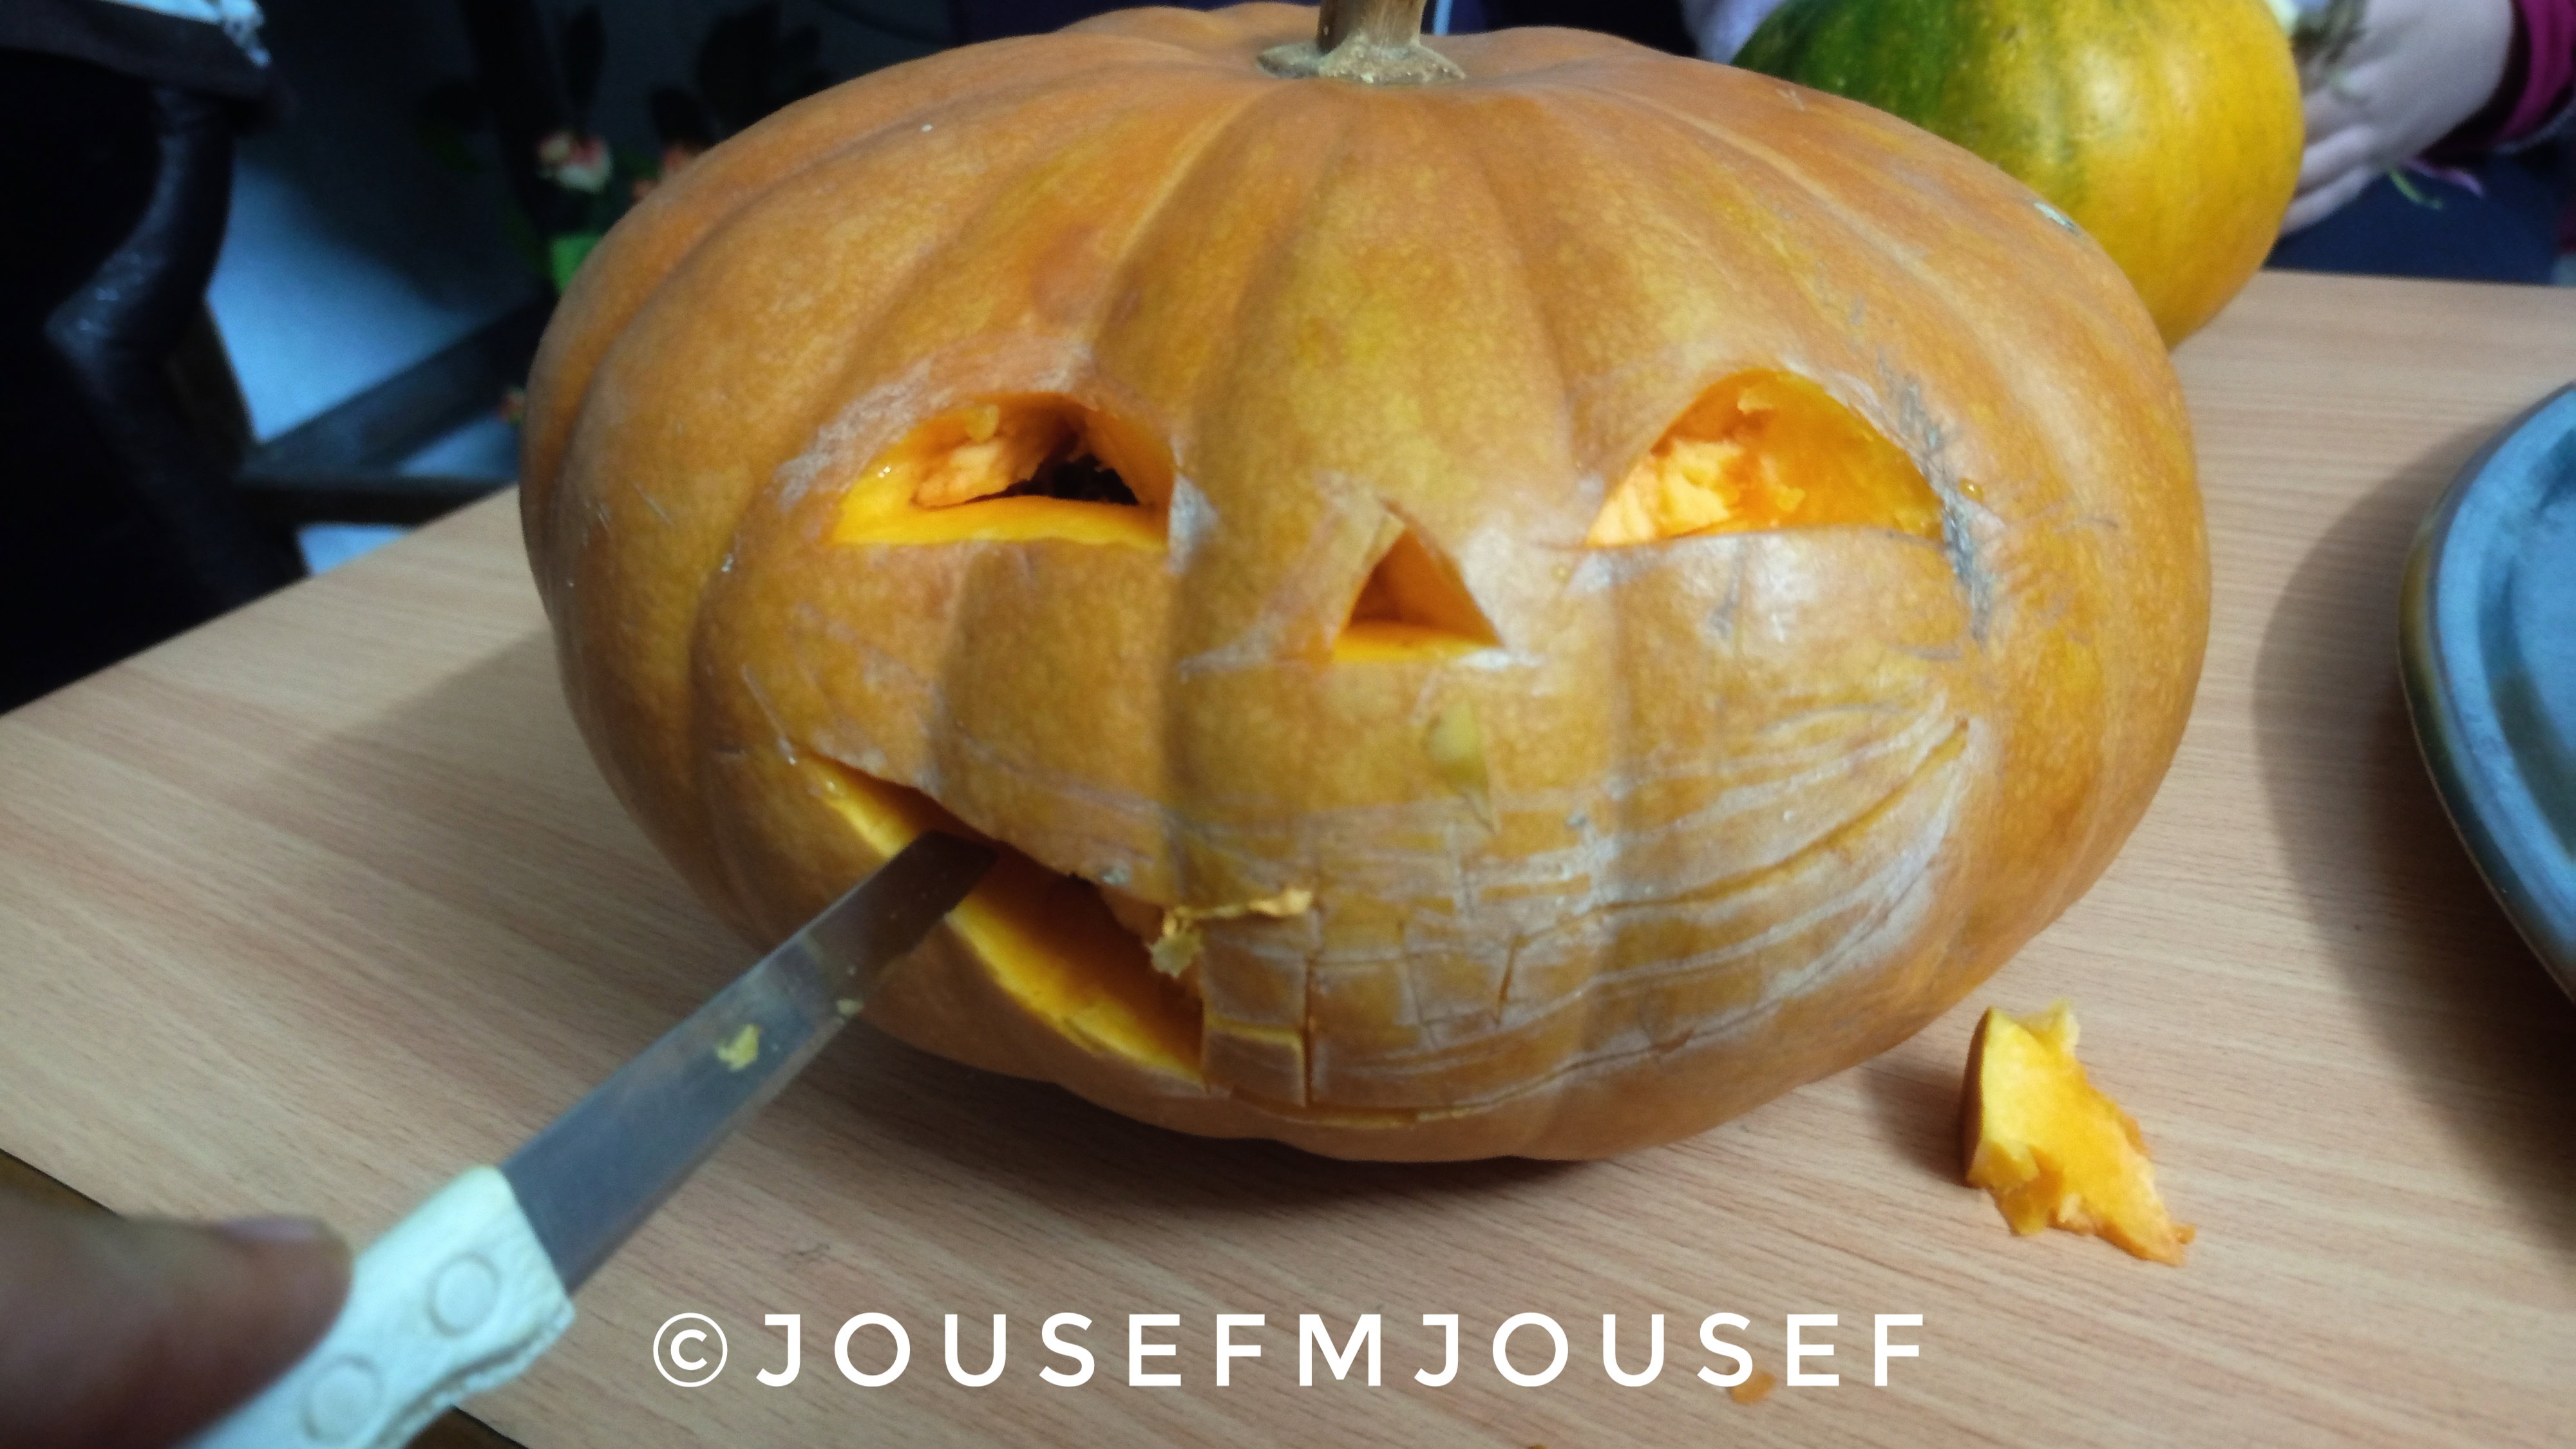
Making pumpkin jam, with a little fun Hello, I'm going to show you how to make delicious pumpkin jam at home, it's a very easy way, but before we start making pumpkin jam, let's have some fun making Halloween shapes out of pumpkins before slicing and cooking, let's start: I draw a shape on the fruit of the pumpkin, choose the shape of a smiling face or any face I want: I am now emptying out the figure I drew 'use a regular knife': Now it's the pumpkins, you just need to light up with candles: I put candles inside the hollowed out pumpkins, and here's what Halloween looks like We're done with the fun now, let's start making the jam: I cut the squash fruits into small pieces, I weigh the quantity, I will need an amount of sugar, each kilo of pumpkin needs a kilo of sugar After that I put a quantity of water until the squash is completely submerged (with a little lime, each kilo of squash needs a tablespoon, the function of the lime is to give the squash a cohesive structure after it becomes jam. Now I boil on low heat for 3 hours and stir the squash every half hour so that the sugar mixes well,After boiling, we produce delicious pumpkin jam. It is a wonderful jam with a delicious taste. Now you can try the method and you will get great results. Regards, Joseph
+5 more
@JousefMJousef
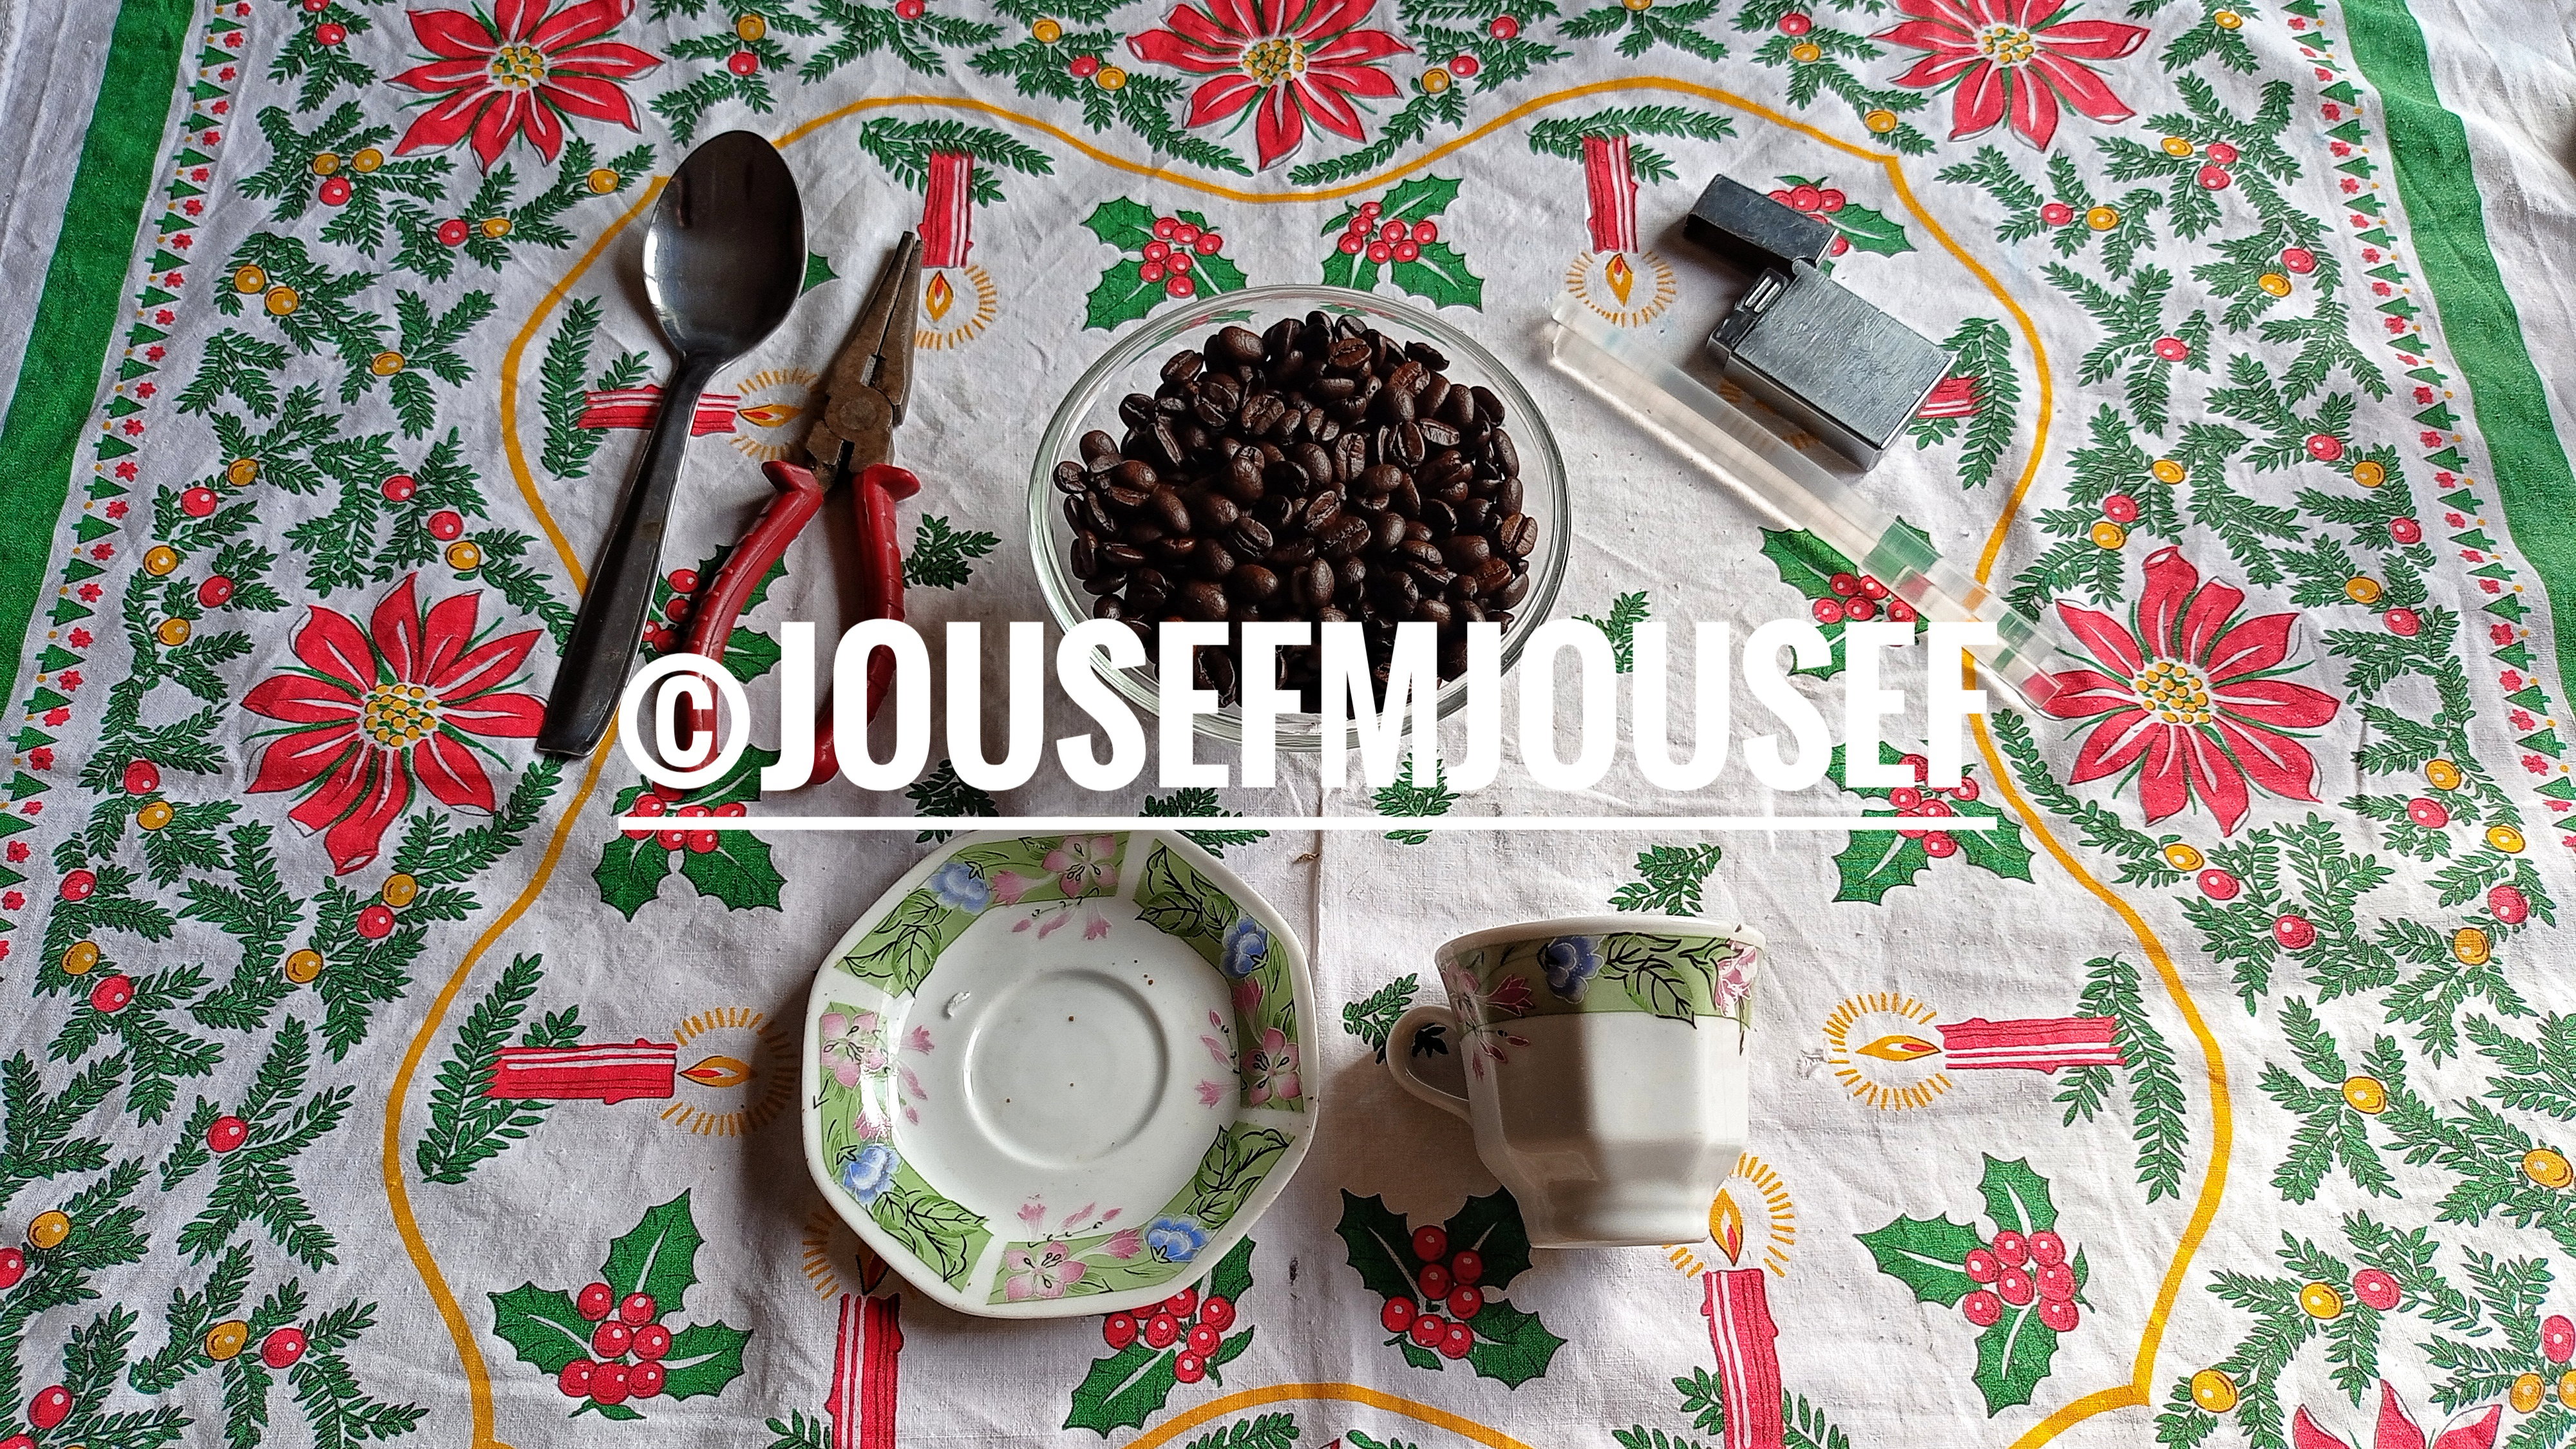
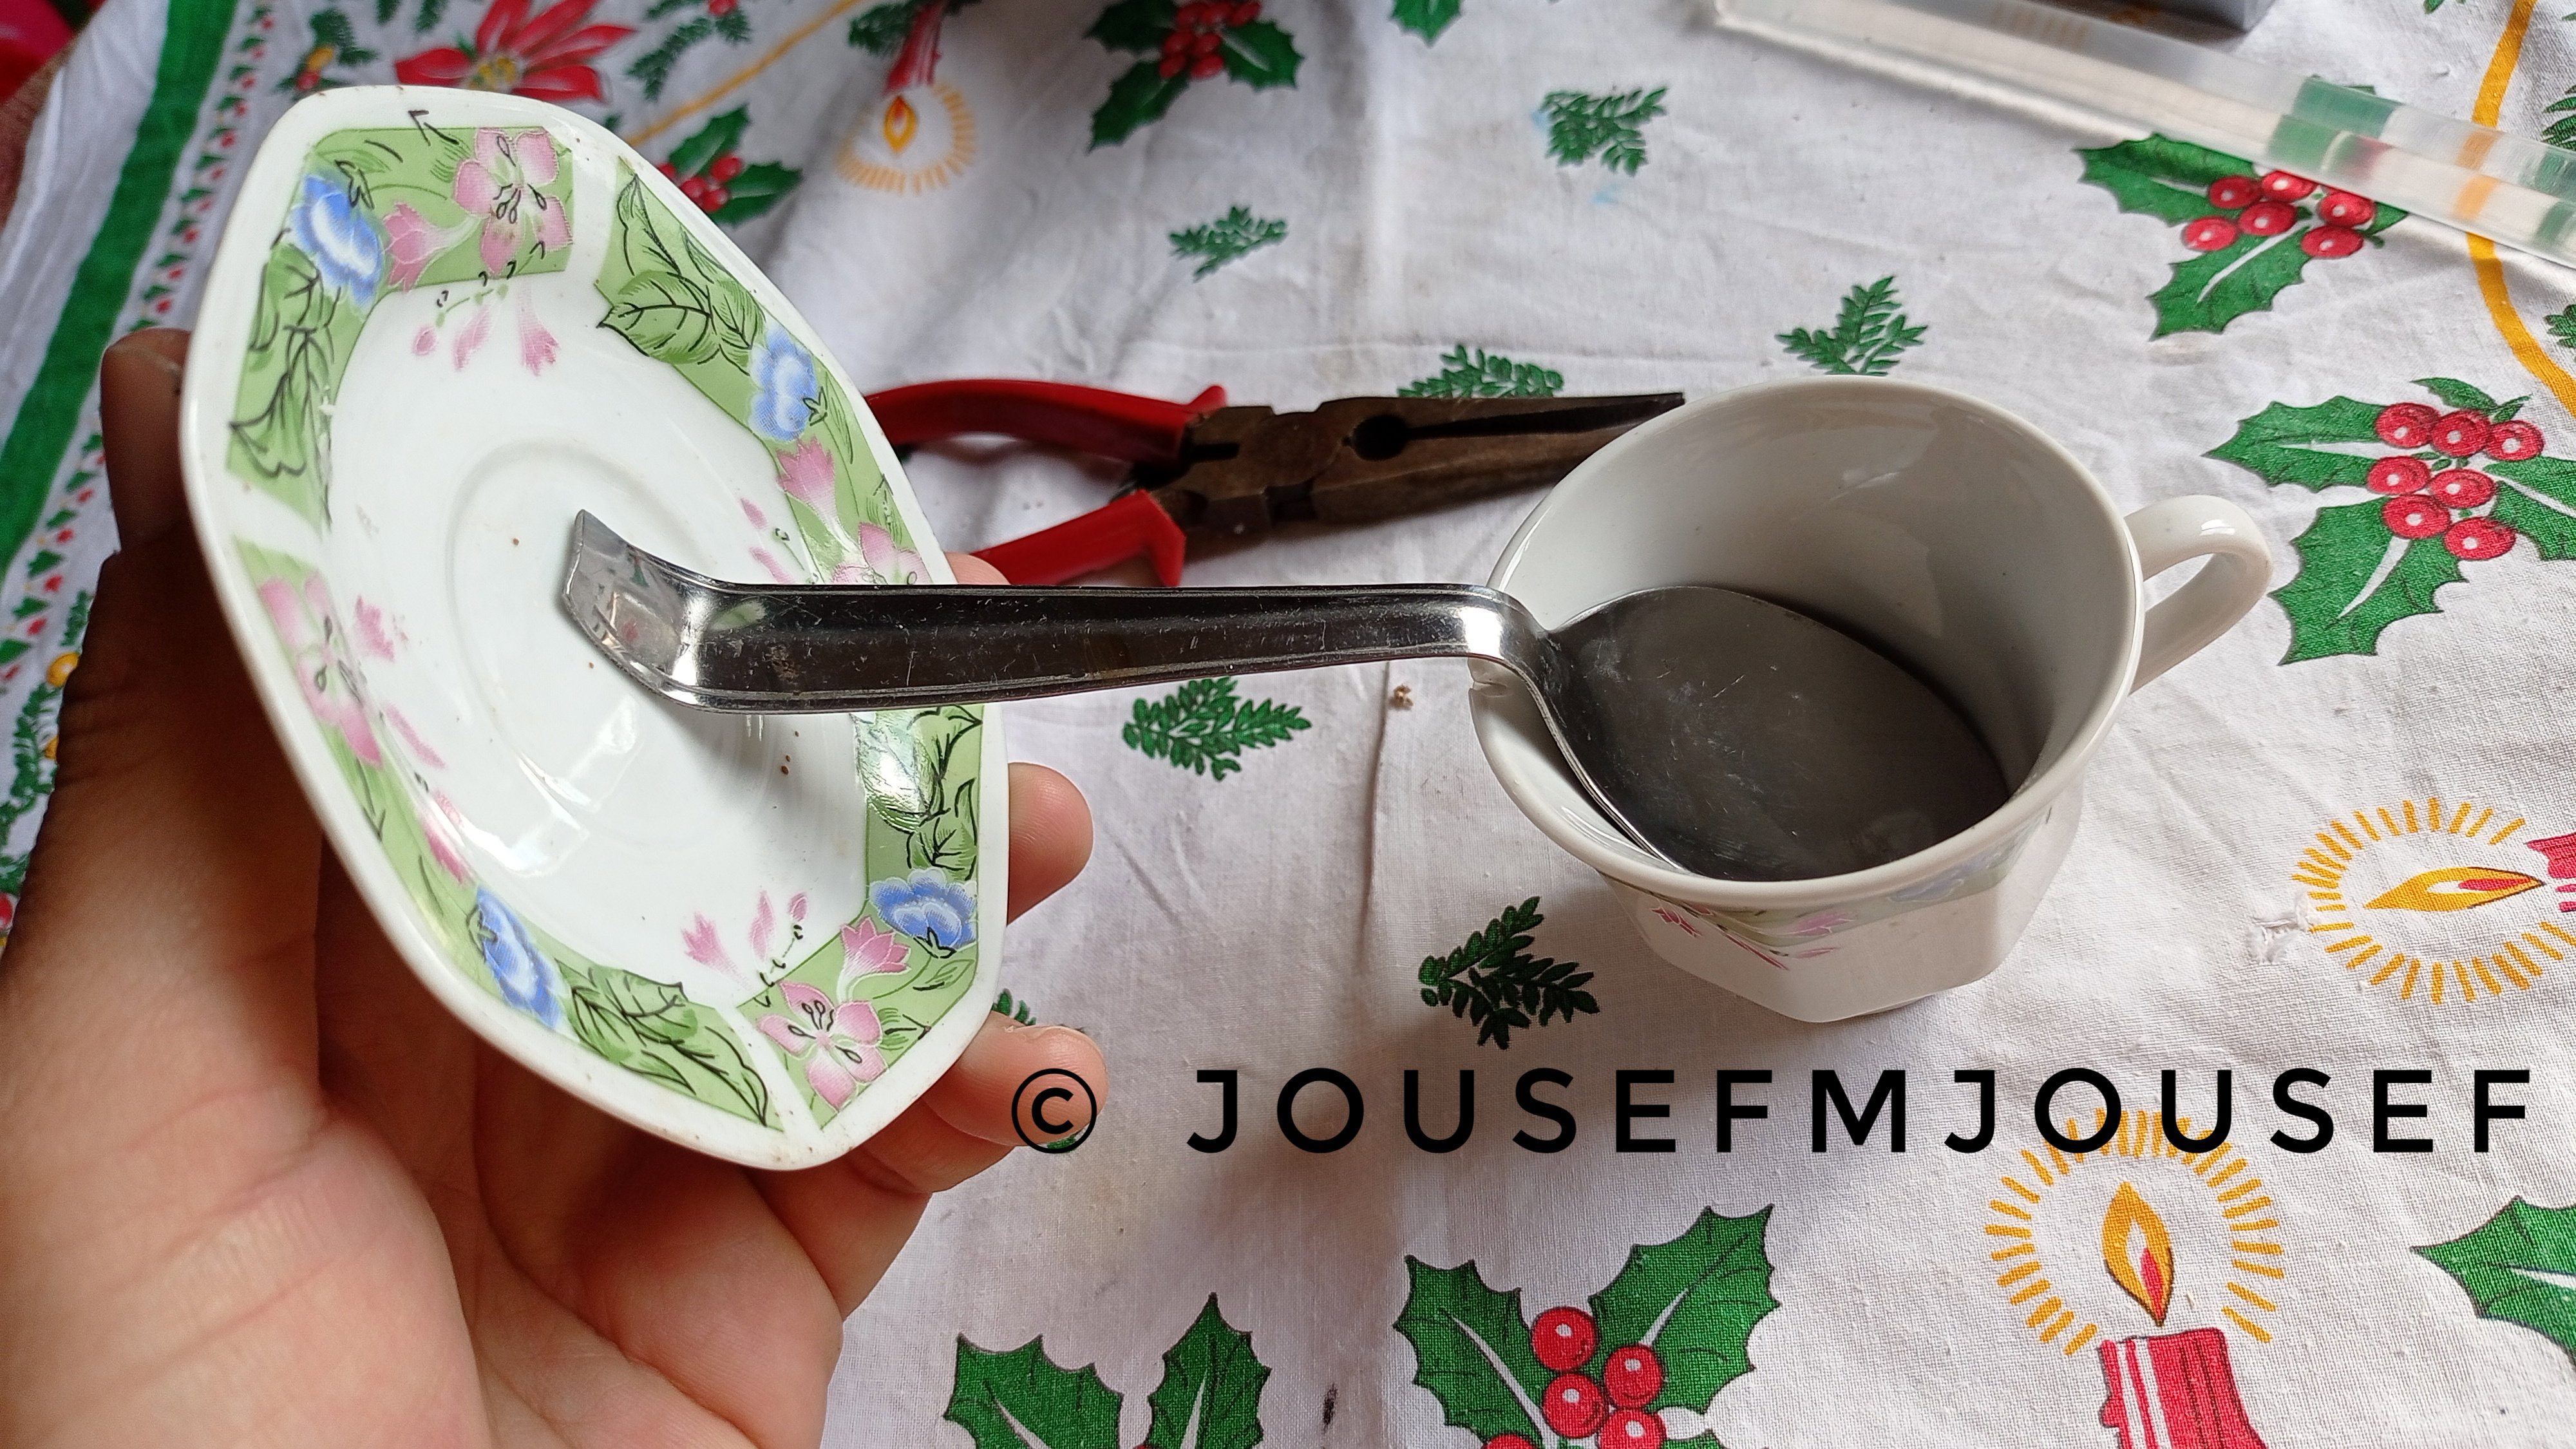
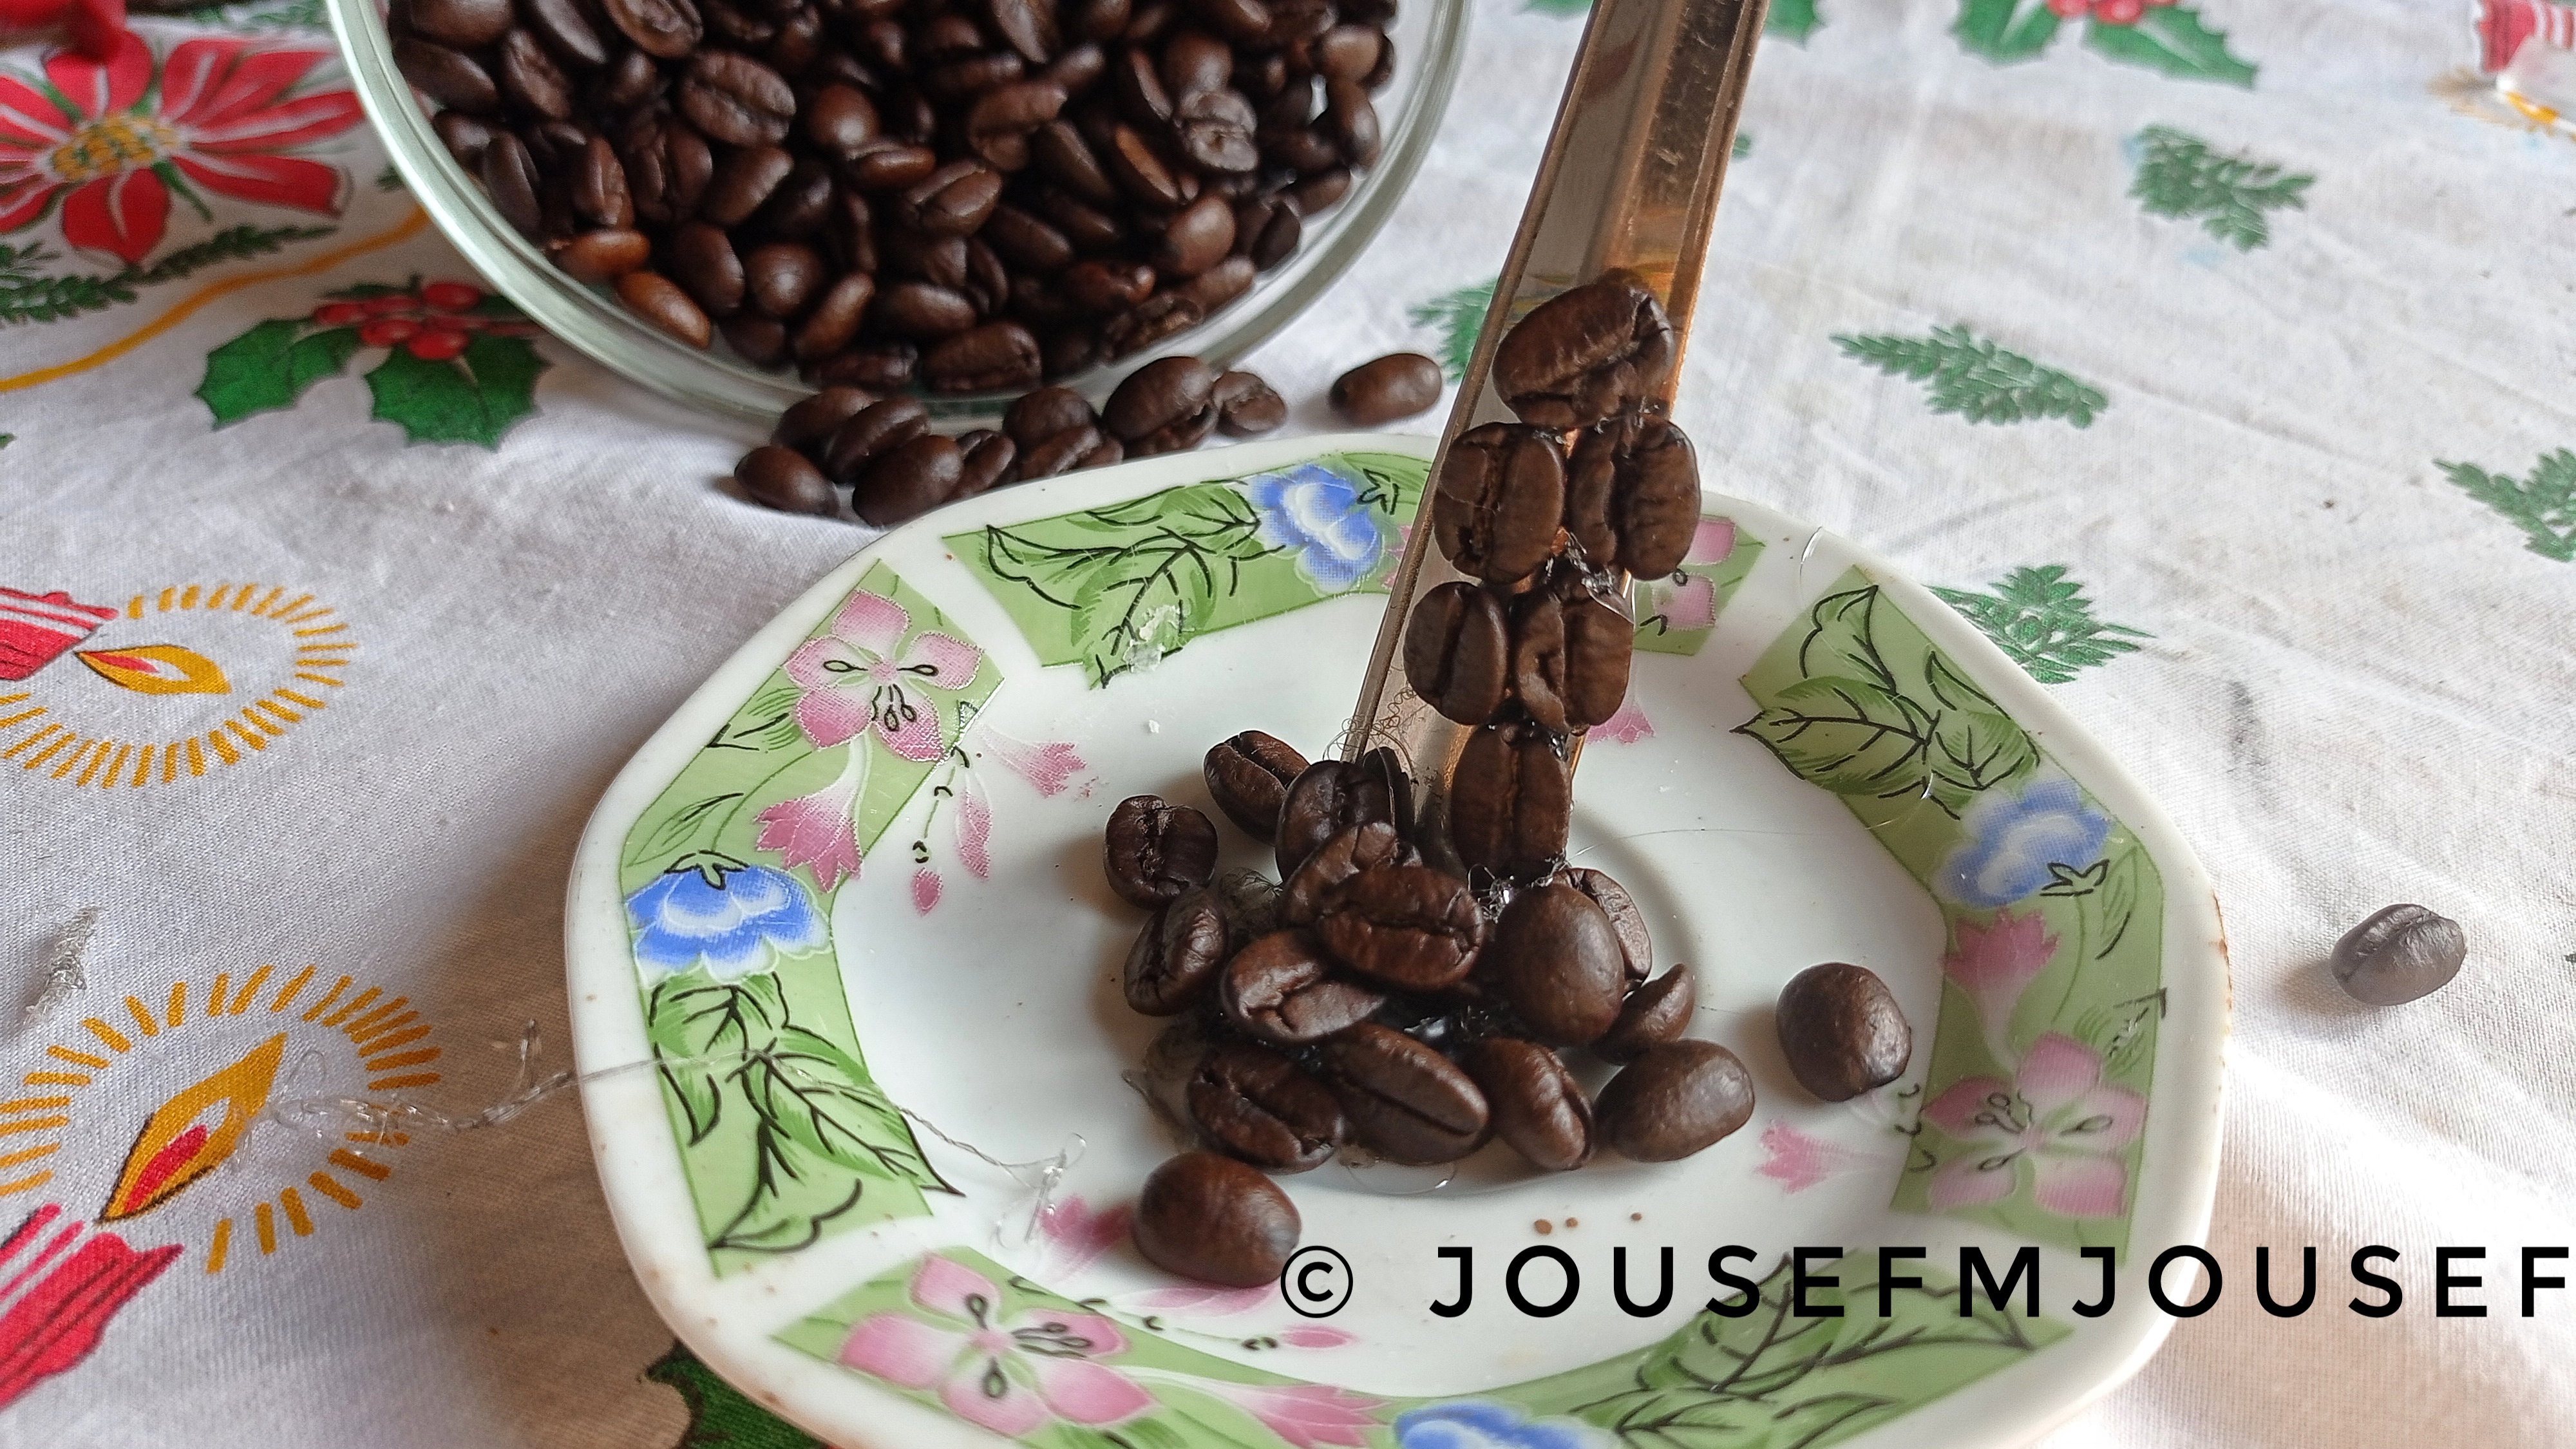
make a hanging cup from which a waterfall of coffee beans flows in less than a quarter of an hour! **!Hi friends ,Come to teach you how to make a hanging cup from which a waterfall of coffee beans flows in less than a quarter of an hour 👍** **One day , I passed in front of a handicraft store and found a beautiful hanging cup.** **I asked the seller :how much it cost?** **He said: 5$** **I told him: I can make more beautiful than him and at a lower cost.. but he did not believe me!!!** **Now I will prove to that seller and you that i can do it.** _______________________ Items required (as shown in the image below) 1- cup 2- spoon and pliers 3-coffee beans 4 - silicone adhesive Work steps: We take the spoon and bend its ends using the pliers. We need a spoon or any piece of metal to be the pillar on which the cup will be hung After that, we fix the spoon using silicone adhesive and wait for the adhesive to dry (less than a minute) After the silicone adhesive dries, we have the semi-finished shape of the hanging cup. We have the last stage left.. It is the stage of making the coffee beans waterfall: it is the stage of sticking the coffee beans on the spoon in order to hide the spoon and to appear as if the coffee is flowing from the cup, and this is the secret in this industry... We put the adhesive on the spoon and put the coffee beans on top of it, then we put a few beans in the bowl of the cup ....And so we are done!!! in less than a quarter of an hour, we made a wonderful masterpiece that smells of coffee I hope you have benefited from this article and I am ready to receive your inquiries and assistance. Jousef
+2 more