Getting Started in Train of the Century
Hello Crypto Gamers out there, today I started to play a new play to earn game called Train of the Century.


After I registered, I then created my first train.

I then zoomed out on the map and could see a flashing blue dot that shows where I am. I could then zoom in on my train and found it at the train station.
Buying My First Train
Before I can put my first train together, I need to buy the different parts of the train needed. These consist of:
Locomotive
Conductor
Passenger Car
Goods Car
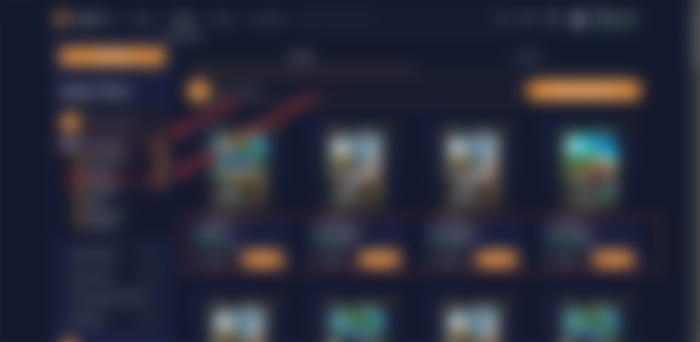
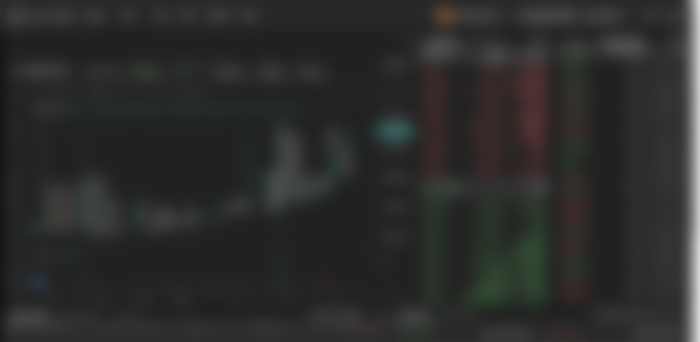
To do that, I went to Atomic Hub which is a marketplace for NFTs on Wax, and logged in. I then searched by Centurytrain and filtered by locomotive first. Here I could see many different choices of trains to buy.
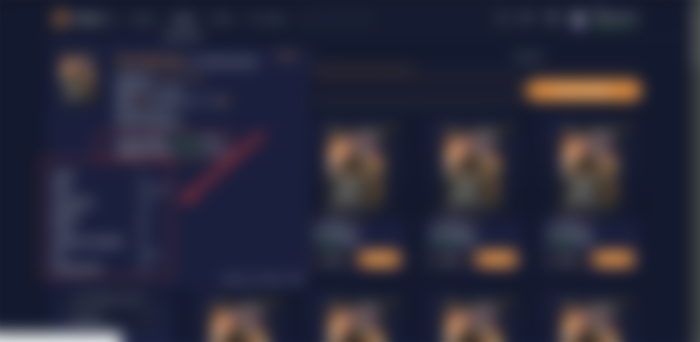

I then sorted by lowest to highest price to review the offers. Then I could hover over a train and see some of its stats. Here you can see the cheapest one is a common card and important details like how far it can travel, speed and fuel.
These cheap trains won't be able to travel far, but they could be ok for starting out and learning the game. I bought the cheapest one to start with and then repeated the process for the Conductor, Passenger Car and Railcar.
Assembling My First Train


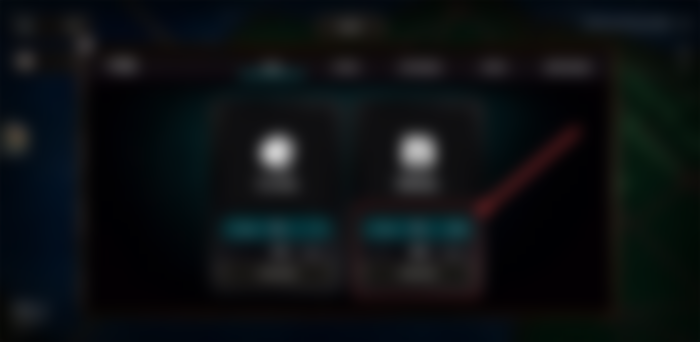
I then needed to put my first train together, so I went back to the map, clicked on the station, and then Edit Train. I could then create my desired train.


My train can only carry one car, so I opted initially for my passenger train but there were no passengers at the station. In the end, I added my goods car to my train and attempted to add some goods to transport.


Here too there were no goods to transport, which is when I realised that I would need to buy some goods NFTs from the marketplace. Therefore I went back and bought a few different goods NFTs and tried to load my train again.


Finally, I bought a commodity that would fit with my rail car and could load it. I noticed that the nutrition bars weigh only 10 each, so I could in fact carry 5 of them. So I returned to the market and bought up another 4 nutrition bar NFTs. I hope the other station will buy them!


With my fully loaded rail car, I am ready to hit the rails.. this has taken longer than I had expected just to send a train from one station to the next.
Going To Another Station
Having played Railroad Tycoon many years ago, I am vaguely familiar with how railroad strategy games should work. It was much more like building your stations and laying your tracks back then. Now with crypto involved, there are real-life economics aspects to consider when using NFTs.
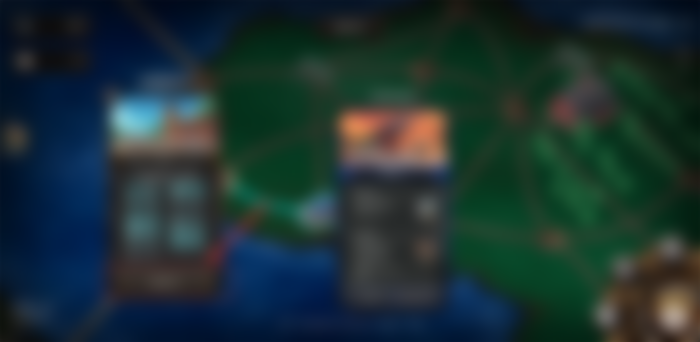
Now it was time to send my train out into the wilderness and visit another station.


As I have just a cheap locomotive, it cannot travel for a long distance, therefore you can see above that I can only travel to the two marked stations. I opt for Seabreeze Park, but first I need to buy some fuel. To buy fuel I need the ingame token Tocium. To get Tocium I need to visit yet another exchange and buy some.

I visit Alcor and buy 100 Tocium which is around 0,2 Wax.

Returning to the game, I visit the ingame market and buy 50 diesel for my diesel train. This costs me 10 Tocium.

I then try to dispatch my train to the new station but get the warning that I don't have enough fuel. I decide to buy 100 more diesel and that should be good for me to get there and back.
It will take 1h 48mins to get to the station and it offers me the chance to play a mini-game. I decided to play the first one, Rail Yard Defender and it was quite good although I only got 11 points. I didn't get any crypto for playing the mini-game so perhaps I will stick to Rollercoin if I want some mini-game playing action.
My train is now safely traveling to Sea Breeze Park and I have decided to call it a day for today. I will check back tomorrow on my train and report back to you in my next update about how much Torcium I have earned for my first run!
Thanks for reading.


Sponsors:
Resources:
Wiki: Source
Whitepaper: source
Credits:
The title image was created by myself in Canva with an image from source and source with Canva Pro license.
Screenshots are taken in game from Source unless otherwise specified.
Thanks also to @thecyberdexter who gave me an overview of the game on his stream.
Let's connect : mypathtofire