 @MrGrumpy
more from that month
@MrGrumpy
more from that month
How to Edit Night Photography photos in Adobe Lightroom
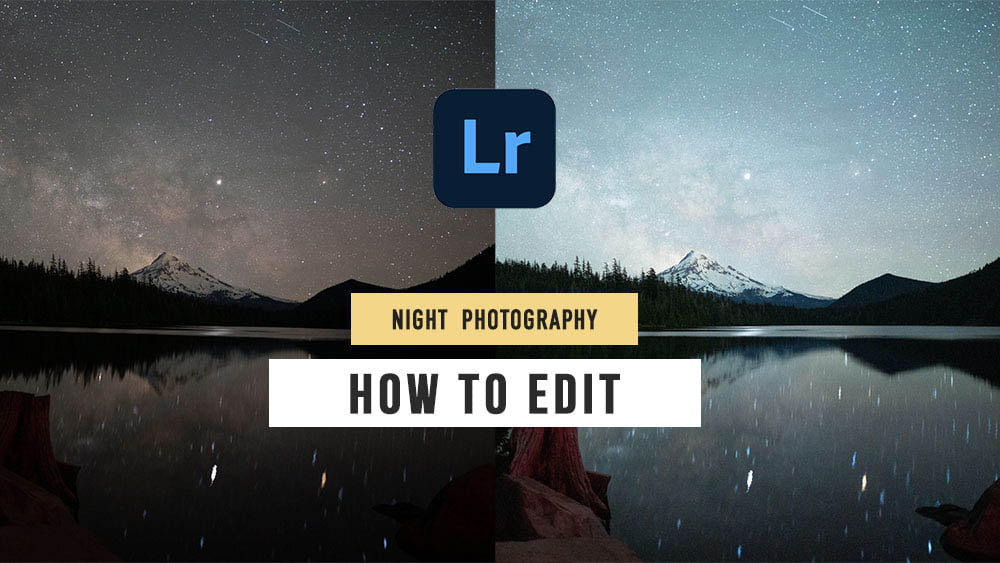
Editing night time photos in general can be a bit tricky and all depends on the quality of the camera and photo you are trying to edit. https://www.youtube.com/watch?v=PyT6_wfN6u8 In this tutorial, we will take a slightly Dark, But beautiful night time landscape photo and bring it to life! Where Do you start? Once I know what photo I want to edit, I head over to the to the Develop panel to have the most control over all the different settings. This can be found in the top right-hand side of Lightroom (See photo below)

Basic Settings Let’s get going on the basic settings to start shaping the perfect Lightroom edit. Something important to remember is that all these settings won't affect your original photo, So go nuts! For the example photo im going to make the following adjustments: Basic Panel Temp 3135 Tint 0 Exposure +1.18 Contrast -10 Highlights +16 Shadows +21 Whites +31 Blacks -8 Vibrance +27 Saturation -17 HSL / Color Panel Saturation Tab Aqua +22 Blue +19 Luminance Tab Aqua +100 Blue +99 Finishing up This night time landscape photo ended up being pretty easy and quick to to edit. I find that the main things to play around with is the Temperature, Tint, Exposure and Contrast. Chances are if you try to increase the exposure too much, It will introduce some noise in the shadow areas. So keep an eye on that.
No comments yet