 @DanLawan
Getting Started with Resin Art: A Beginner’s Guide for Nigerians Resin art is becoming popular in Nigeria, especially among young creatives and small business owners. It’s a fun and creative way to make beautiful things like earrings, keyholders, coasters, and even trays. If you’ve been thinking about trying resin art but you don’t know where to start, this guide is for you.
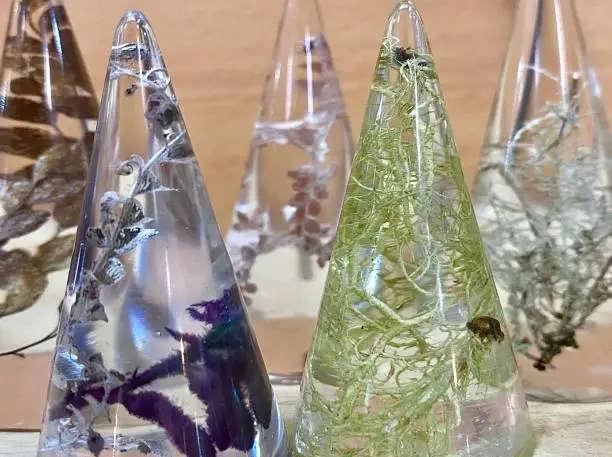
I’ll explain the tools you need, simple techniques, and small tips that will help you start your resin journey without stress. What Is Resin Art? Resin art is when you mix a liquid chemical called *resin* with a *hardener*, pour it into a mold or on a surface, and after some hours, it becomes strong and shiny. You can add colours, glitters, flowers, or even charms to design it the way you like.
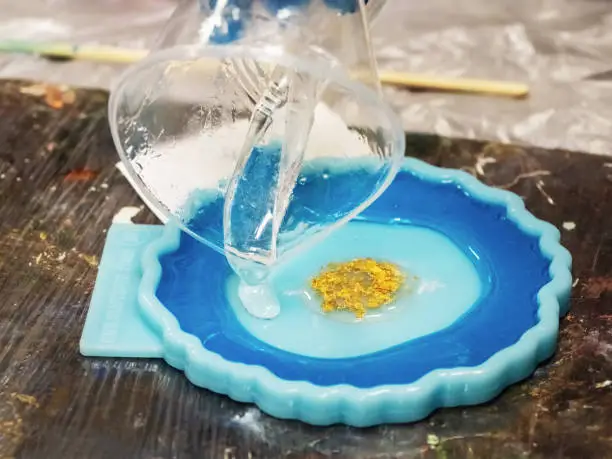
Tools and Materials You Need Here are the basic things you must get to start: 1. **Resin and Hardener** This is the main thing. You must buy a good quality one, and always mix it according to the instruction (like 1:1 or 2:1, depending on the brand). 2. **Measuring Cups and Mixing Sticks** You need this to measure and mix your resin properly. Use plastic or silicone cups, and wooden sticks or plastic spoons. 3. **Gloves and Safety Gear** Always wear gloves so the resin doesn’t touch your skin. Also, work in a place with good air or use a nose mask, especially if the resin smells strong. 4. **Silicone Molds** Start with small molds like round or heart shapes. They are easy to use and perfect for earrings or keyholders. 5. **Colours and Decorations** You can use: Resin pigments Alcohol inks Glitter Dried flowers Gold flakes or anything fancy 6. **Heat Gun or Lighter** After pouring resin, bubbles may appear. Use a small heat gun or lighter to remove the bubbles gently. 7. **Flat Surface** Make sure where you keep your resin to dry is flat, so it won’t pour to one side. Simple Resin Techniques to Try 1. **Layering** Pour your resin small-small in layers, so you can add glitters or flowers in between. 2. **Swirling Colours** Mix two or more colours and use a stick or toothpick to swirl them together. It looks fine when it dries. 3. **Dirty Pour** Pour different colours inside one cup, then pour it all together into the mold. It gives a nice marble effect. 4. **Embedding Objects** Put small items like dried flowers, beads or charms inside the resin before it dries. Helpful Tips for Beginners **Work in a clean area** – Dust or hair can spoil your resin work. **Mix gently** – If you mix too fast, it will have too many bubbles. **Use nylon or paper on your table** – It helps you clean up easily. **Be patient** – Resin takes 1 to 3 days to dry completely. **Read instructions** – Every resin brand is different, so follow their mixing rules.
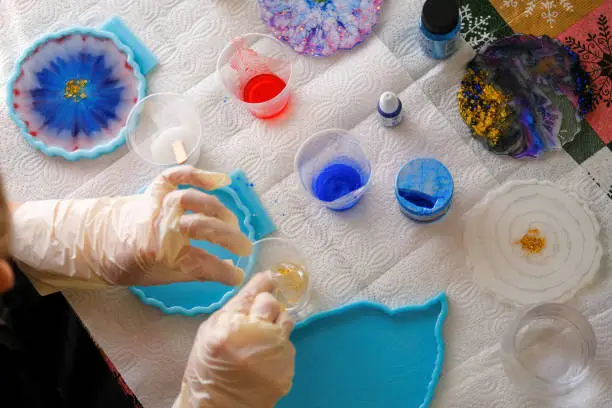
Final Words You don’t need plenty of money or a big studio to start resin art. Just start with small items, learn slowly, and you will get better with time. Resin art can be a fun hobby, a stress reliever, or even a business that gives you extra income. Tuesday, 15th April 2025.
No comments yet