 @BrownBoy1824
more from that month
@BrownBoy1824
more from that month
Set up your github personal website in just 7 simple steps!
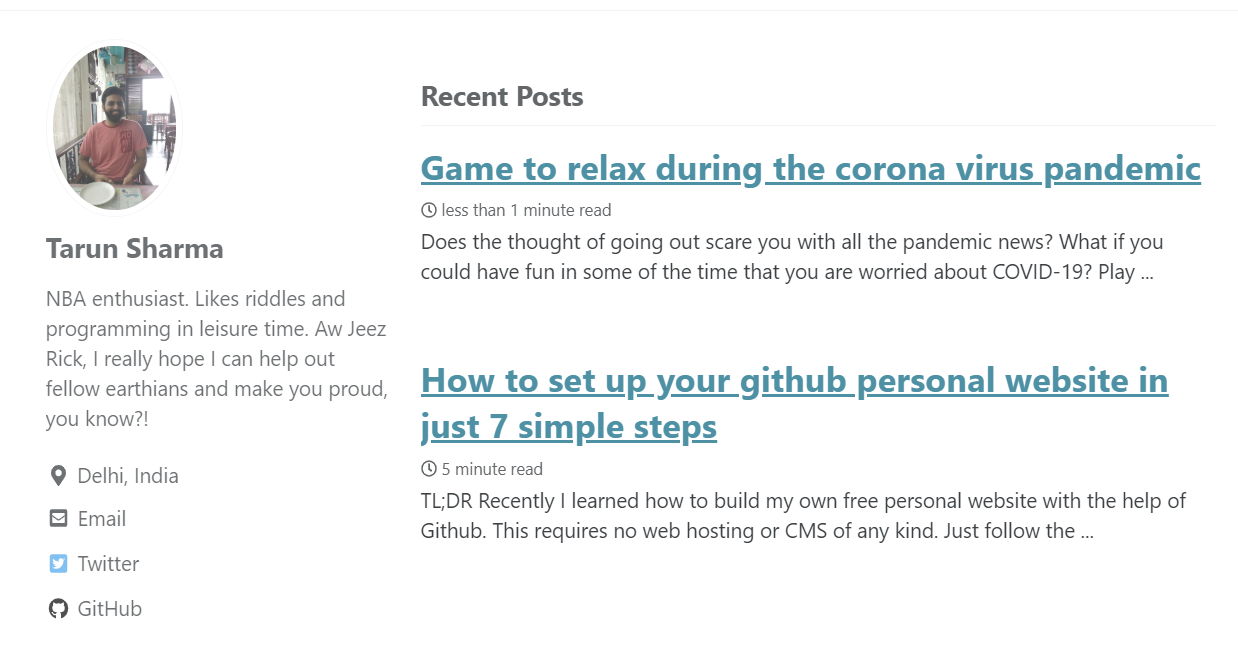
**TL;DR** Recently I learned how to build my own free personal website with the help of Github. This requires no web hosting or CMS of any kind. Just follow the 7 steps that I’ll cover below. Recently, I developed an interest in building my own personal website where I could blog about things that I’m learning or creating. Some of the obvious options available online are building a website through an open-sourced content management system, such as Wordpress which also requires a web hosting service such as Bluehost. Buying a domain and getting a hosting service for it requires money. And while it isn’t much and I could have invested, I decided to check if there was an option to build a free website. https://en.wikipedia.org/wiki/Content_management_system https://wordpress.org/ https://www.bluehost.com/web-hosting/signup Turns out, there definitely is a way to build your very own free github website. Follow these 7 quick and easy steps to get your github personal website up and running: **Pre-requisite**: There are a few git and github steps involved. So familiarity with git and github is beneficial. However, if you are curious enough and can google your ***queries***, I don’t think why that should stop you. **Disclaimer**: This will only work if you’re looking for a minimalistic option like me. If your requirements dictate usage of dynamic pages, usage of databases and such, then a github personal website might not be the best bet. (**Optional**) Getting a domain name: You can purchase a domain online from sites like Bluehost, Namecheap etc. Useful if you want your own custom site url and don’t want the *github.io* part which is attached ***inadvertently*** to every github pages site url. Of course, this step will cost you, but you can skip it if you want. Setting up a github repository to serve as the base for your github personal website: Create a new repository with your github account, say *new_repo* (**Optional but recommended**) Create a new branch from the *master* branch for *new_repo*, named *gh-pages*. Make *gh-pages* the ***default*** branch for this repo. https://help.github.com/en/github/collaborating-with-issues-and-pull-requests/creating-and-deleting-branches-within-your-repository https://help.github.com/en/github/administering-a-repository/setting-the-default-branch (**Optional**) Go to *Settings>Options>GitHub Pages* section on the repo page. There you’ll see the *Source* branch (*gh-pages*) which will be used to built the github website associated with this repo. Also, you’ll see the *Custom Domain* which you can set to your own custom subdomain, using this guide. If you don’t set any custom domain, your github pages website will be hosted at **https://*****username*****.github.io/*****new_repo*****/**. Don’t forget to enable the *Enforce HTTPS* checkbox, since having https matters. https://help.github.com/en/github/working-with-github-pages/managing-a-custom-domain-for-your-github-pages-site https://web.dev/why-https-matters/ Clone *new_repo* to your local ***machine*** to include site related files. git clone #=> new-repo-url is the path to your github repository, and git needs this path to clone it to your local machine. You can clone the repository into any folder. Let’s assume you cloned it into a folder named *new_repo*. Setup jekyll and its requirements: Download git bash https://git-scm.com/download/win Install jekyll using rubyinstaller https://jekyllrb.com/docs/installation/windows/#installation-via-rubyinstaller **Note:** While performing *ridk install* step, it asks for components which should be installed: Make sure to select all three, one by one. If not, you might encounter the following error in later stages of installation: Failed to build gem native extension https://github.com/jekyll/jekyll/issues/7000 Use jekyll to create site related files: Using git bash,navigate to your *new_repo* folder, and run the following command: jekyll new . --force #=> This command adds new jekyll related files and folders within the current folder. #=> --force is used because there are existing files like .git in current directory, which we want jekyll to ignore. Use *git status* command to see all the files added to the *new_repo* folder. This folder now has enough information for jekyll to build a website. Read this doc to know more about the contents of this directory. https://jekyllrb.com/docs/structure/ In the configuration file *_config.yml*, change the title and description of your site to something of your liking. title: Adventures of Tin Tin description: I want to educate people about Tin Tin. Intimidated by this file’s YAML syntax? Take a look at this quick walkthrough of YAML. https://rollout.io/blog/yaml-tutorial-everything-you-need-get-started/ Now, let’s add a new post to our website. In your *_posts* directory, remove the existing file, and create a new one named *2020-05-18-my-very-first-post.markdown* with the following content and save it: --- title: "My very first post" date: 2020-05-12 --- Hello World! This weird-looking format is a specific markdown flavour understood by Jekyll, called Kramdown. https://kramdown.gettalong.org/documentation.html Now that you have created a post, you need to start a server locally to see how your github website will look like. Go ahead and build the jekyll site using: bundle exec jekyll serve --watch **Note:** Make sure you are within the root directory, and not within any of its subfolders, while executing this command. Navigate to **localhost:4000** in a browser. This is where the jekyll site will be hosted locally. Check out the post you just created. Spend some time navigating through the links and pages. Making the site public: Once you are happy with the changes, commit and push the local code to remote repo *new_repo*. Make sure you are pushing to the *gh-pages* and not the *master* branch. Follow these 3 commands on git bash in *new_repo* folder: git add . #Adds all files to be staged to commit git commit -m 'My first commit' #Creates a commit git push -u origin gh-pages #Pushes the local changes to remote branch Navigate to **https://*****username*****.github.io/*****new_repo*****/** or whatever custom domain you’ve set to check out your published github personal website. [**Next Steps**] So now, we have a site, but its useless since we haven’t added anything interesting. Jekyll gives you quite a lot of flexibility in that you can: Add/modify/remove posts https://jekyllrb.com/docs/posts/ Add/modify/remove pages in a similar way to posts https://jekyllrb.com/docs/pages/ Use plugins for additional features like enabling emojis https://jekyllrb.com/docs/plugins/ https://github.com/yihangho/emoji-for-jekyll Using pre-designed themes to add visual flair like this one. https://jekyllrb.com/docs/themes/ https://github.com/mmistakes/minimal-mistakes **Voila! We are done with setting up your github personal website. Now you only have to find some interesting topic to write about to get started!** **To know more about github pages, check out:** ***Official*** page by github pages https://pages.github.com/ **To read in more detail about Jekyll, visit:** Jekyll ***official*** ***documentation*** https://jekyllrb.com/docs/ programminghistorian.org page on this topic https://programminghistorian.org/en/lessons/building-static-sites-with-jekyll-github-pages **To** ***enhance*** **your knowledge on Ruby Gems, Gemfile and Blunder, to be able to do much more with your site, go through:** Ruby guides https://guides.rubygems.org/ Blunder https://bundler.io/docs.html
No comments yet